Background
Sergei Mikhailovich Prokudin-Gorskii (1863-1944) [Сергей Михайлович Прокудин-Горский, to his Russian friends] was a man well ahead of his time. Convinced, as early as 1907, that color photography was the wave of the future, he won Tzar's special permission to travel across the vast Russian Empire and take color photographs of everything he saw including the only color portrait of Leo Tolstoy. And he really photographed everything: people, buildings, landscapes, railroads, bridges... thousands of color pictures! His idea was simple: record three exposures of every scene onto a glass plate using a red, a green, and a blue filter. Never mind that there was no way to print color photographs until much later -- he envisioned special projectors to be installed in "multimedia" classrooms all across Russia where the children would be able to learn about their vast country. Alas, his plans never materialized: he left Russia in 1918, right after the revolution, never to return again. Luckily, his RGB glass plate negatives, capturing the last years of the Russian Empire, survived and were purchased in 1948 by the Library of Congress. The LoC has recently digitized the negatives and made them available on-line.
Overview
Our goal is to extract the three color channel images and place them on top of each other and align them so that they are going to form a single RGB color image.
Implementation
The first thing we have to do is that we will read the glass plate negatives image which are each of a single grayscale image where the filter order from top to bottom is Blue, Green and Red respectively. Then we return the three color channel images and in this case we can already align them. However, the problem is that these images will not align perfectly and therefore the combined image will not look good. Therefore, inorder to align the image better is we will use the exhaustively search over a window of possible displacements and we score each of the displacements and we will take the best one. We will try to use two different metric to score the displacements which are the L2 norm which is essentially the Euclidean distance and we will also use the L1 norm which is very similar to the L2 norm but instead of the square the different and take square root we instead take the absolute different. In all of the case we are using the Blue image as the baseline. For the possible displacements we are using different range for the x and y axis and for each of the we do it base on the 10% of the each image dimension. So for example if the image has the dimension of 100x150 then the x-axis displacements will be [-10, 10] and the y-axis displacements will be [-15, 15]. In our case I did use the displacments to be in range of 10% of the image dimension.
Initial Results on the Low Resolution image
We applied our algorithm to the low resolutio image and the result is show below. From what we can see is that the method is able to align the image quite well on some of the images but might not be well to all the image we will try to fix this at the end. Also from this we will use the L2 norm as the metric to score the displacements as it seems to work better than the L1 norm.
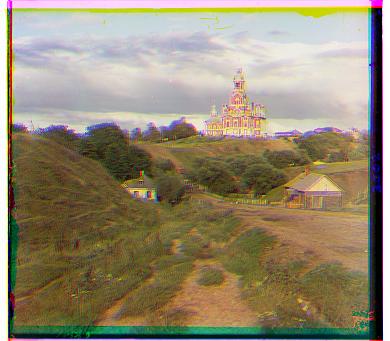
with best offset for green to be [1, 0]
with best offset for red to be [8, -1]
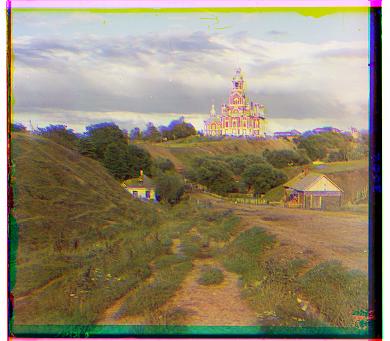
with best offset for green to be [1, -1]
with best offset for red to be [7,-1]
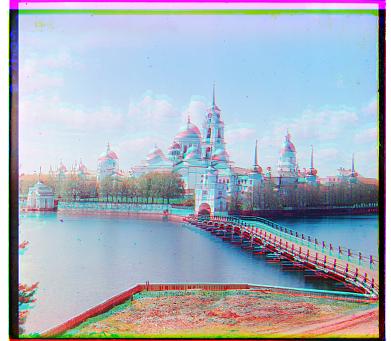
with best offset for green to be [-3, 1]
with best offset for red to be [9, 1]
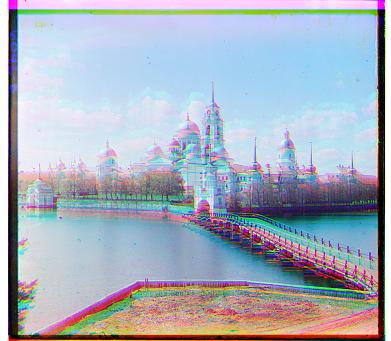
with best offset for green to be [-6, 0]
with best offset for red to be [9, 1]
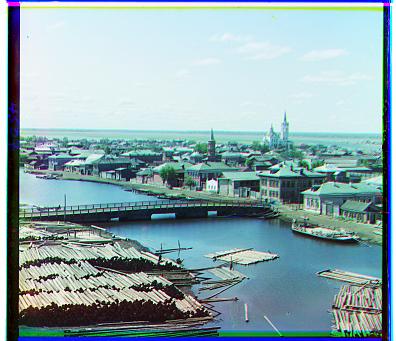
with best offset for green to be [3, 2]
with best offset for red to be [6, 3]
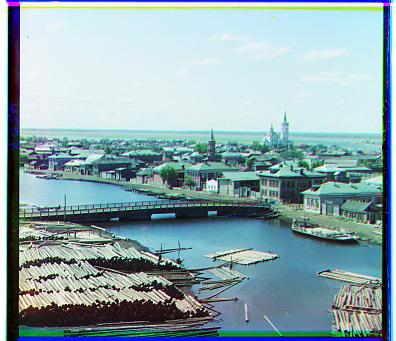
with best offset for green to be [3, 2]
with best offset for red to be [6, 3]
Image Pyramid
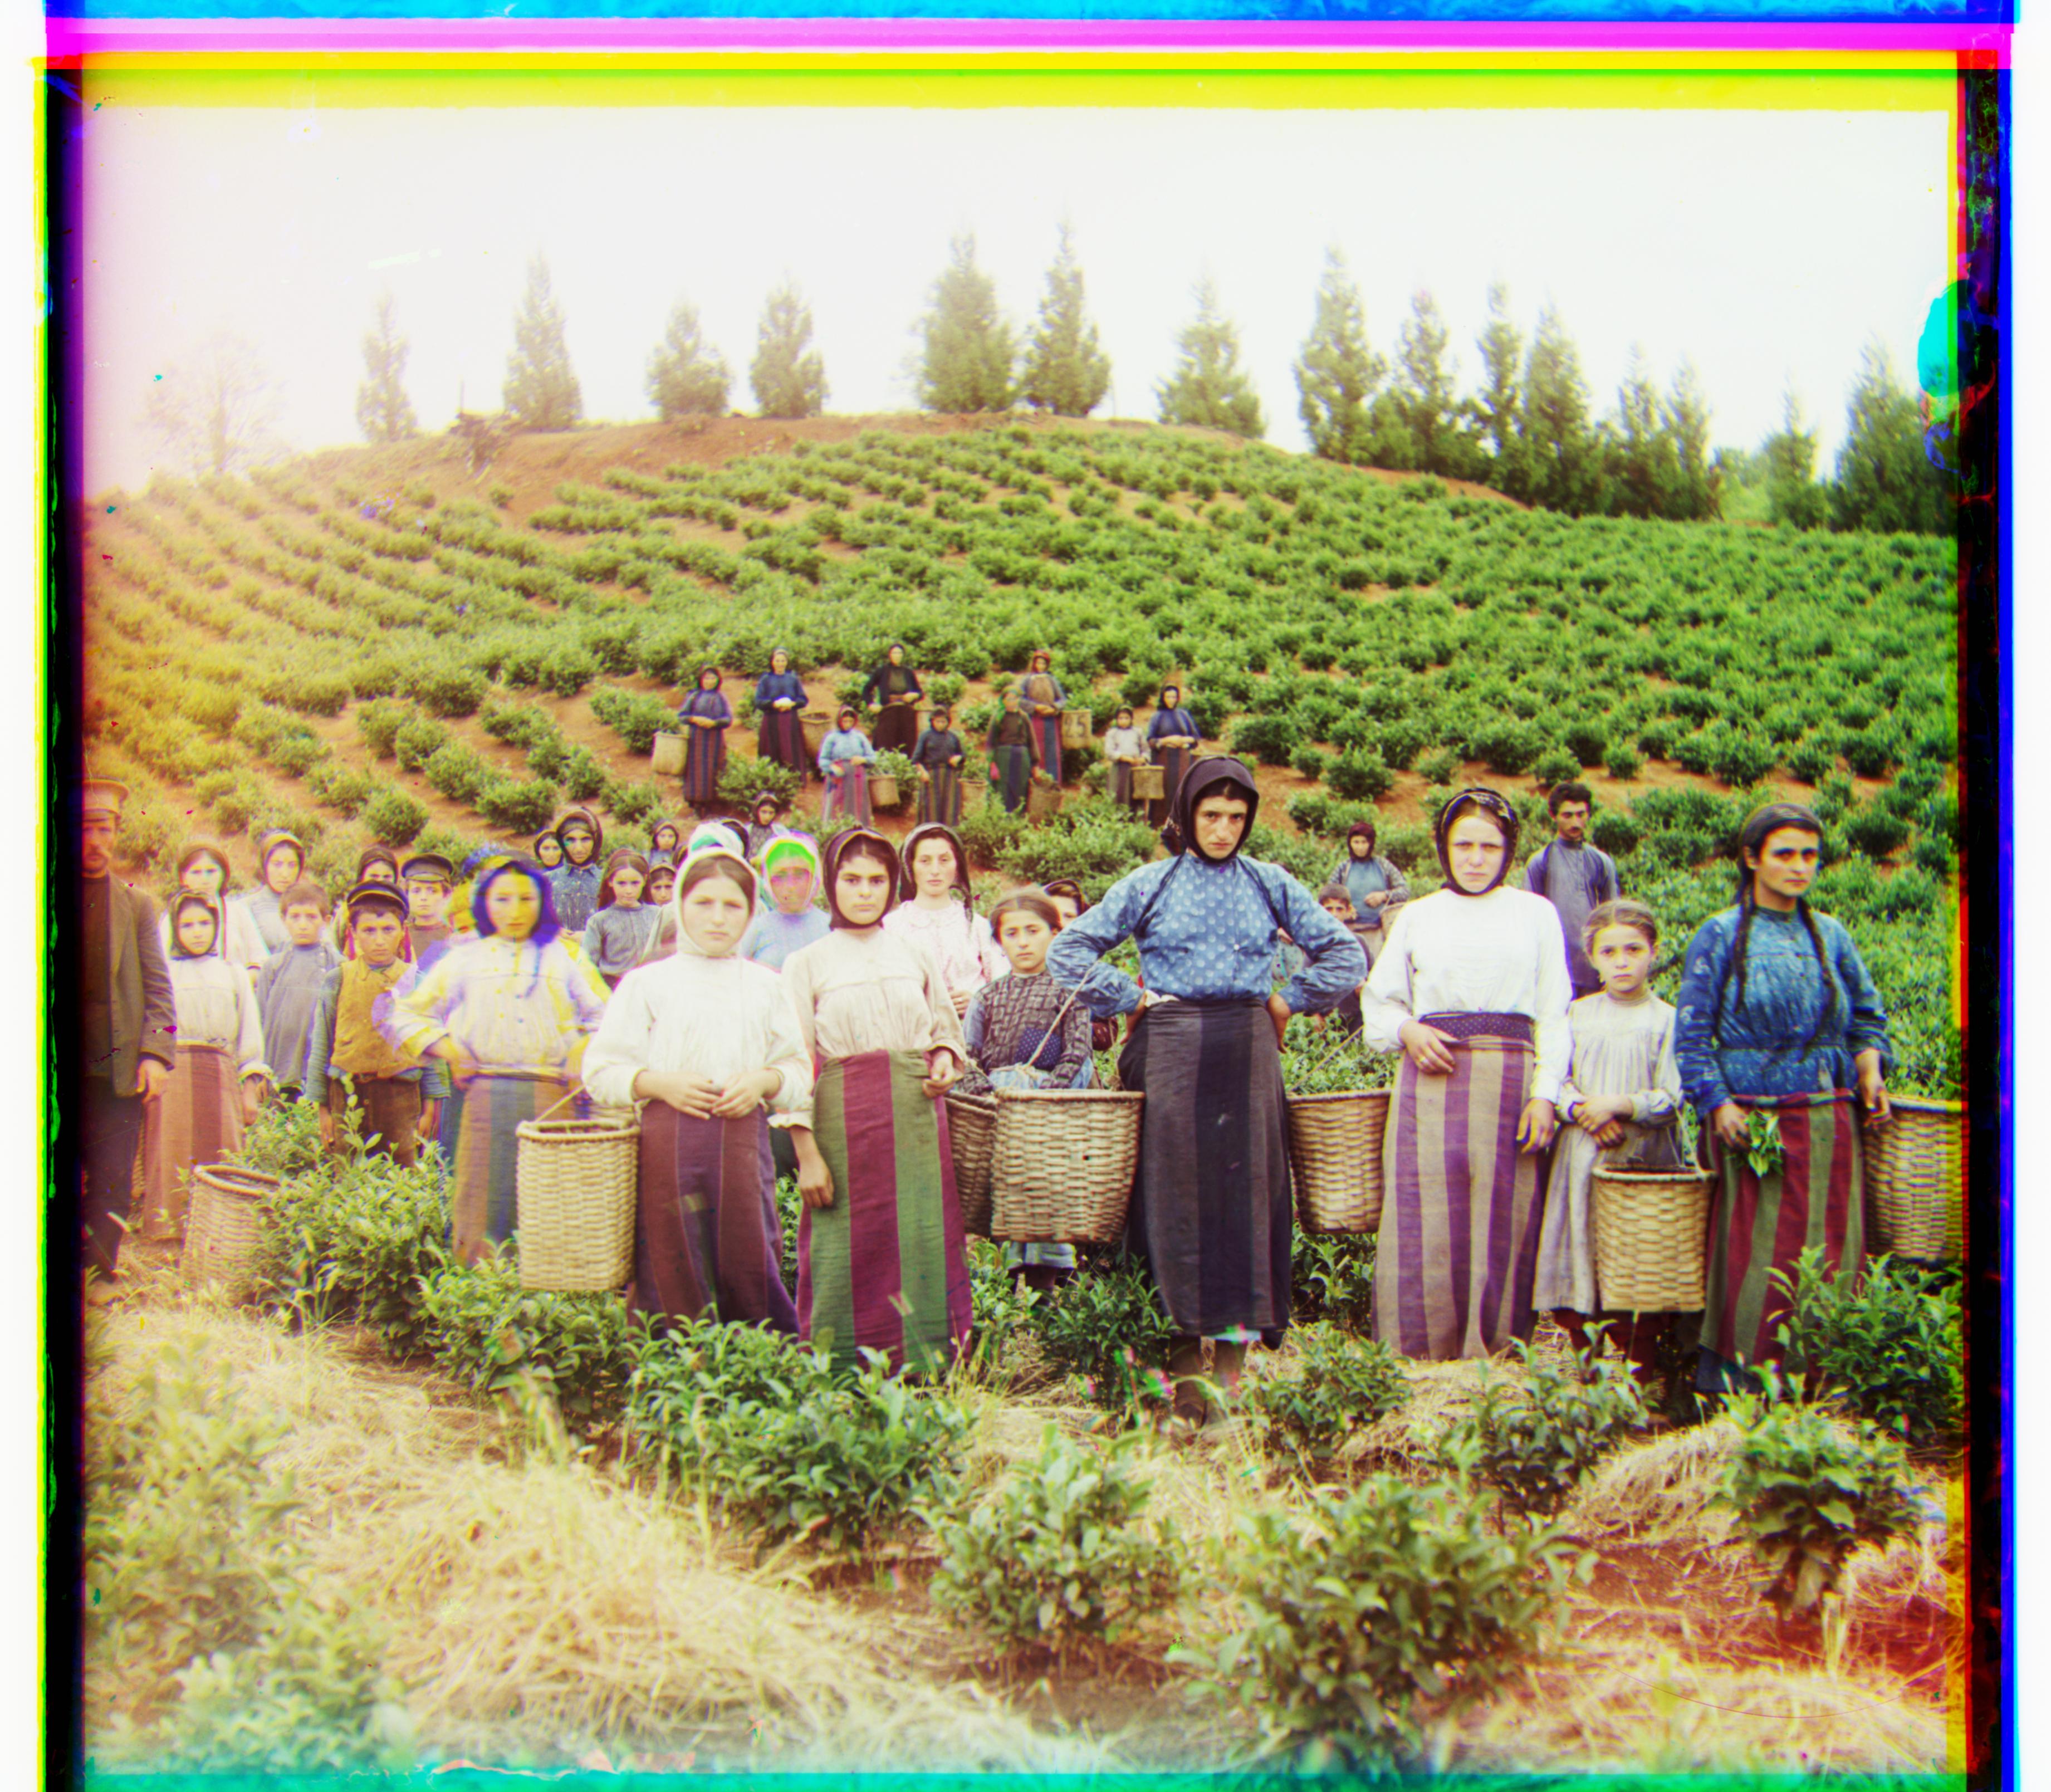
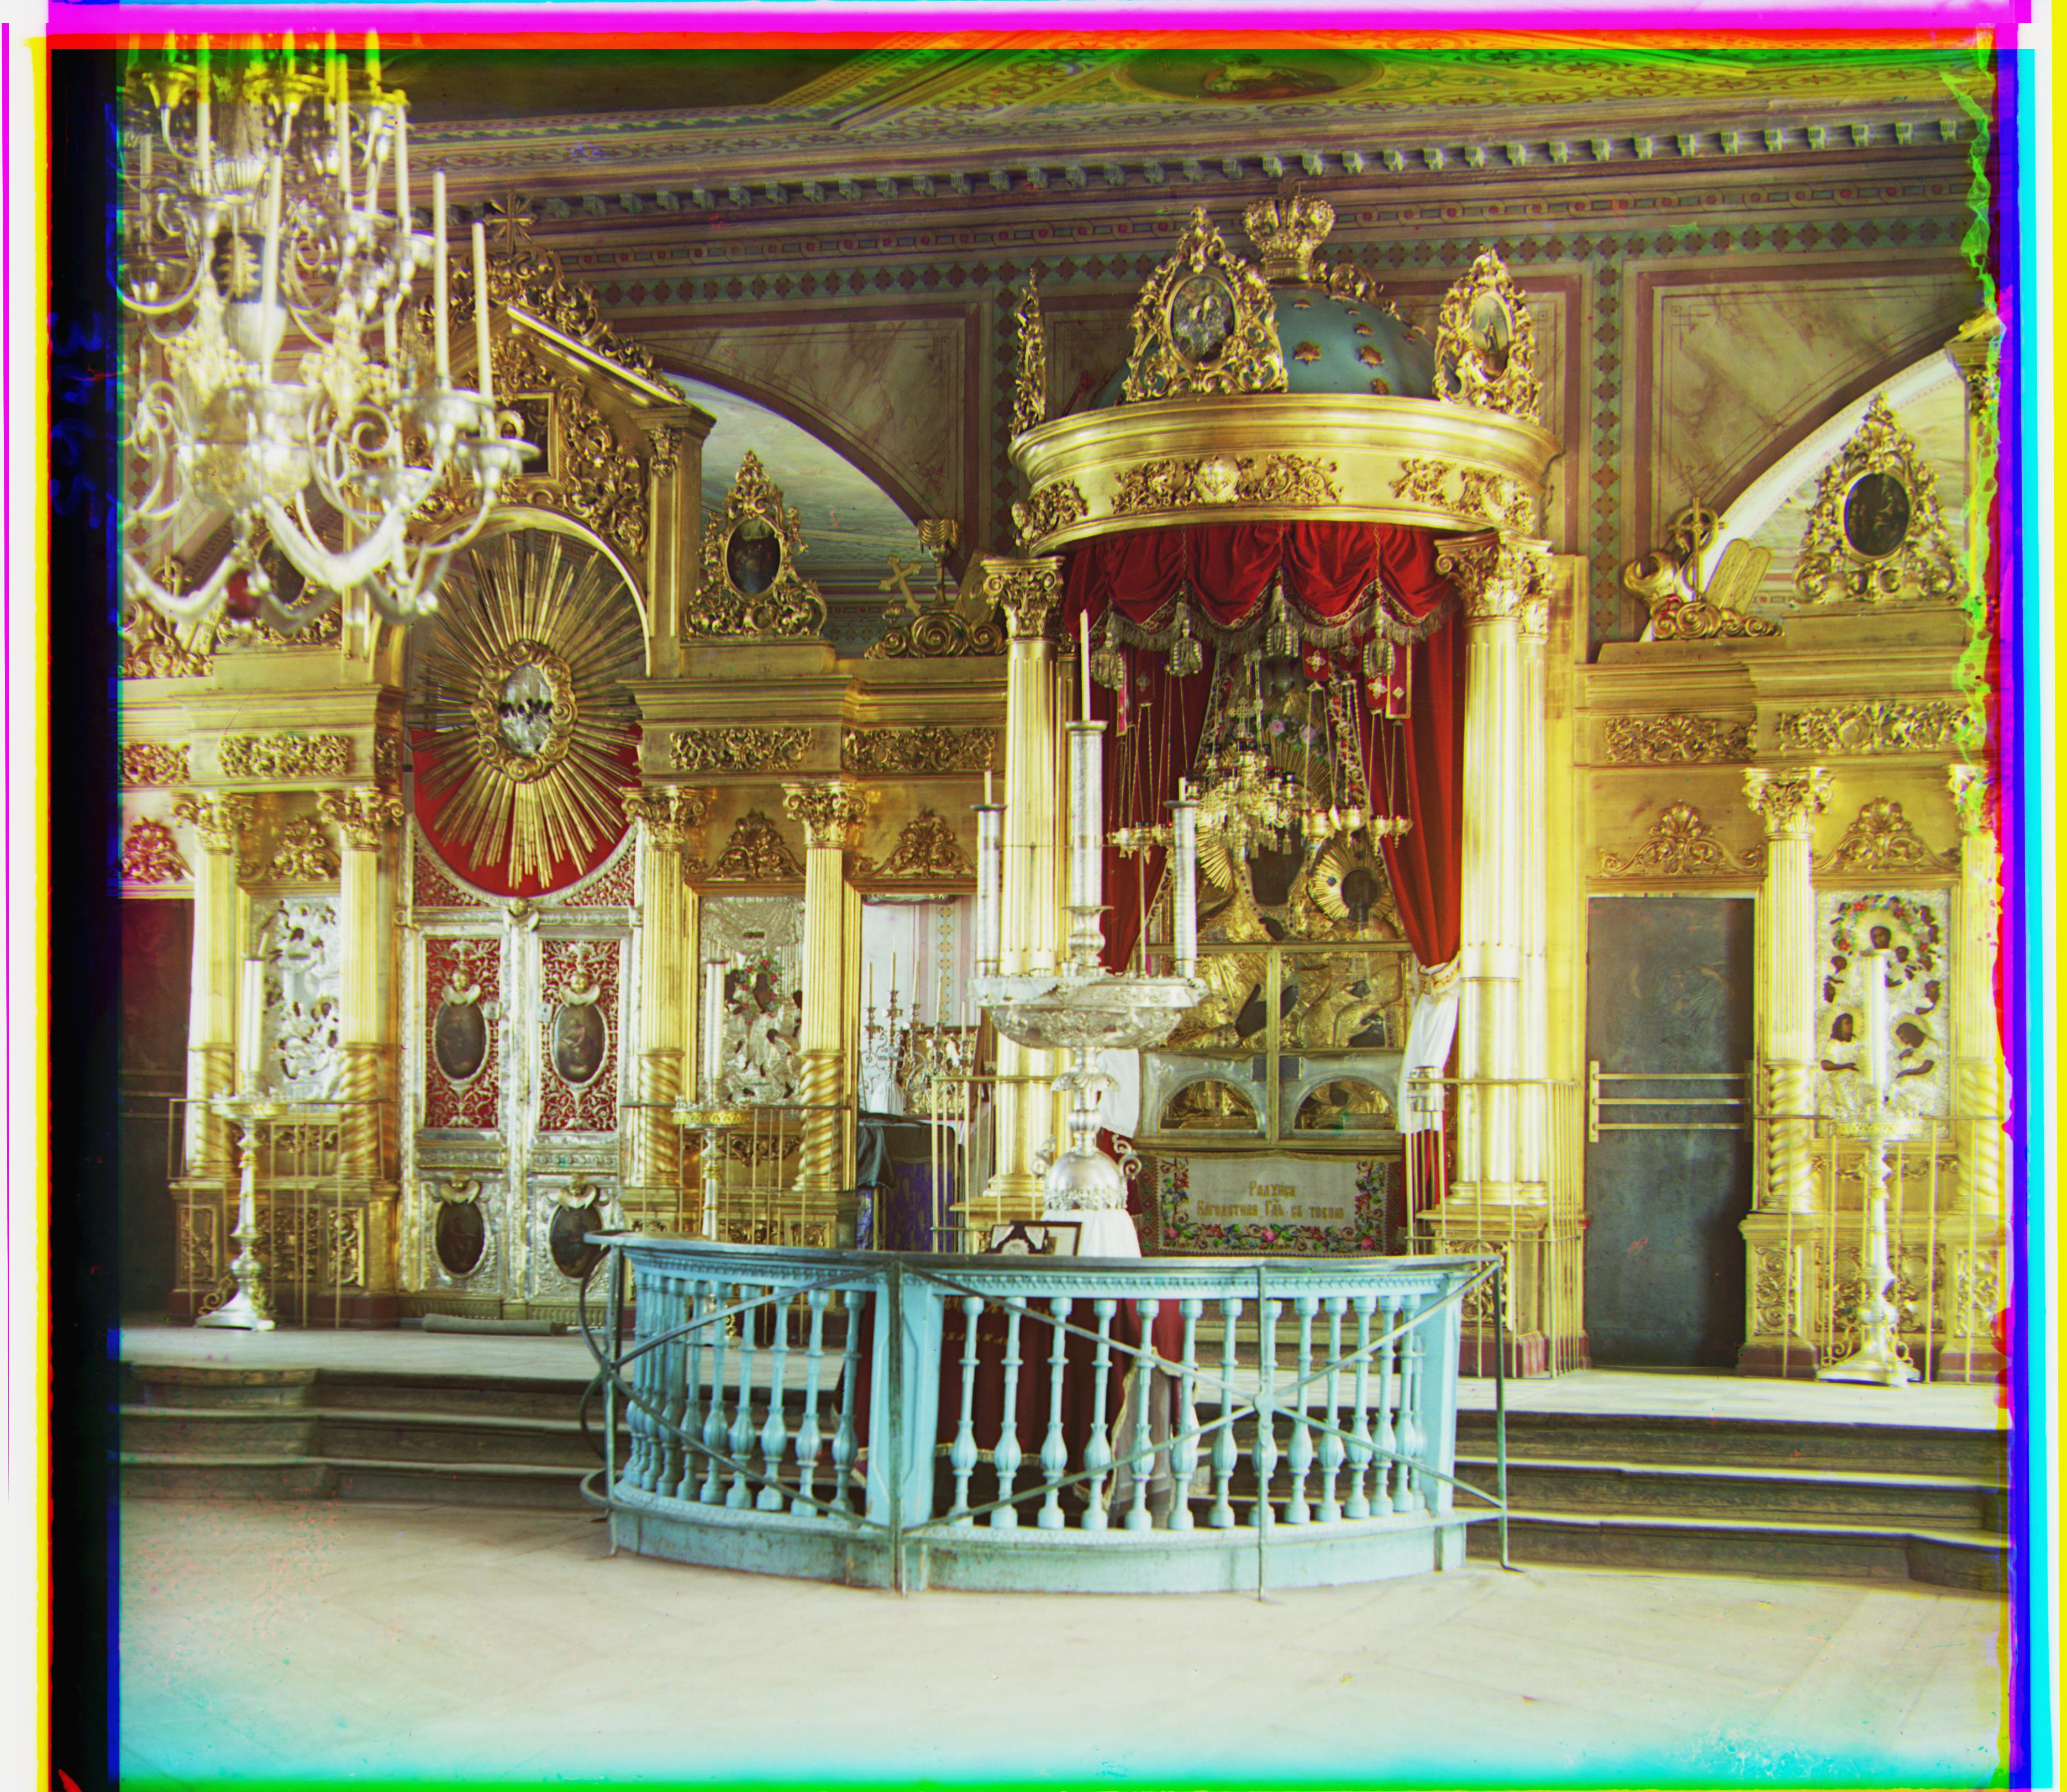
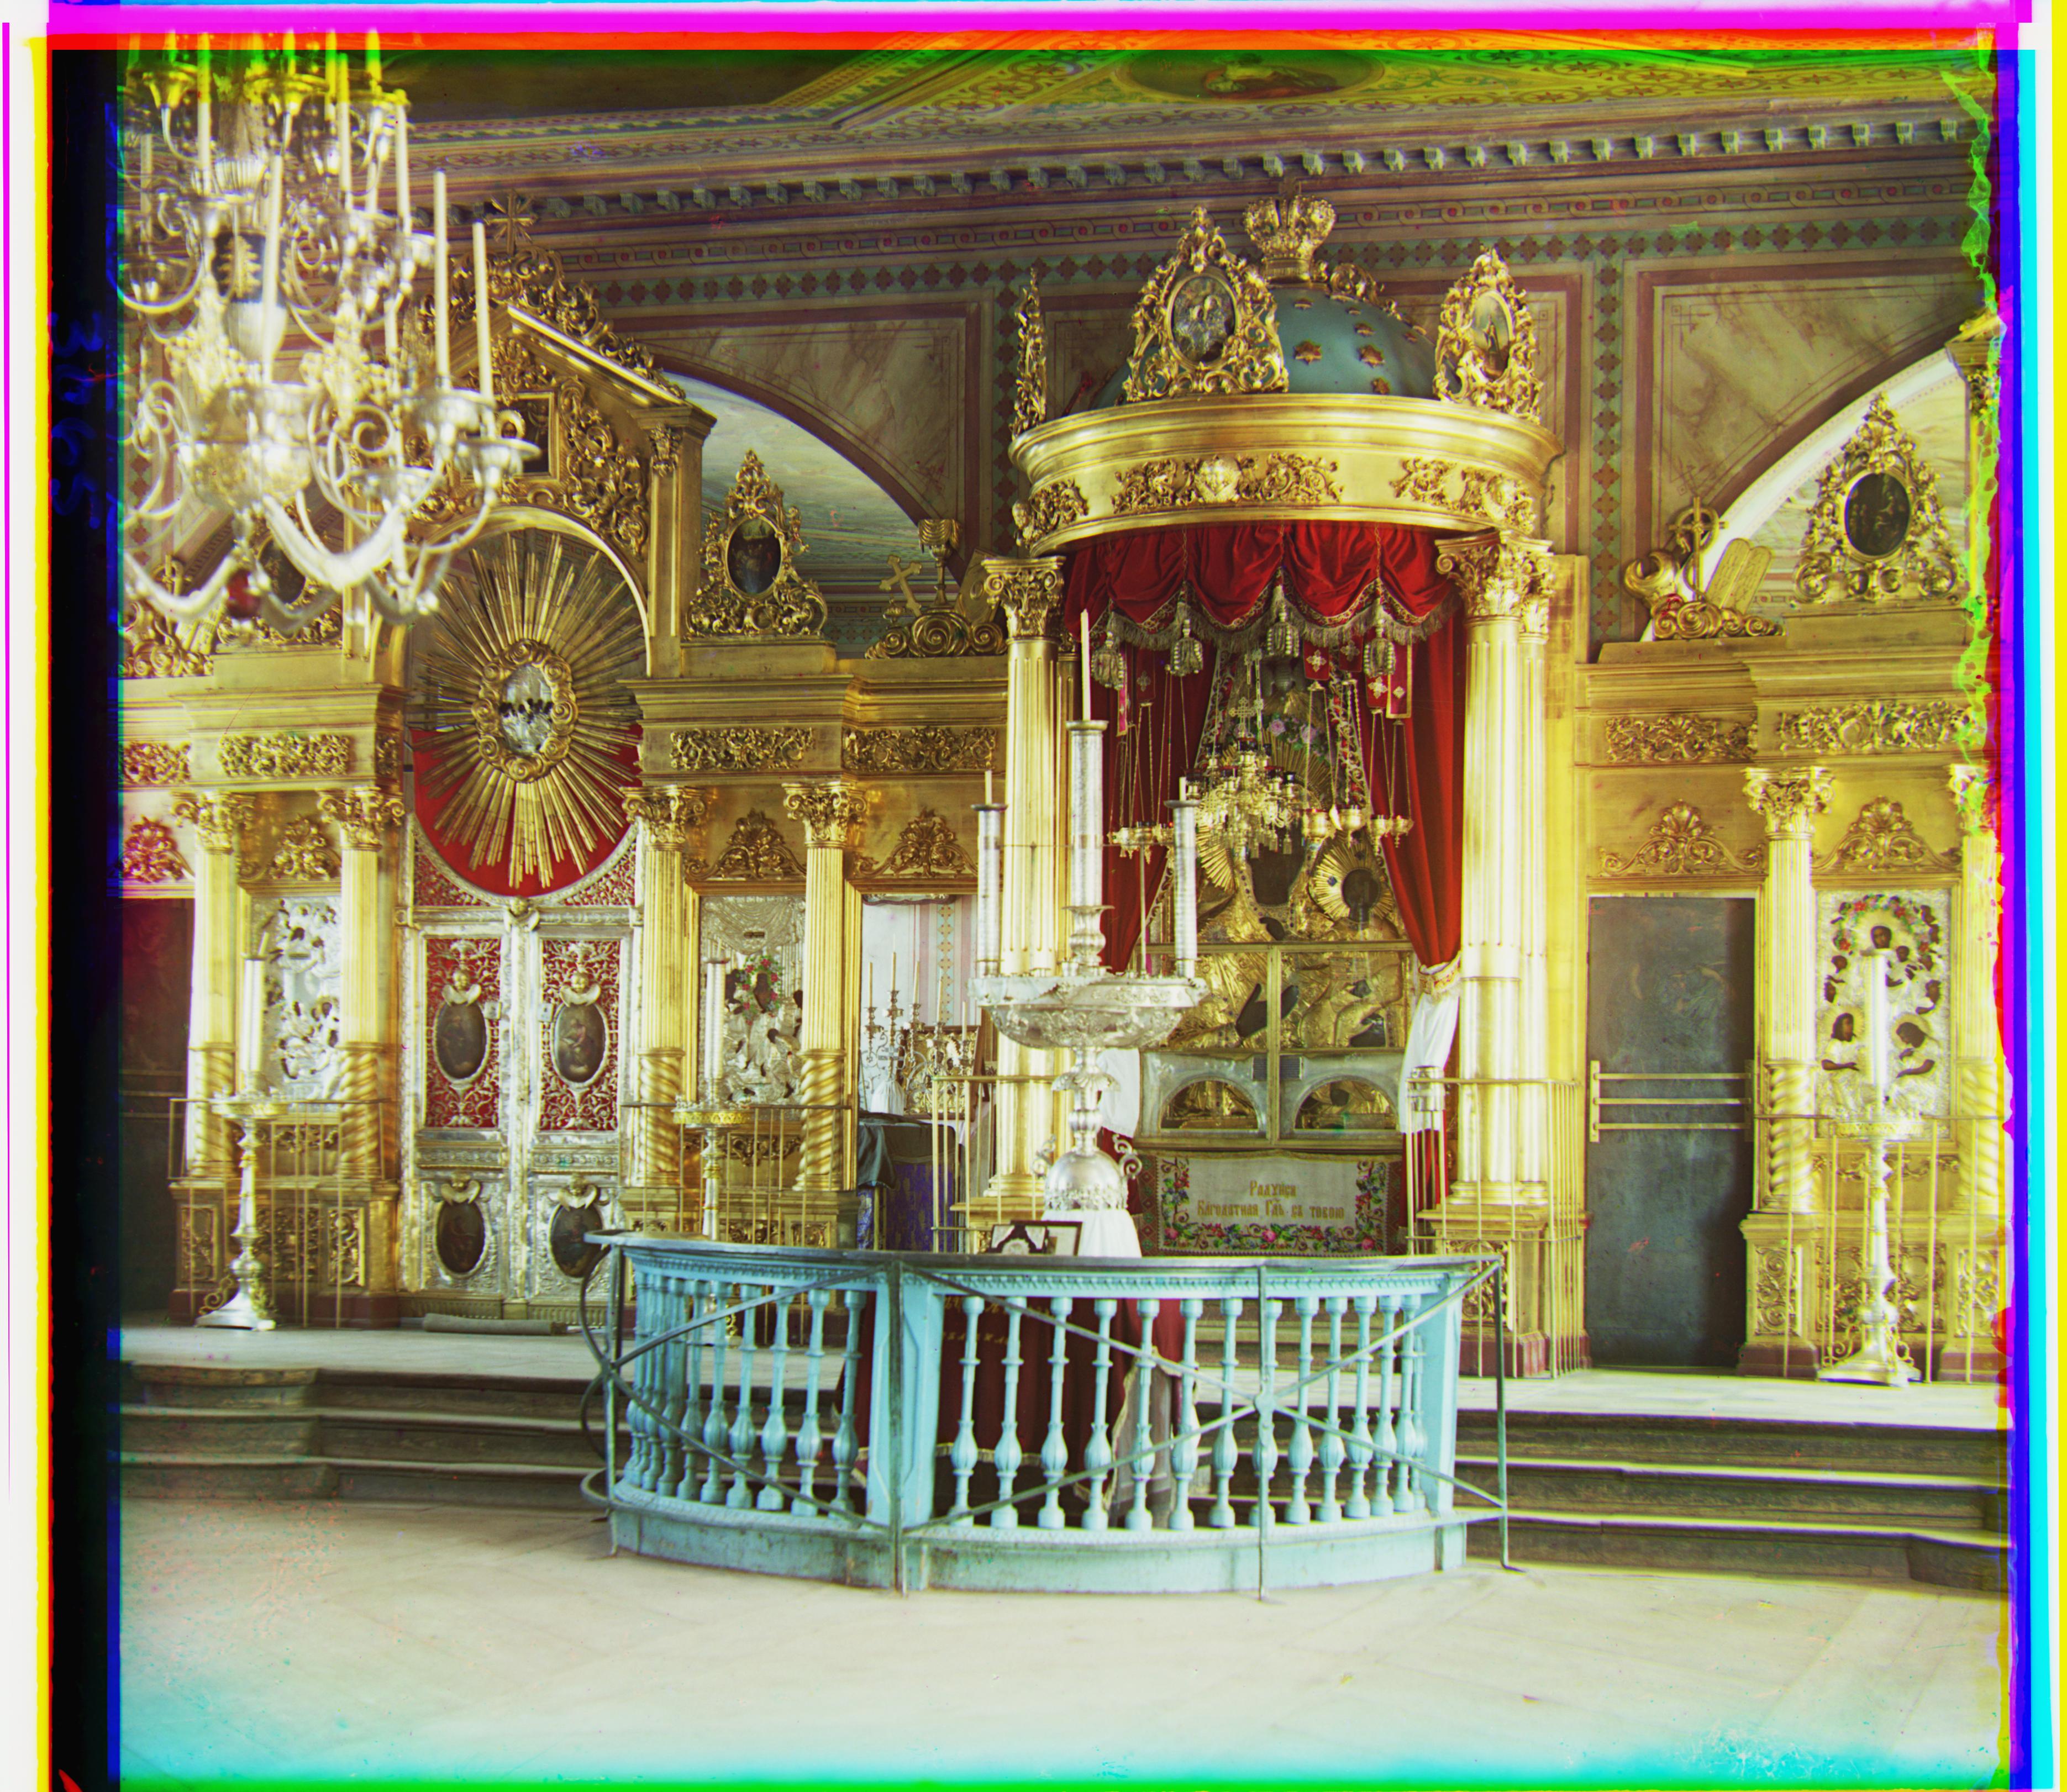
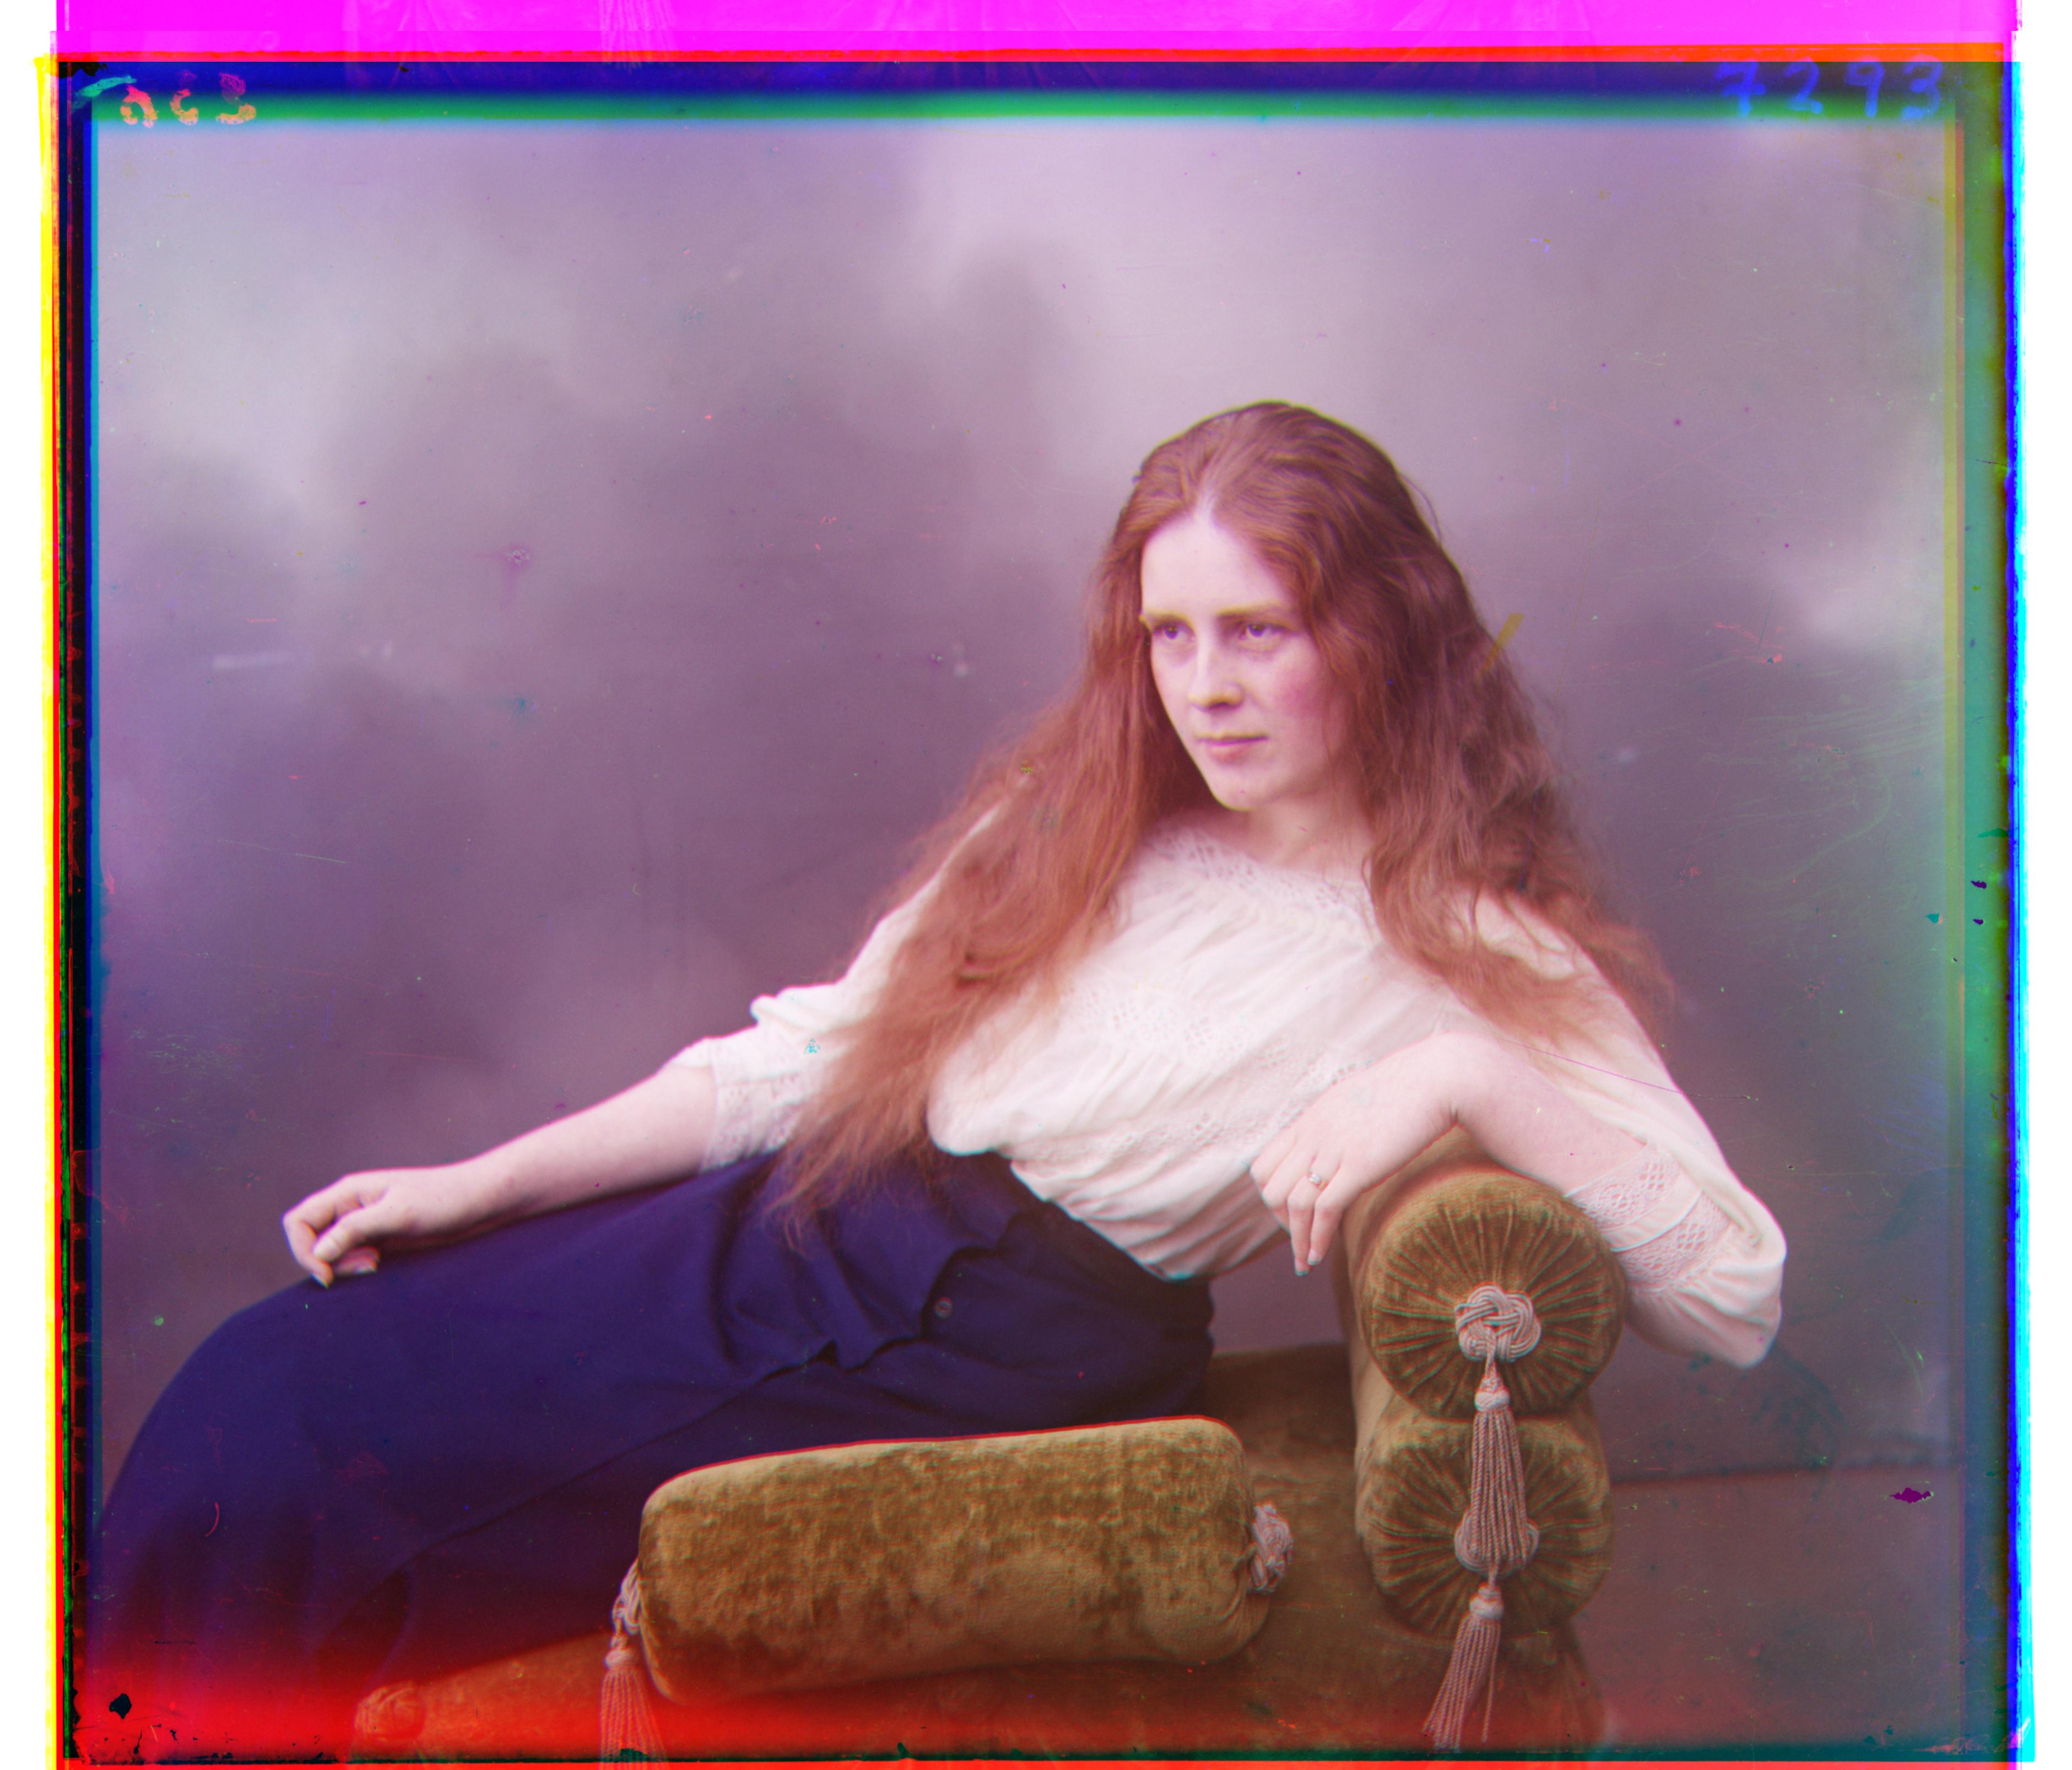
As we can probably guess the exhaustive search is essentially is the brute force method which can be very slow especially for the large image. Therefore we will have to do something that is different and we will need to use image pyramid. The idea is that we scaled the image down by the scale of 2 and then we will align the image for the small image and then we estimated the displacments backup to the original image. In our case we have that we rescale the image down by the factor of 2 for 3 times and then once we have the best displacements for the smallest image then we make the best offset by multiply it by 2 and shifted the image by that amount. Additionally, we also might need to shift the image a little bit more to make sure that the image can aligned better so we will also have to do the exhaustive search for a small amount of displacements in the range [-4, 4] for both x and y axis. Then we will adjust the best offset base on this search. And then we recursively do this for the next scale until we reach the original image size. The image below is the result of the image pyramid to the large image size. From the result we can see that some of the image is good but it still did not align too well. We did use depth of 3 and also we make our search to be in range of the size of the image divide by power of 2 of the depth and multiply by 0.1.
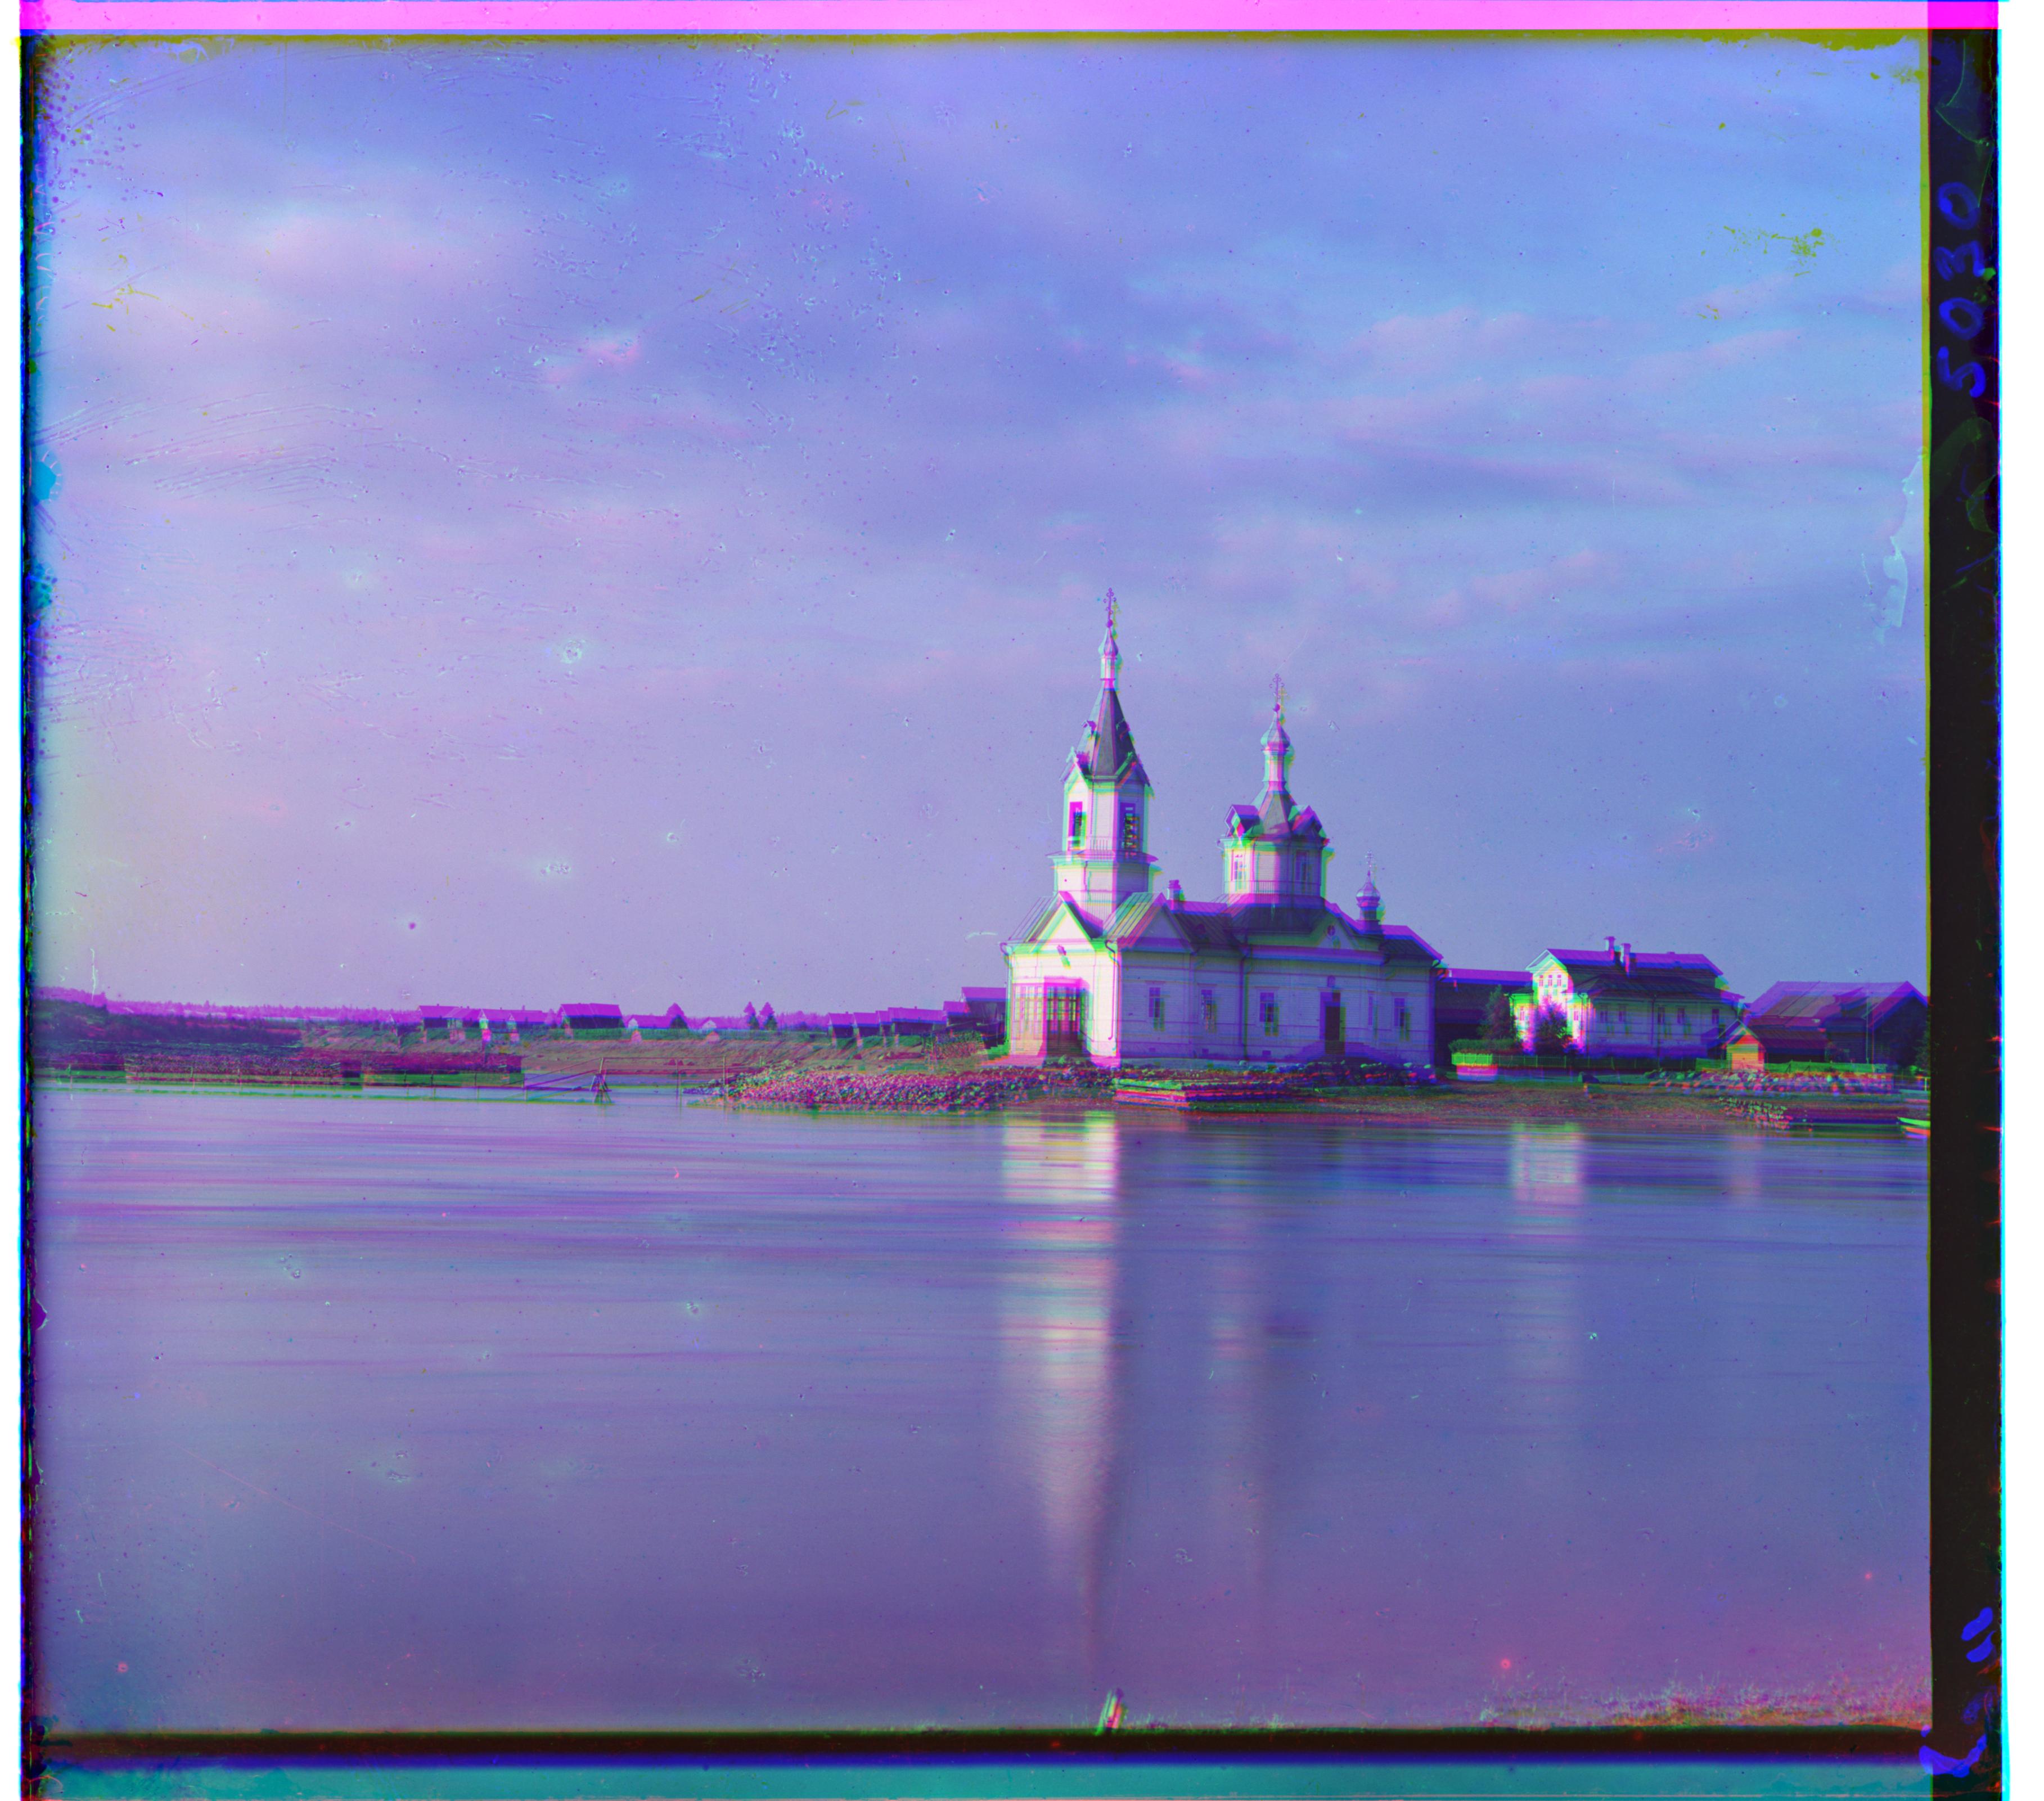
Church image with the best offset for green to be [0, -5]
Church image with the best offset for red to be [52, -6]
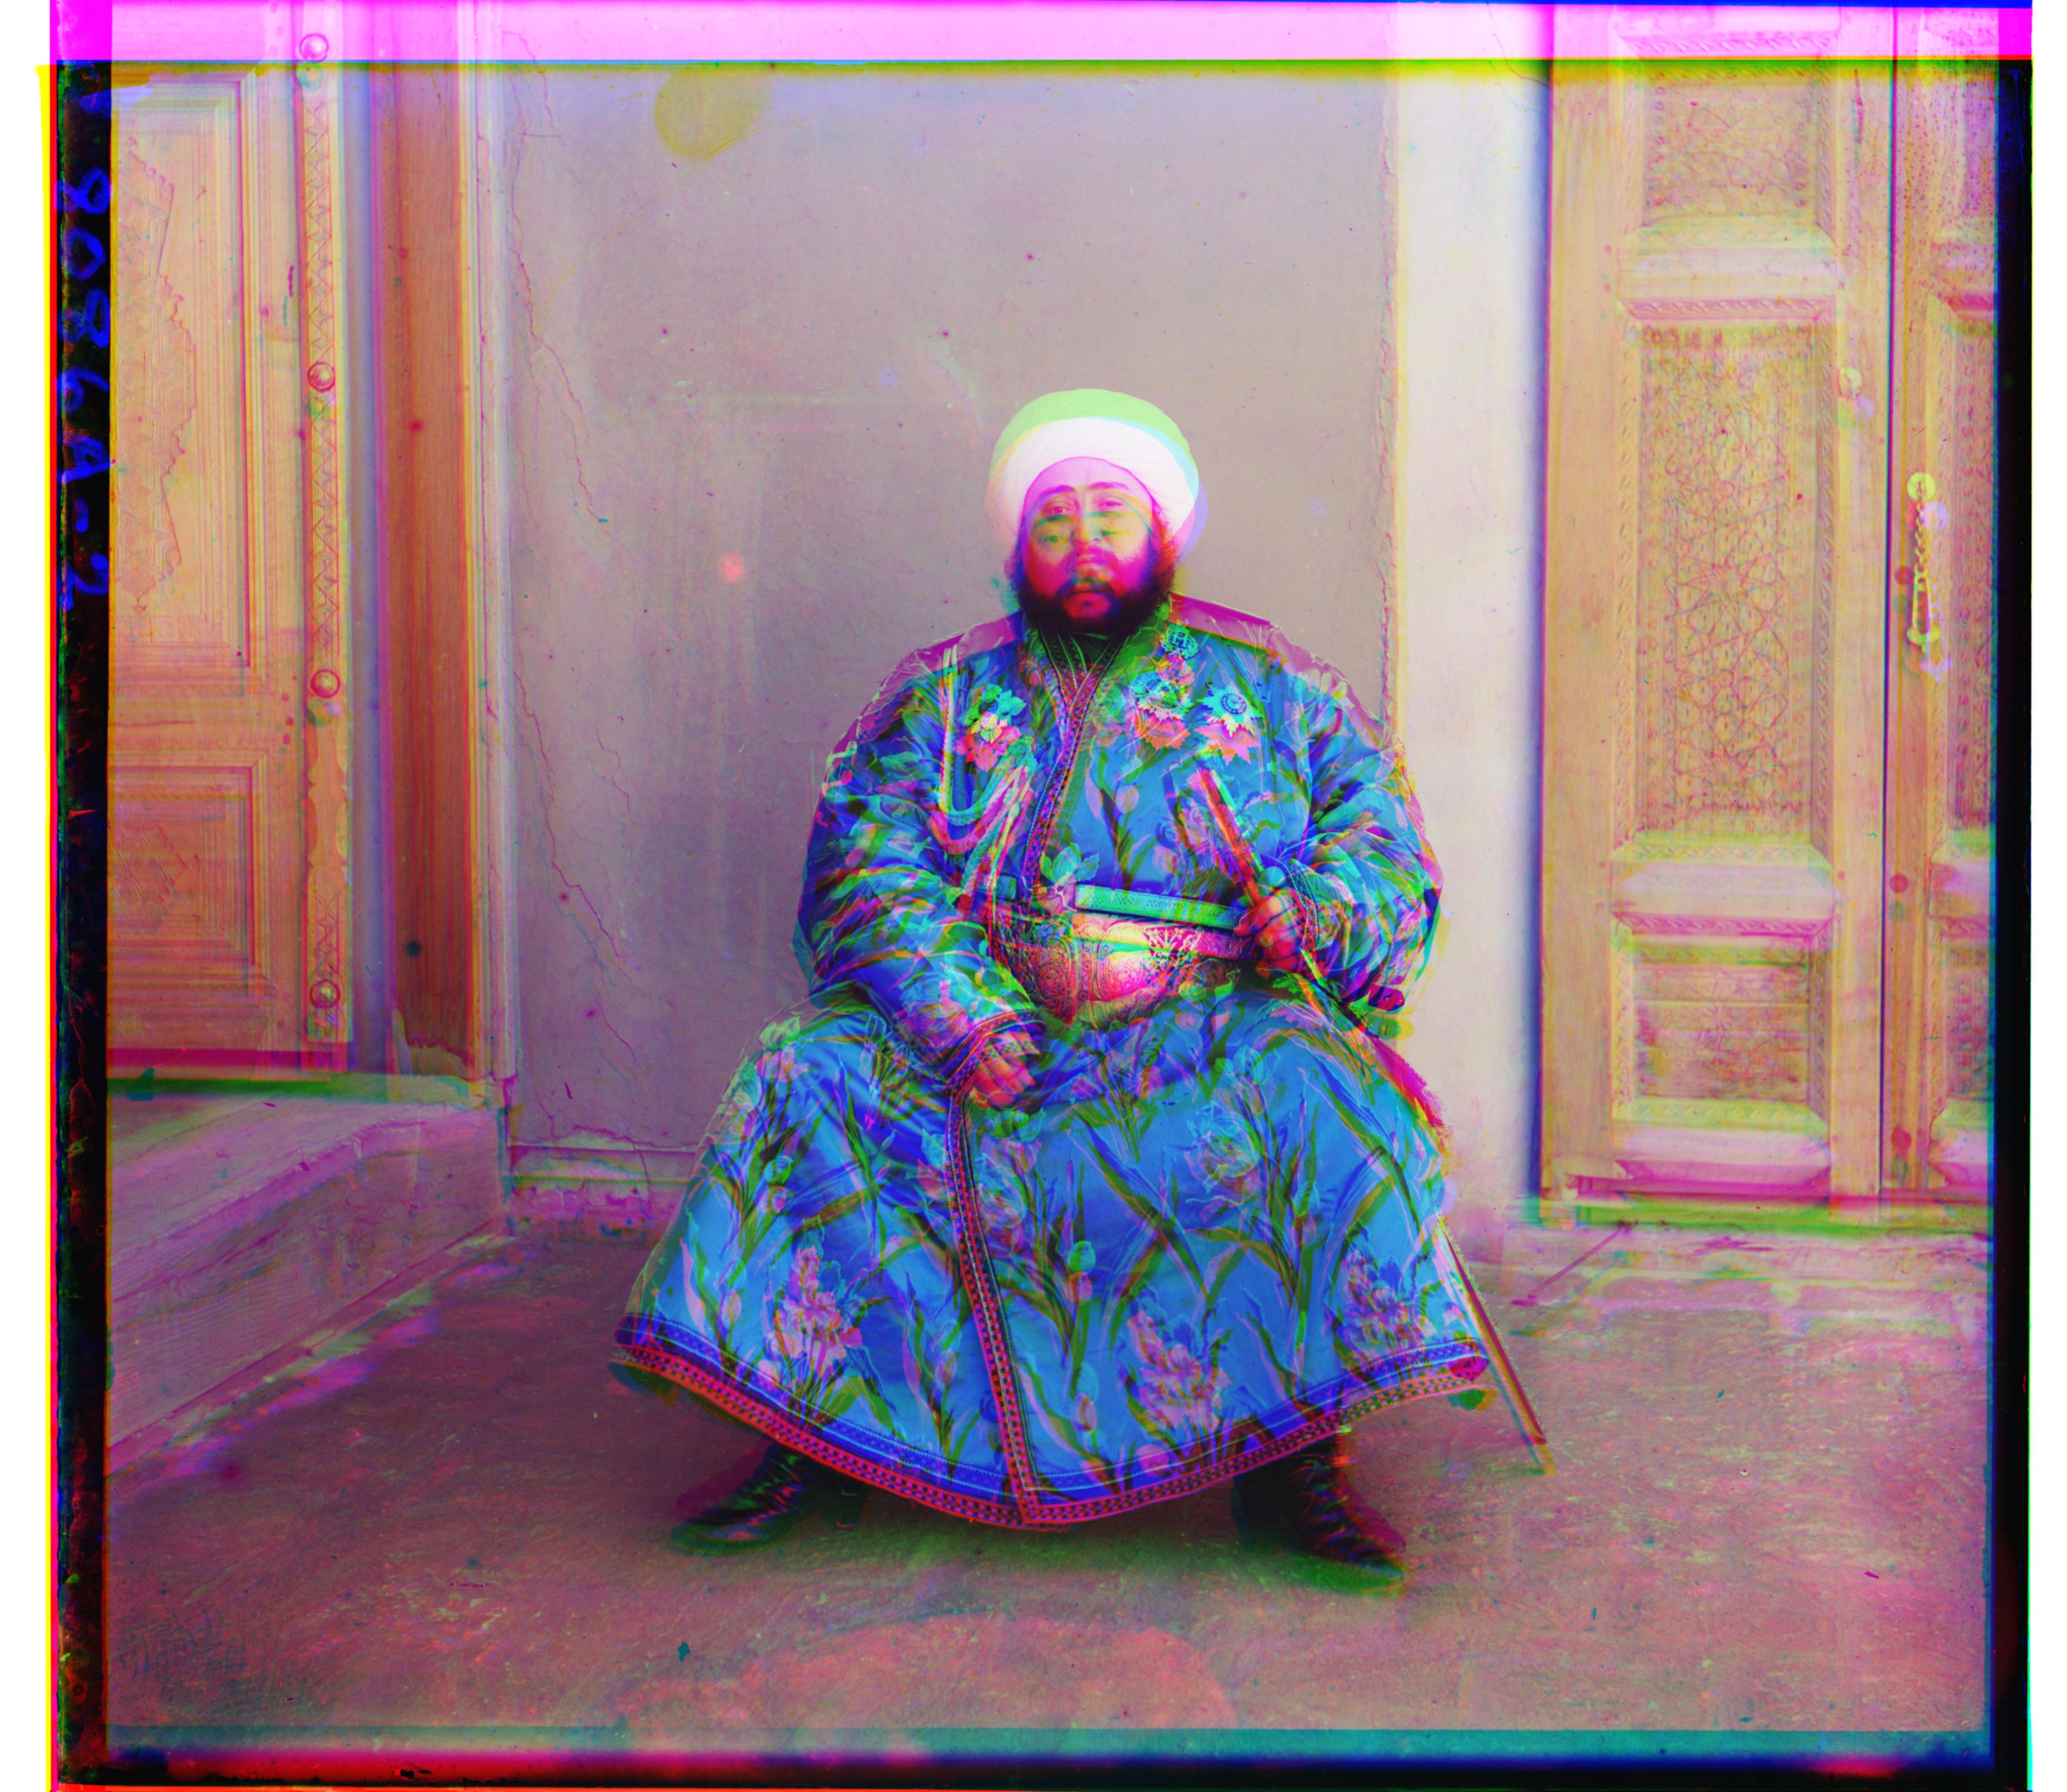
Emir image with the best offset for green to be [-3, 7]
Emir image with the best offset for red to be [107, 17]
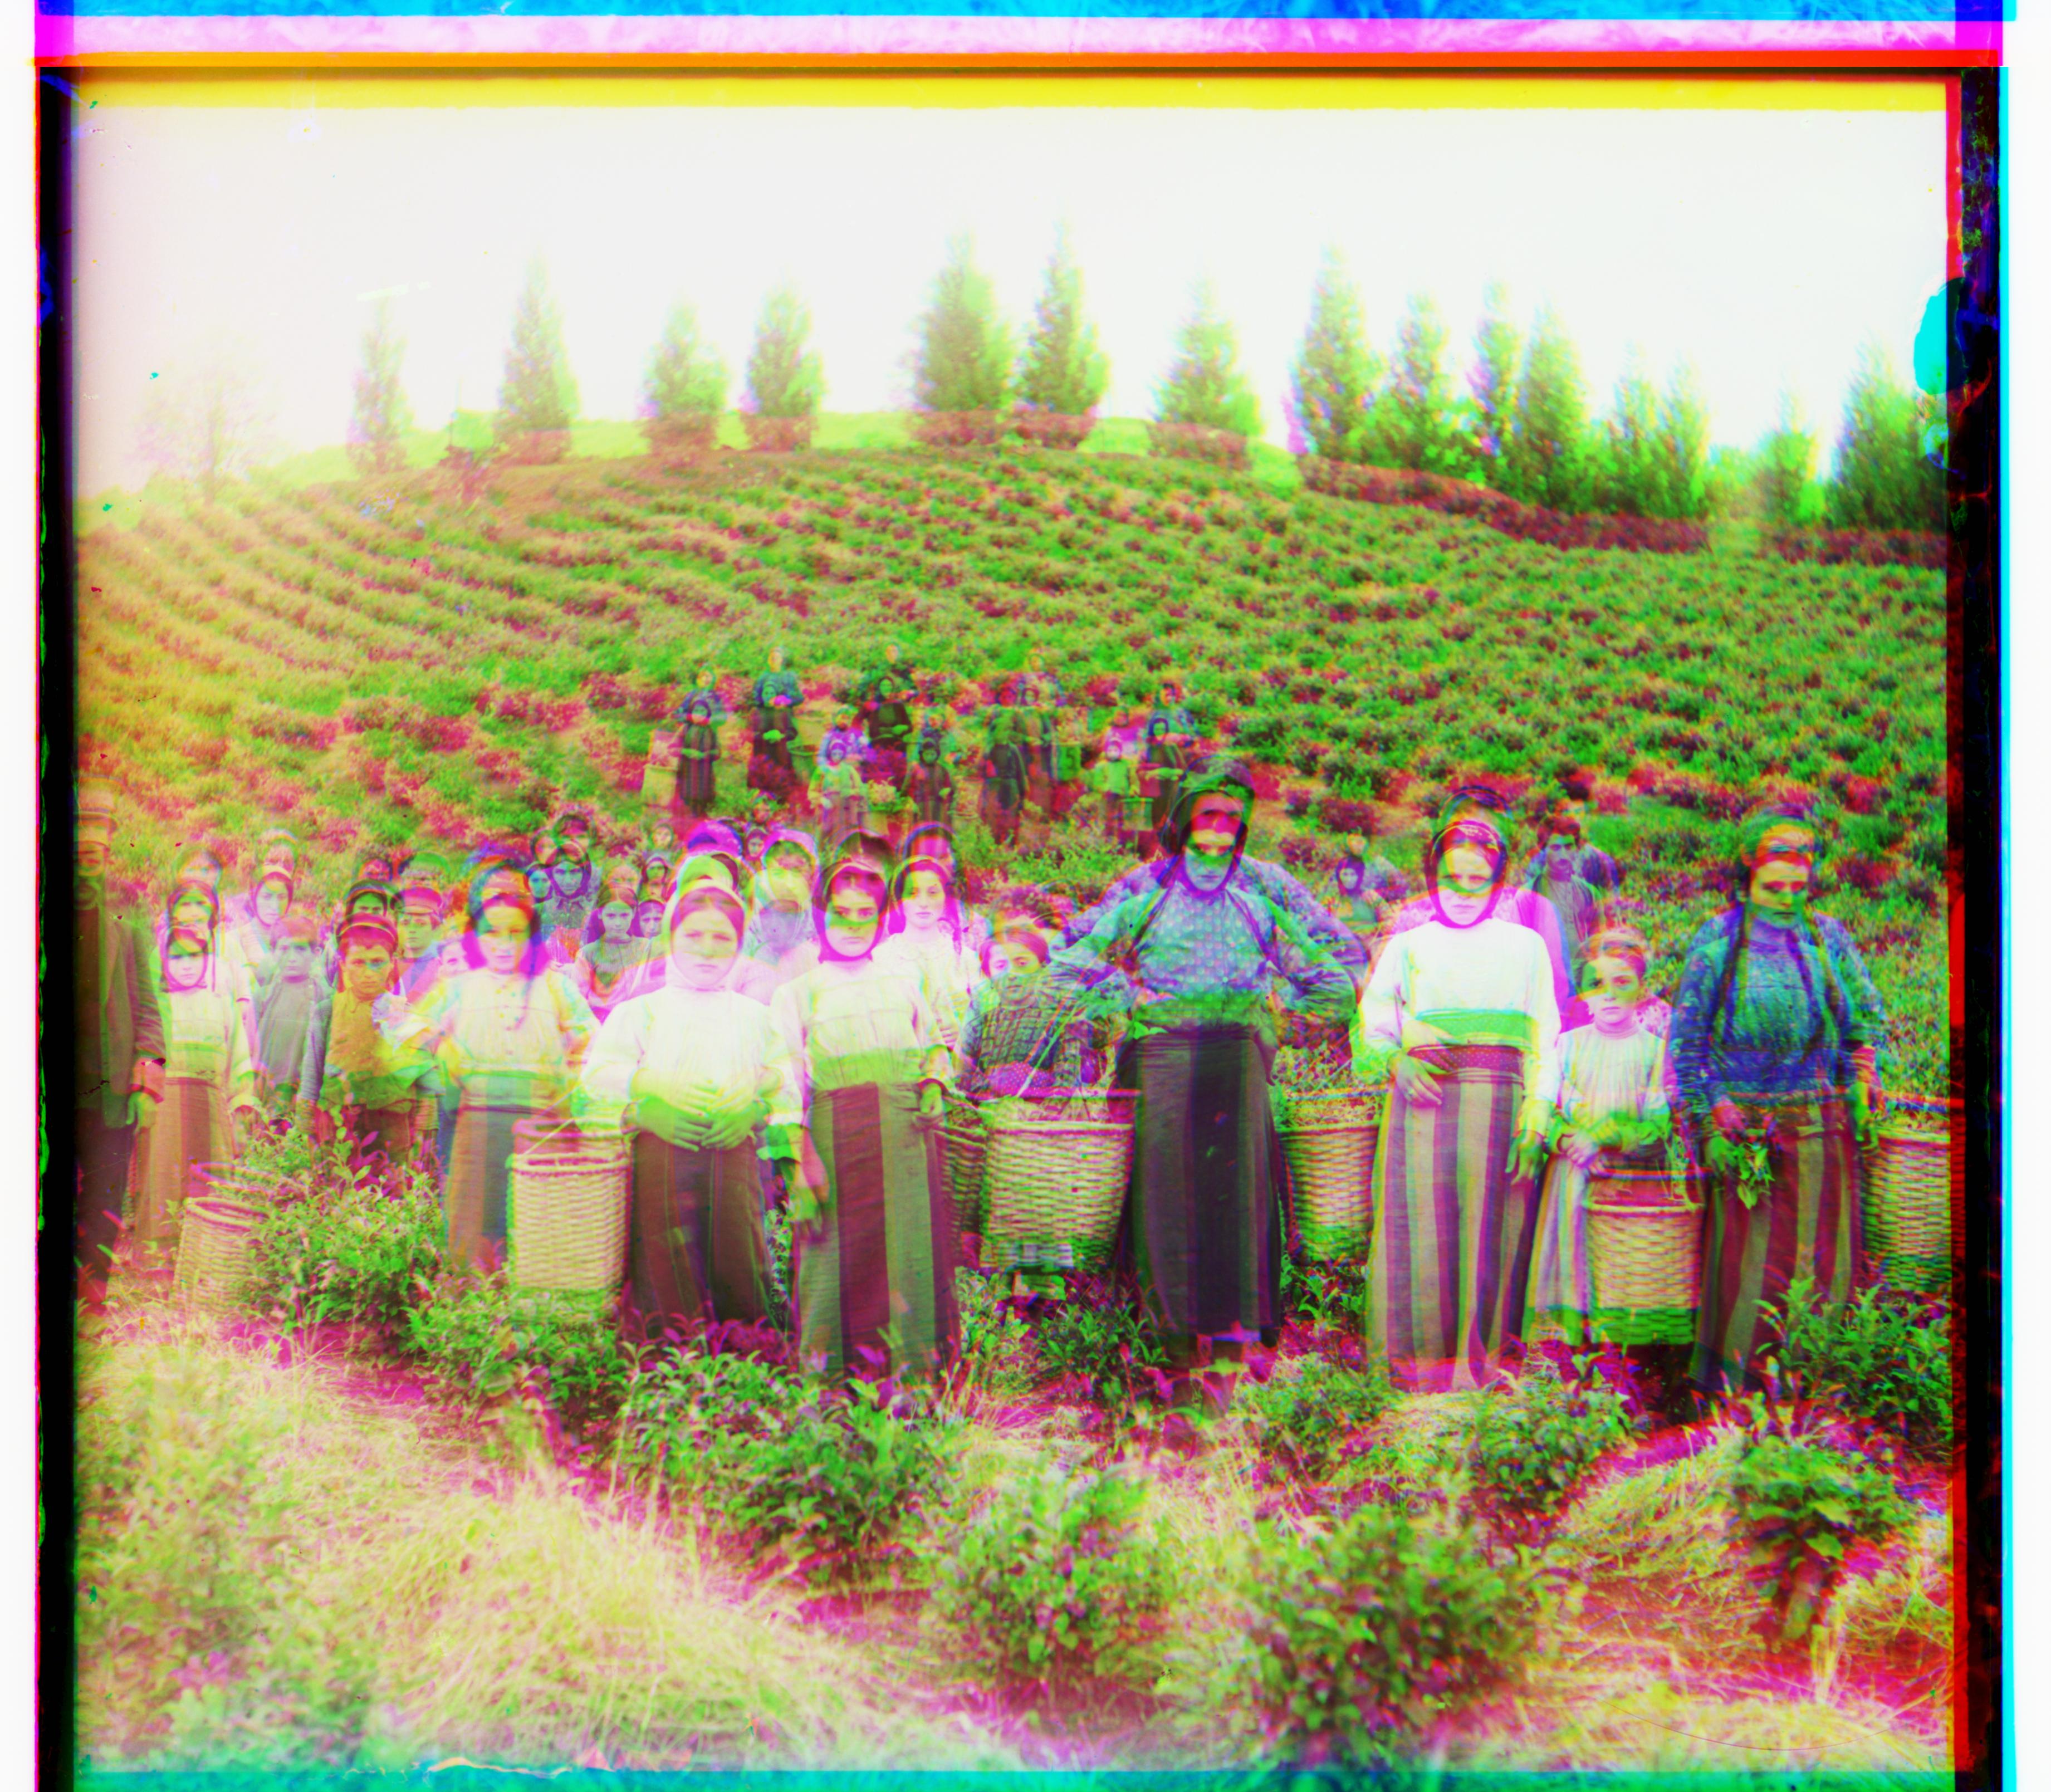
Harvesters image with the best offset for green to be [118, -3]
Harvesters image with the best offset for red to be [120, 7]
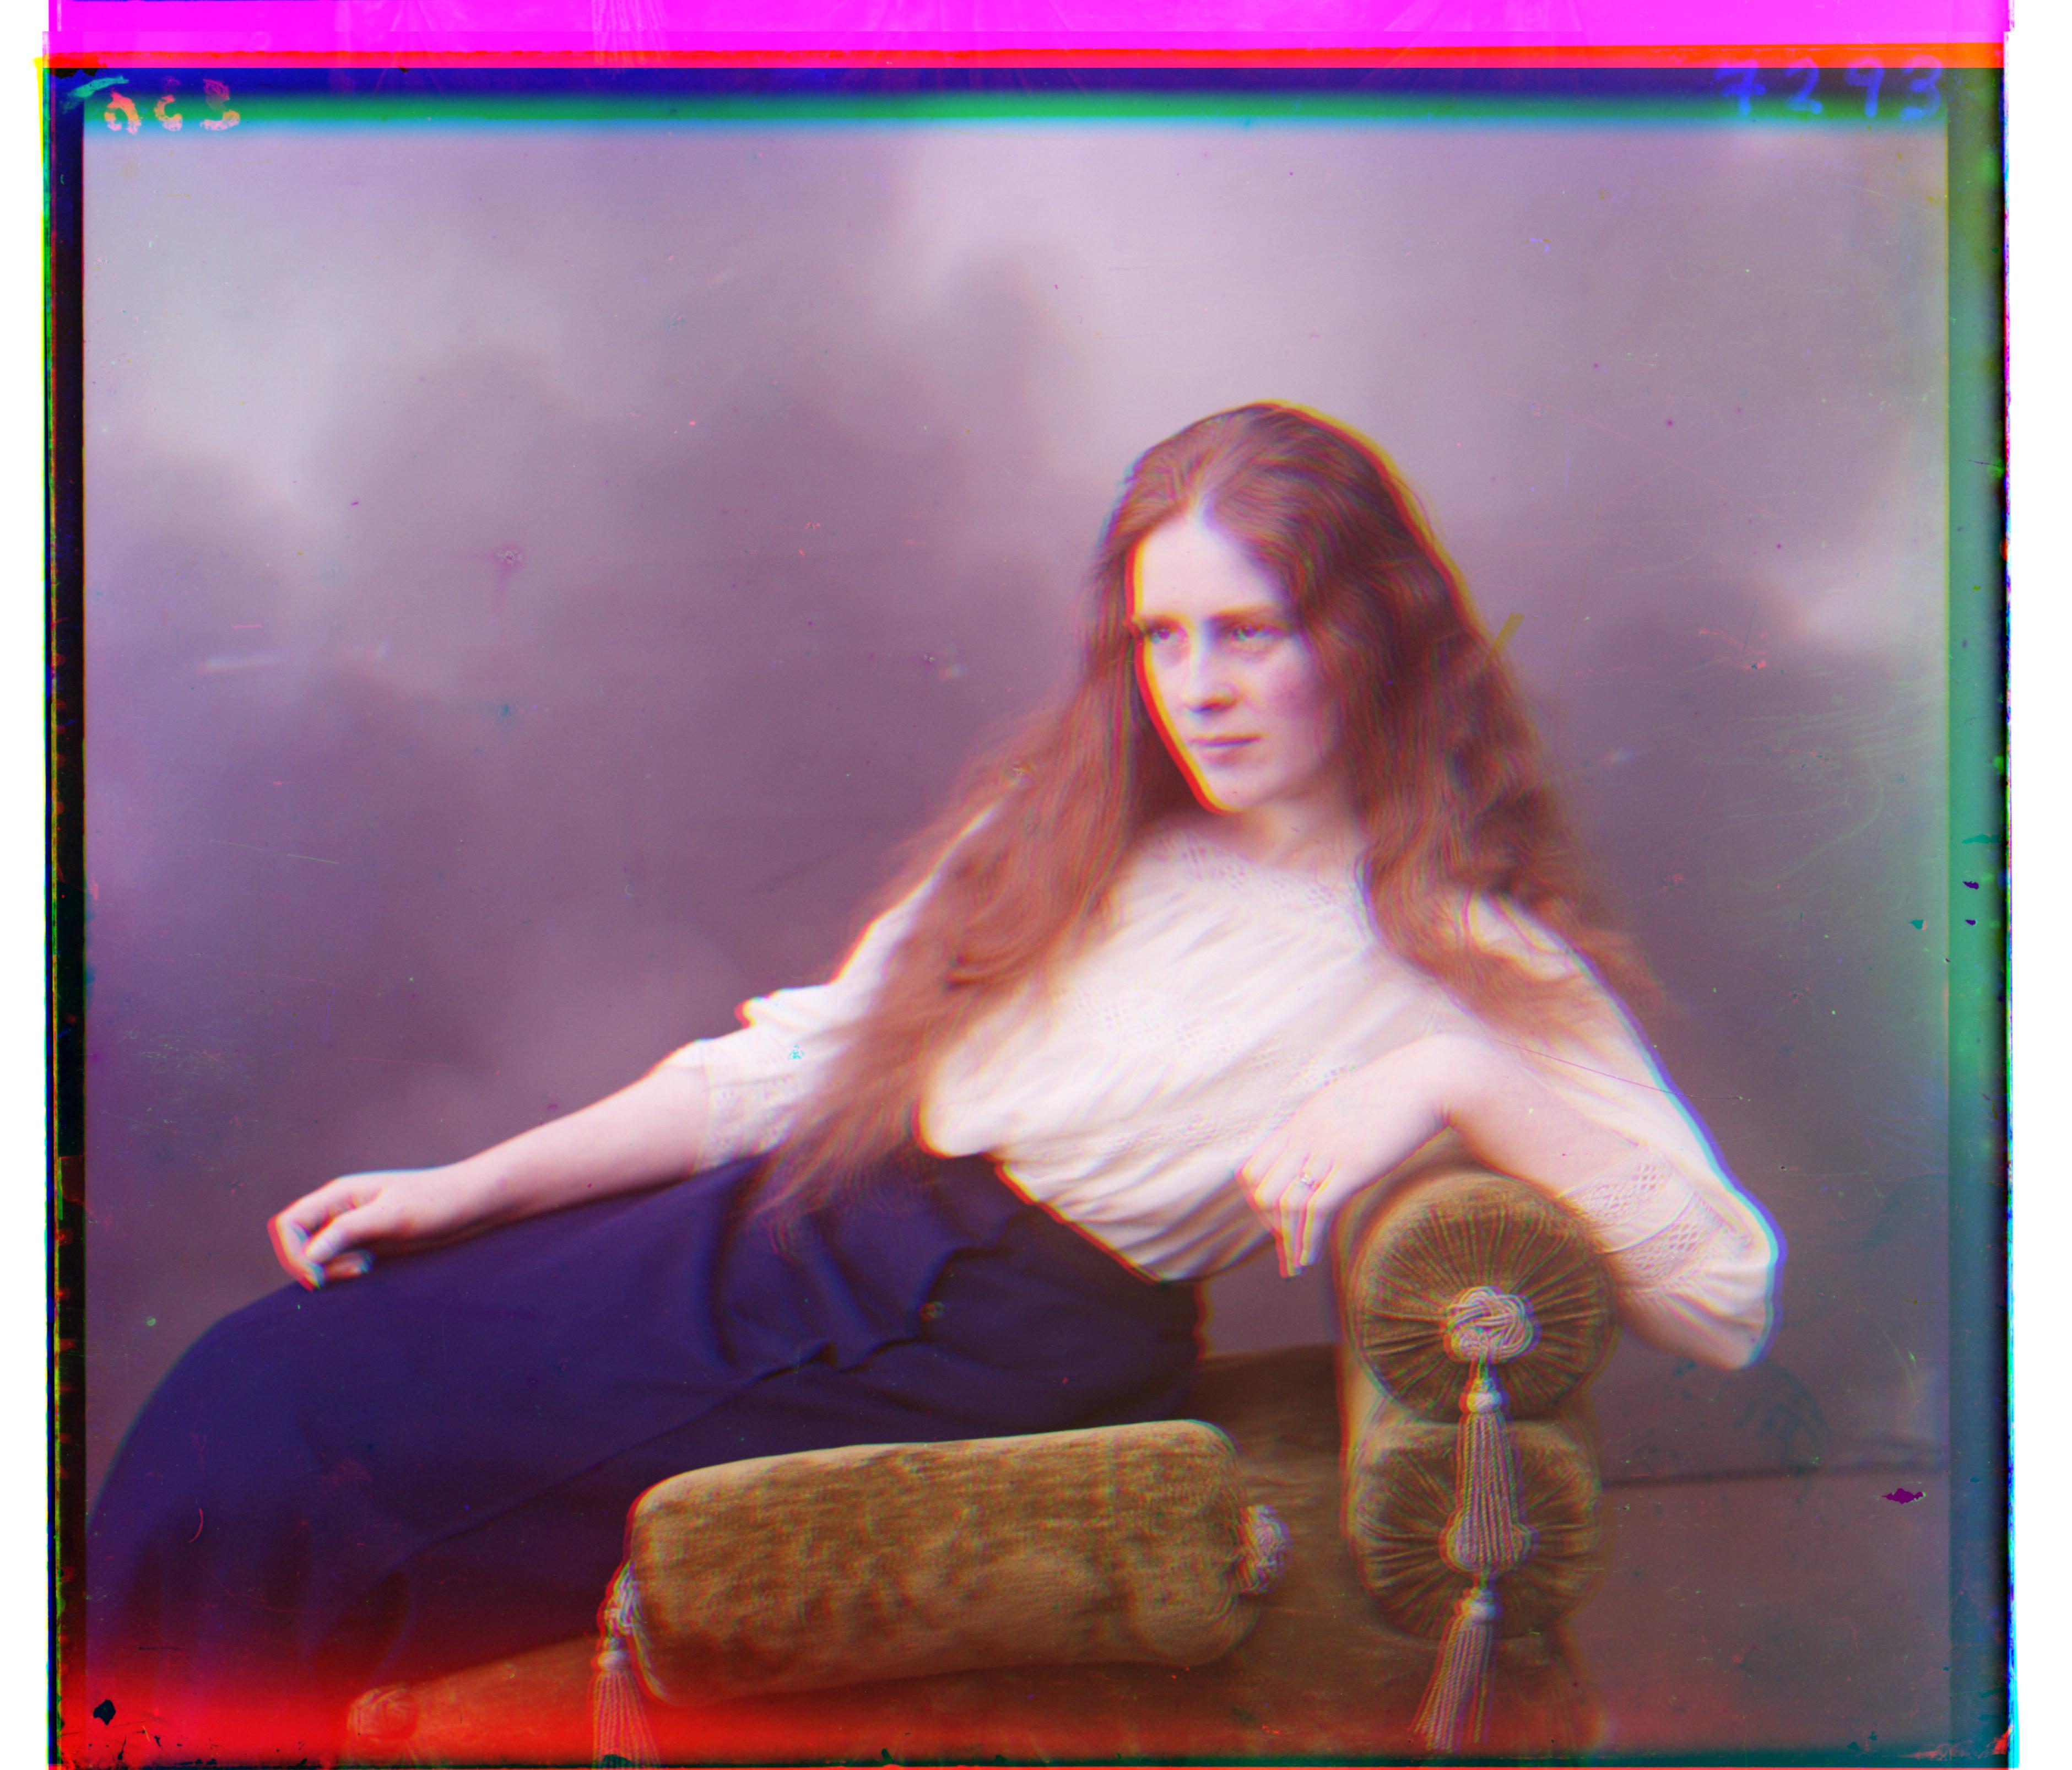
Lady image with the best offset for green to be [42, 16]
Lady image with the best offset for red to be [89, 22]

Melons image with the best offset for green to be [83, 4]
Melons image with the best offset for red to be [176, 7]
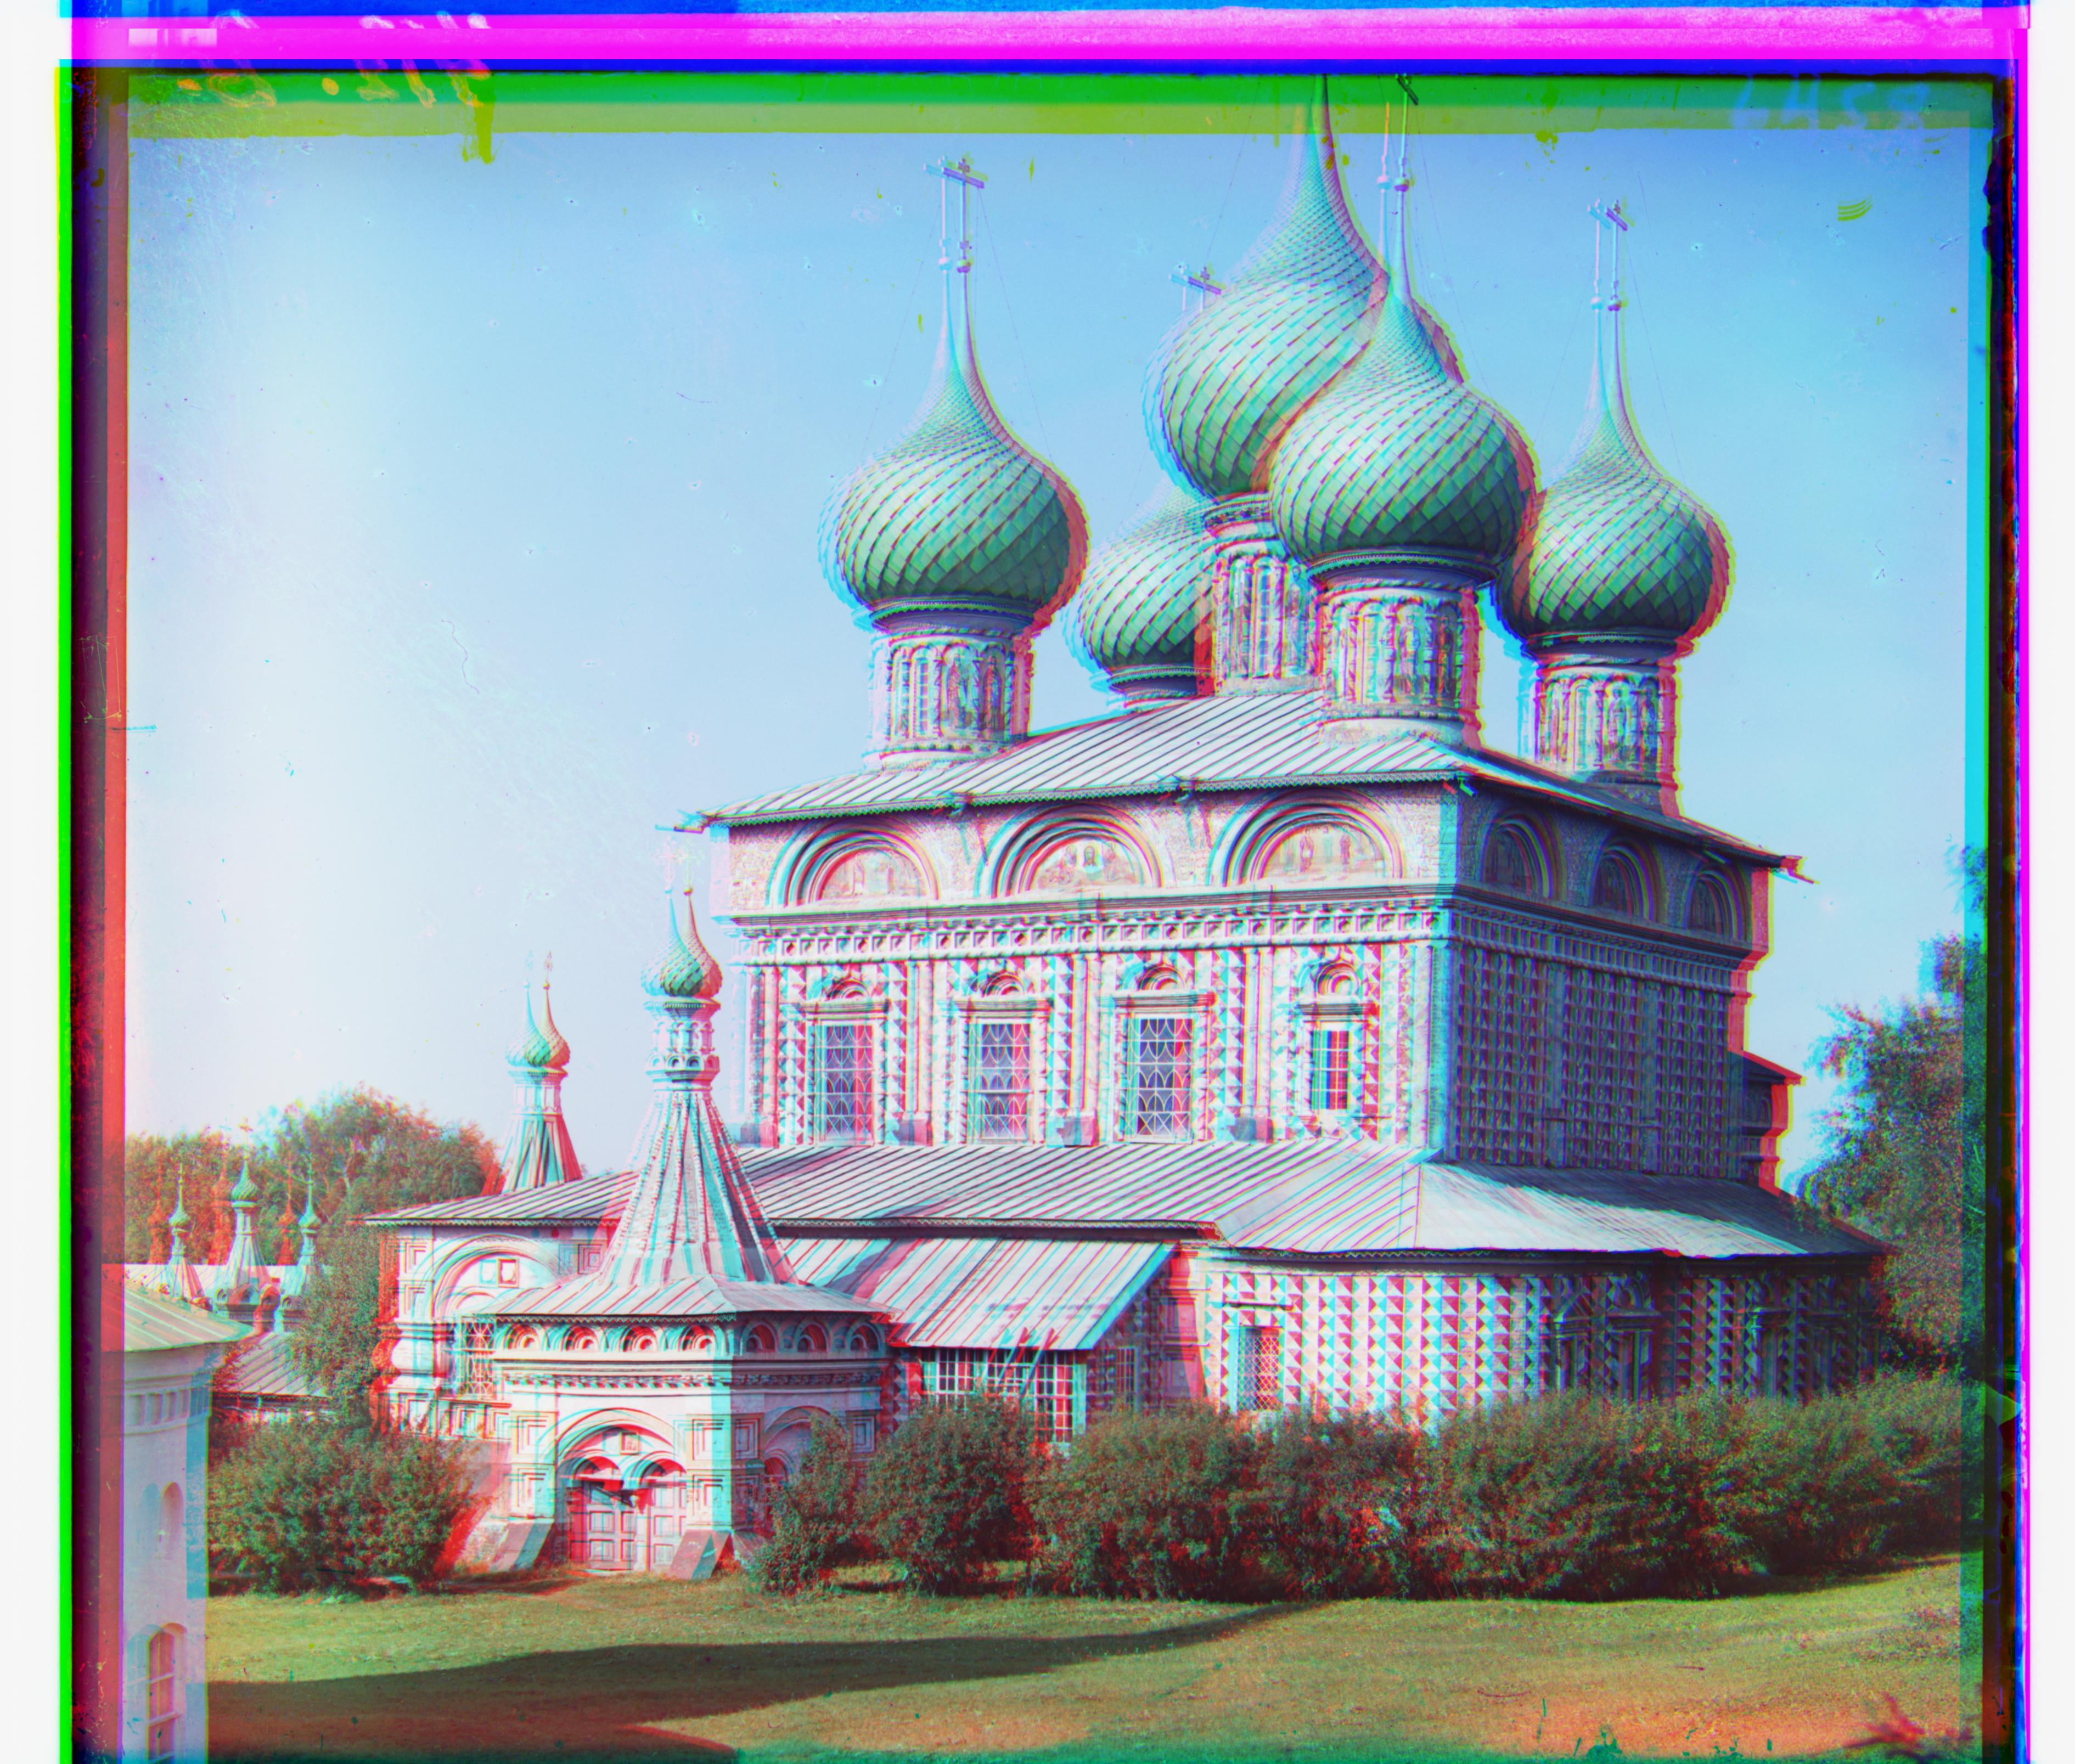
Onion Church image with the best offset for green to be [52, 22]
Onion Church image with the best offset for red to be [108, 0]
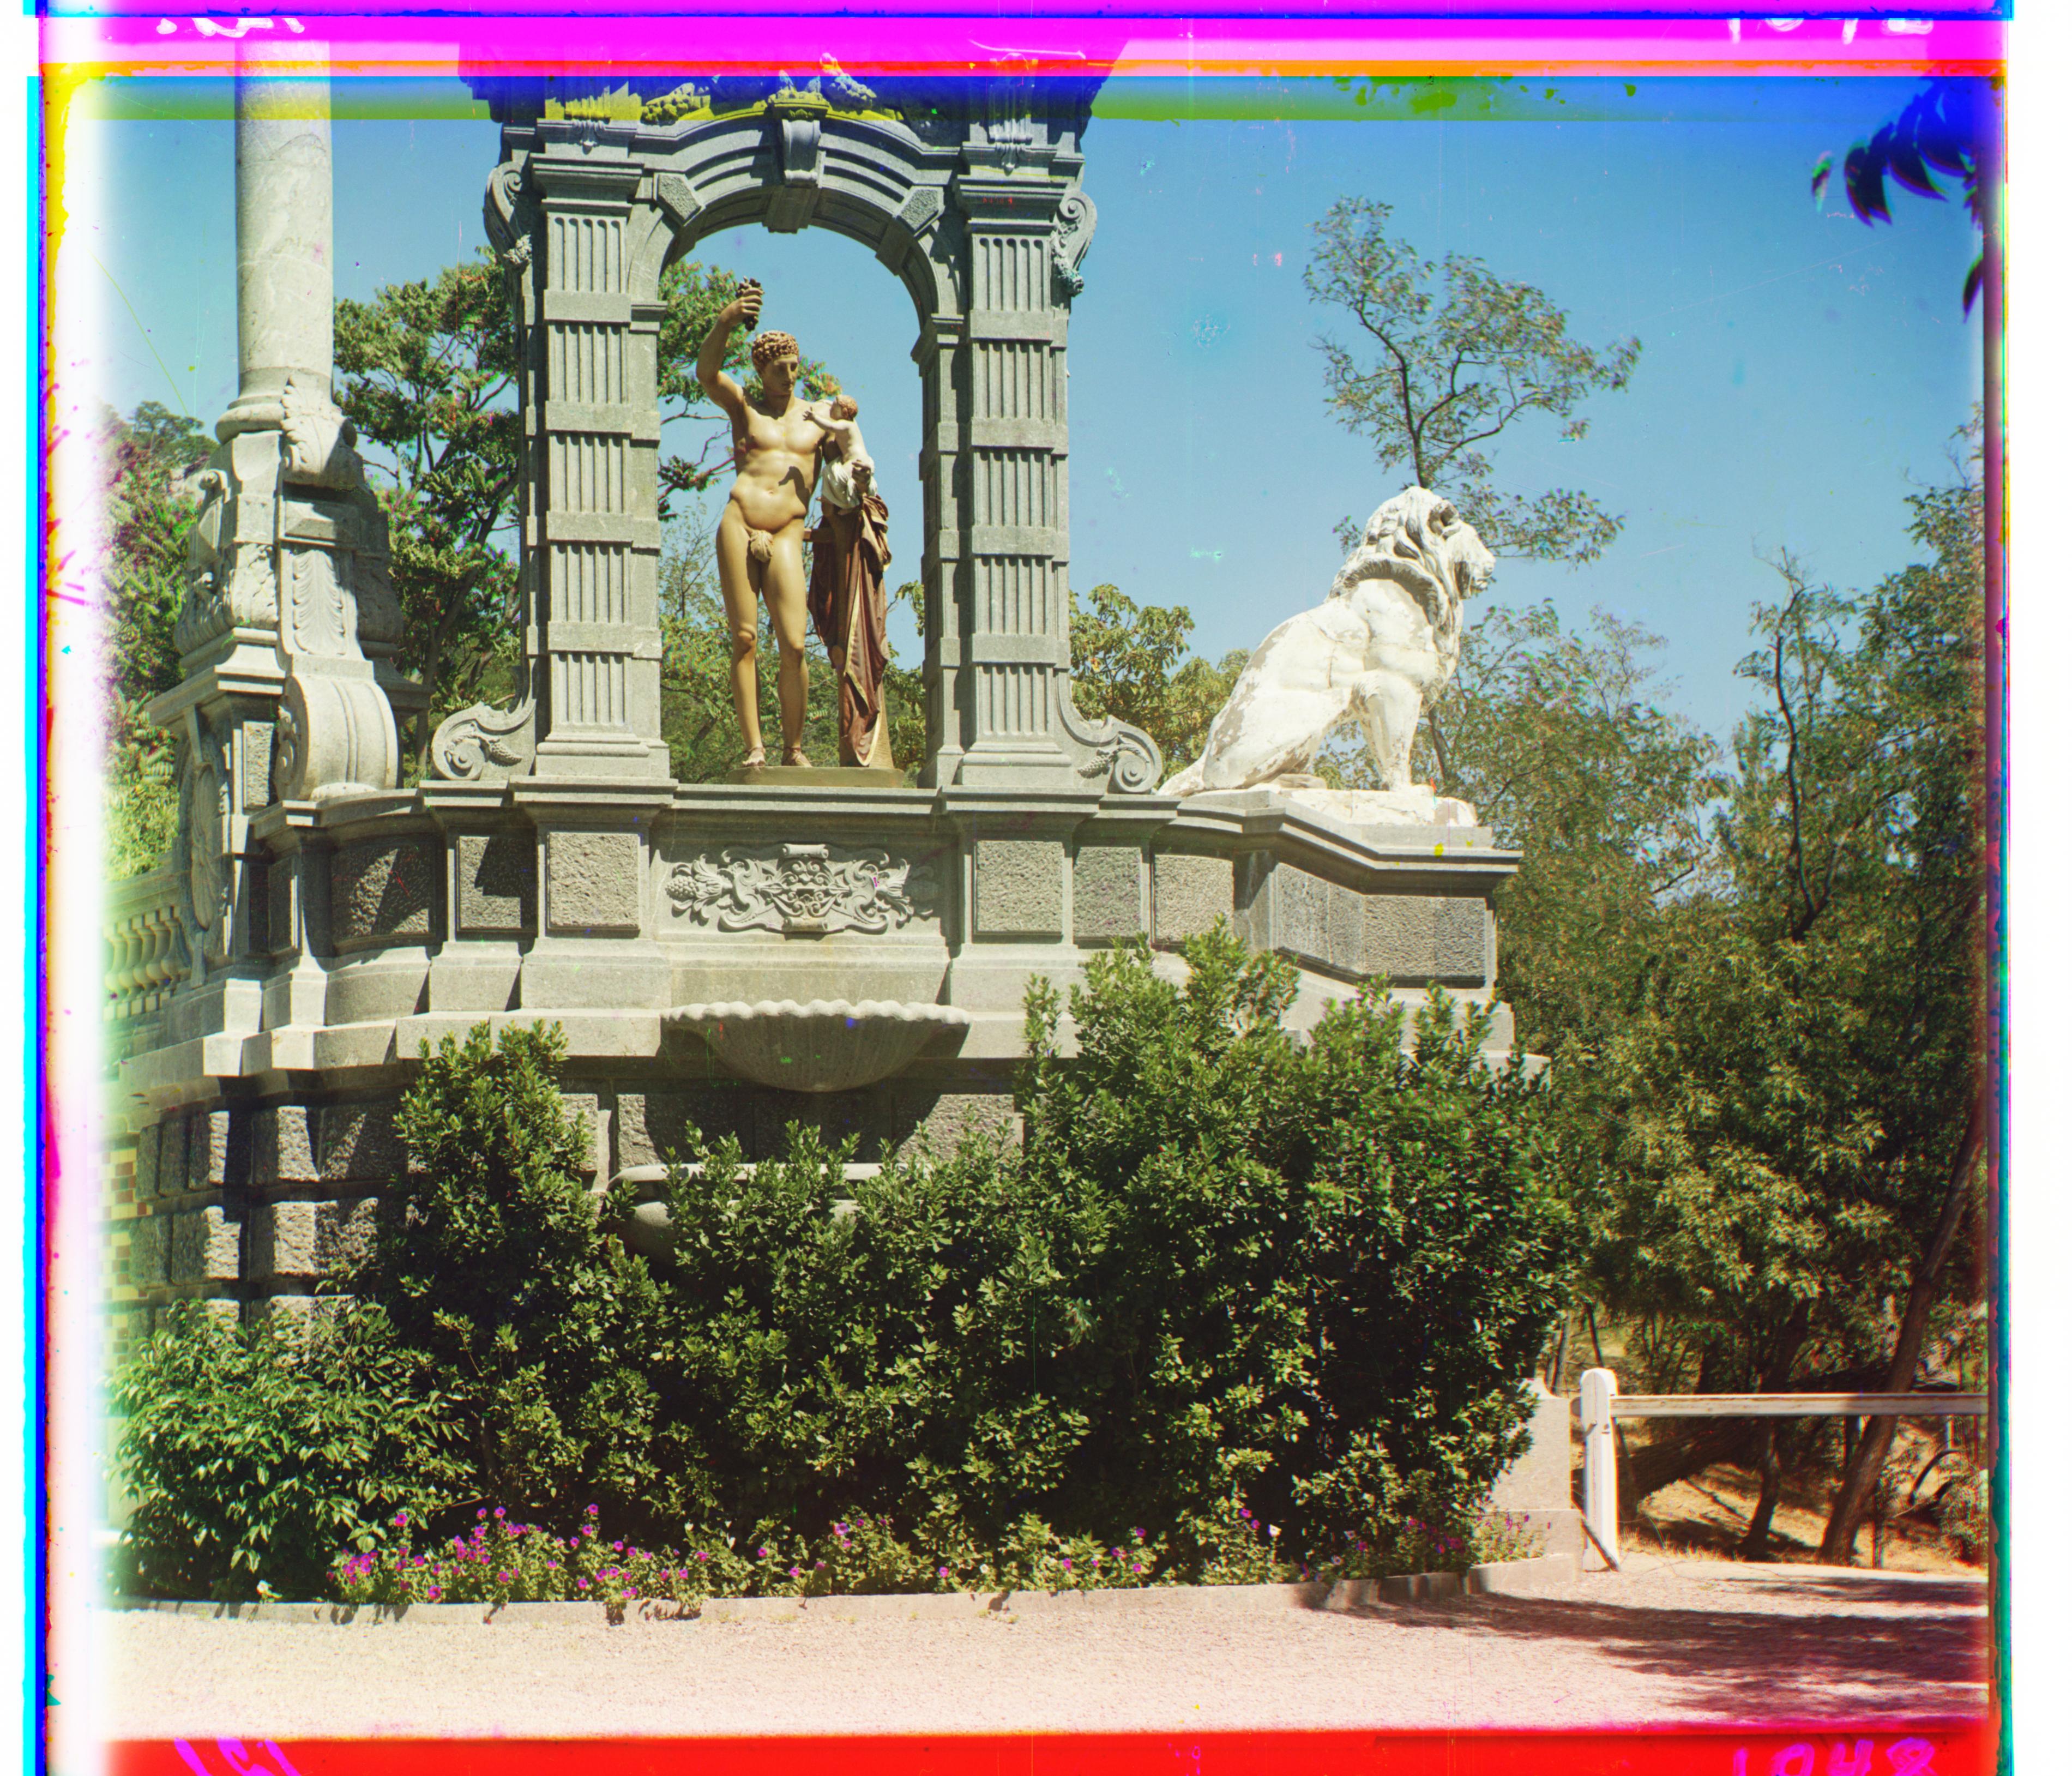
Sculpture image with the best offset for green to be [33, -11]
Sculpture image with the best offset for red to be [140, -26]
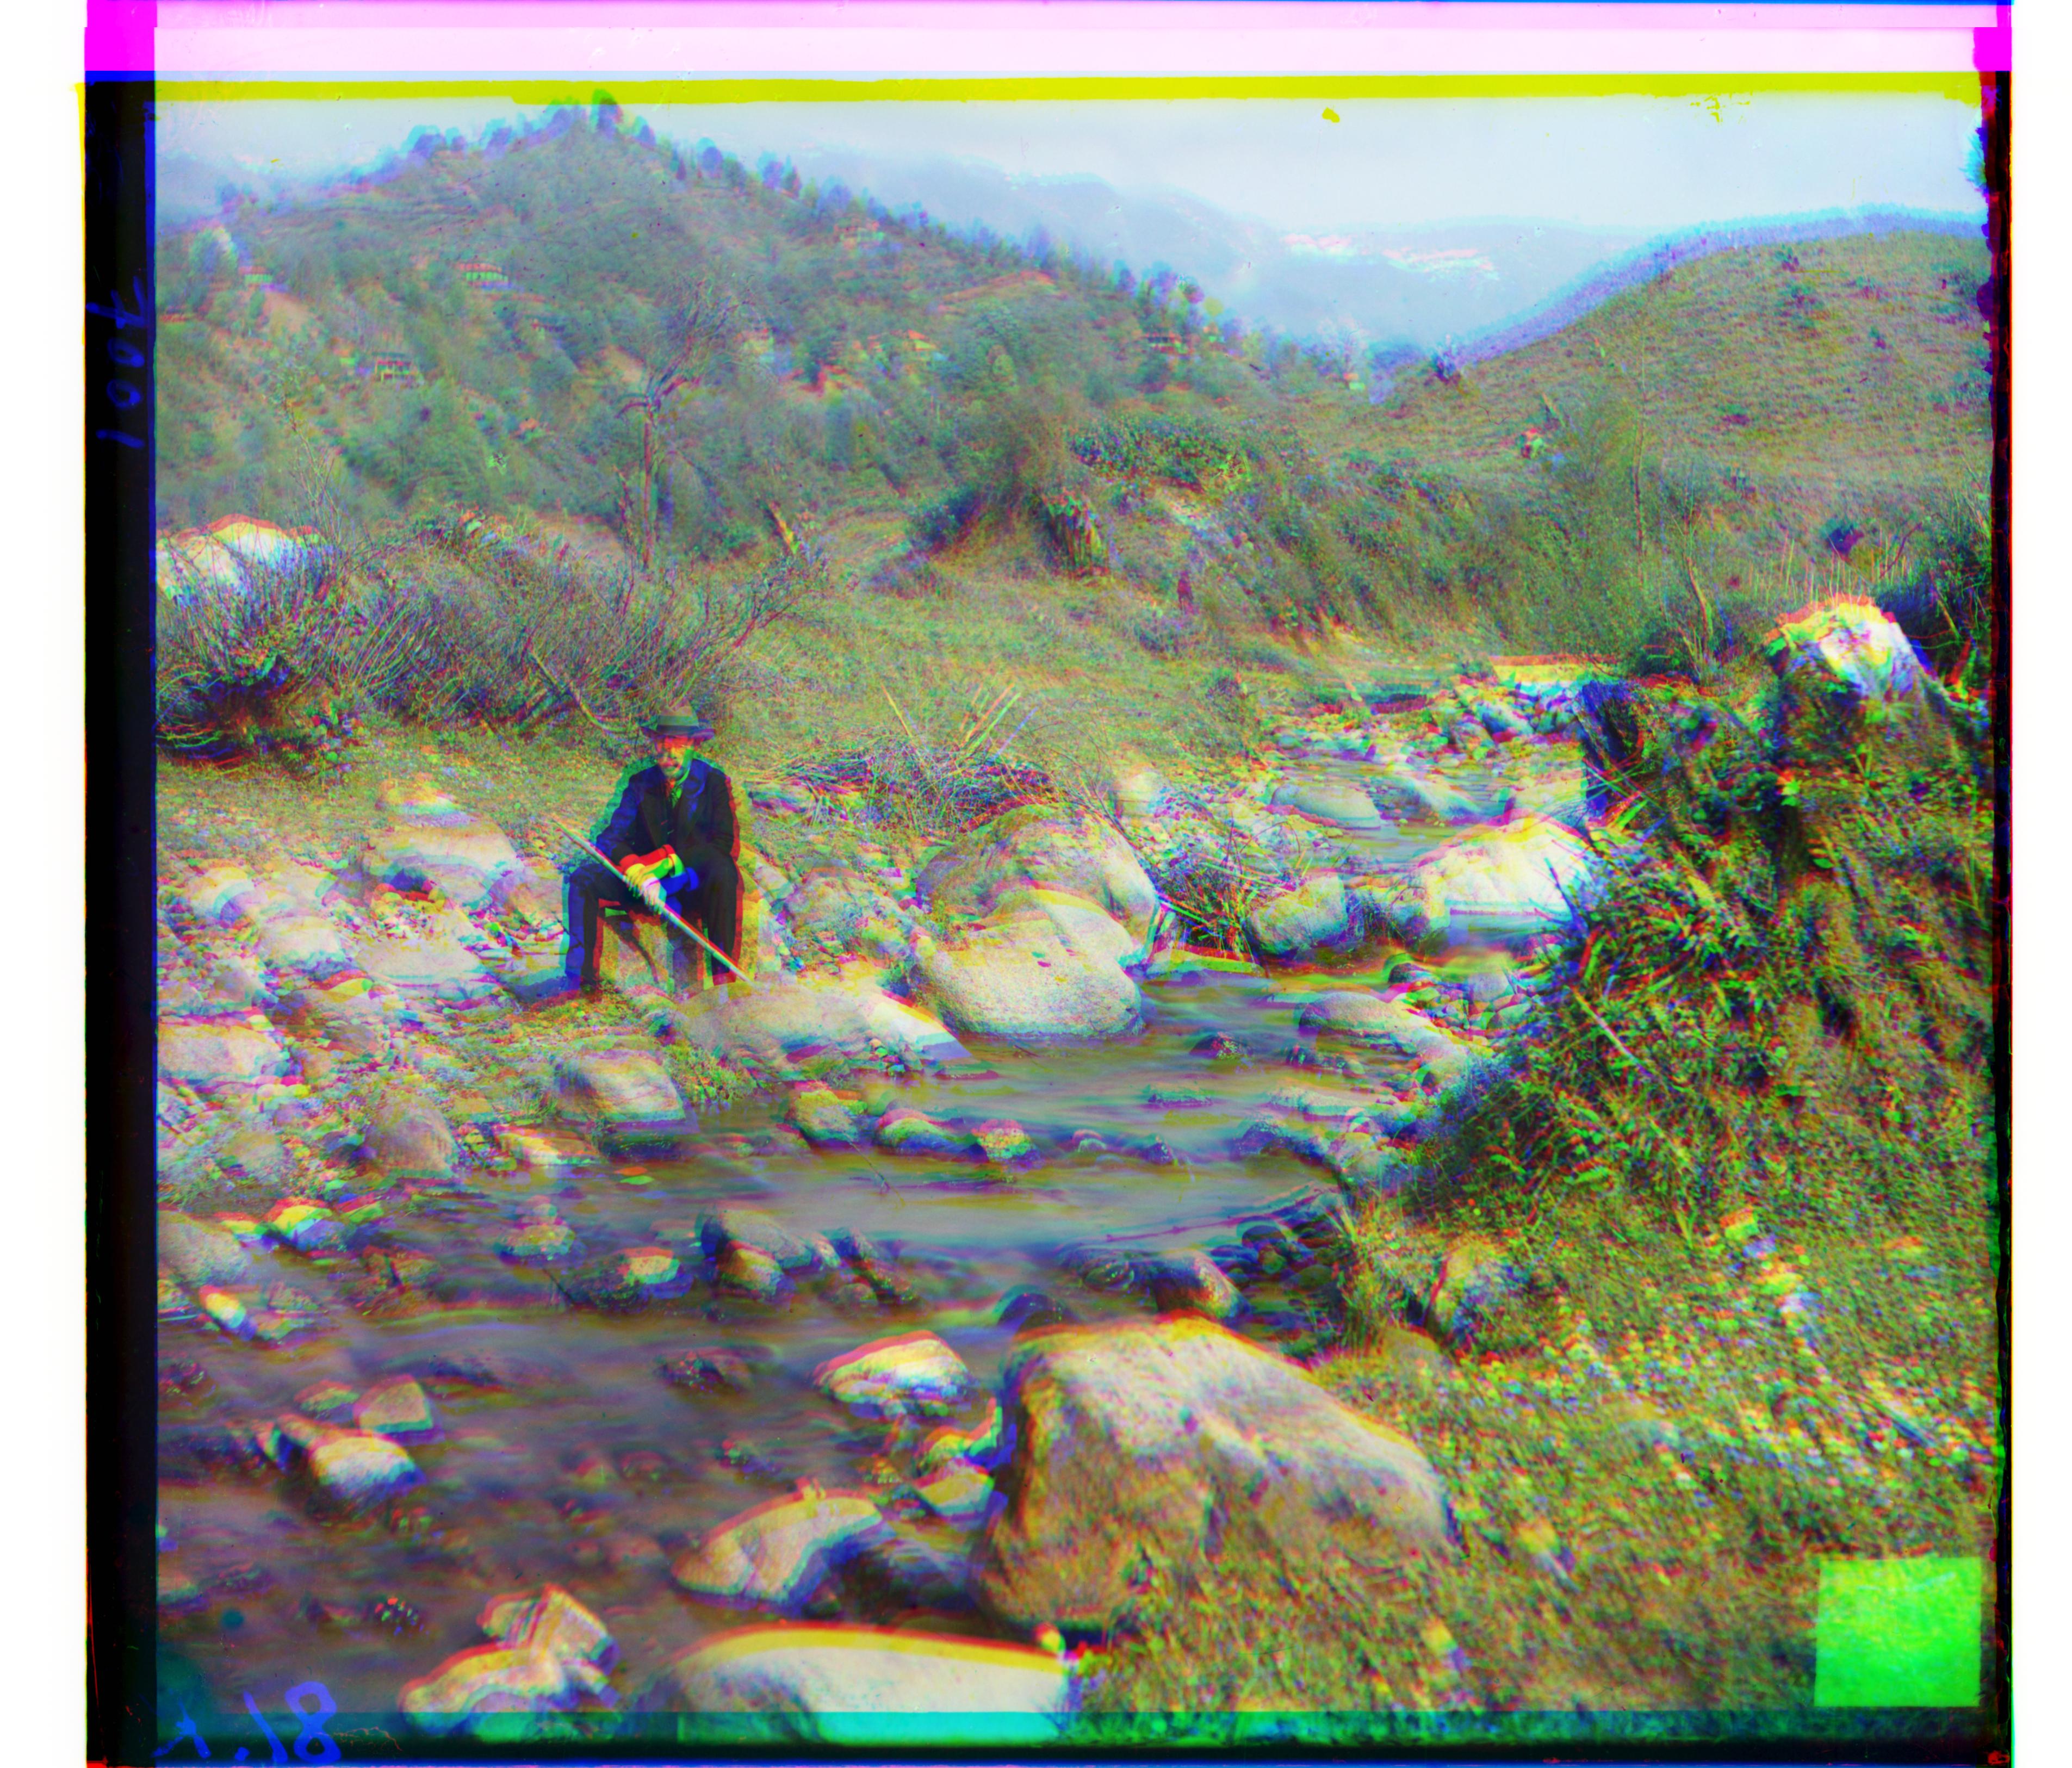
Self Portrait image with the best offset for green to be [50, -2]
Self Portrait image with the best offset for red to be [130, -5]
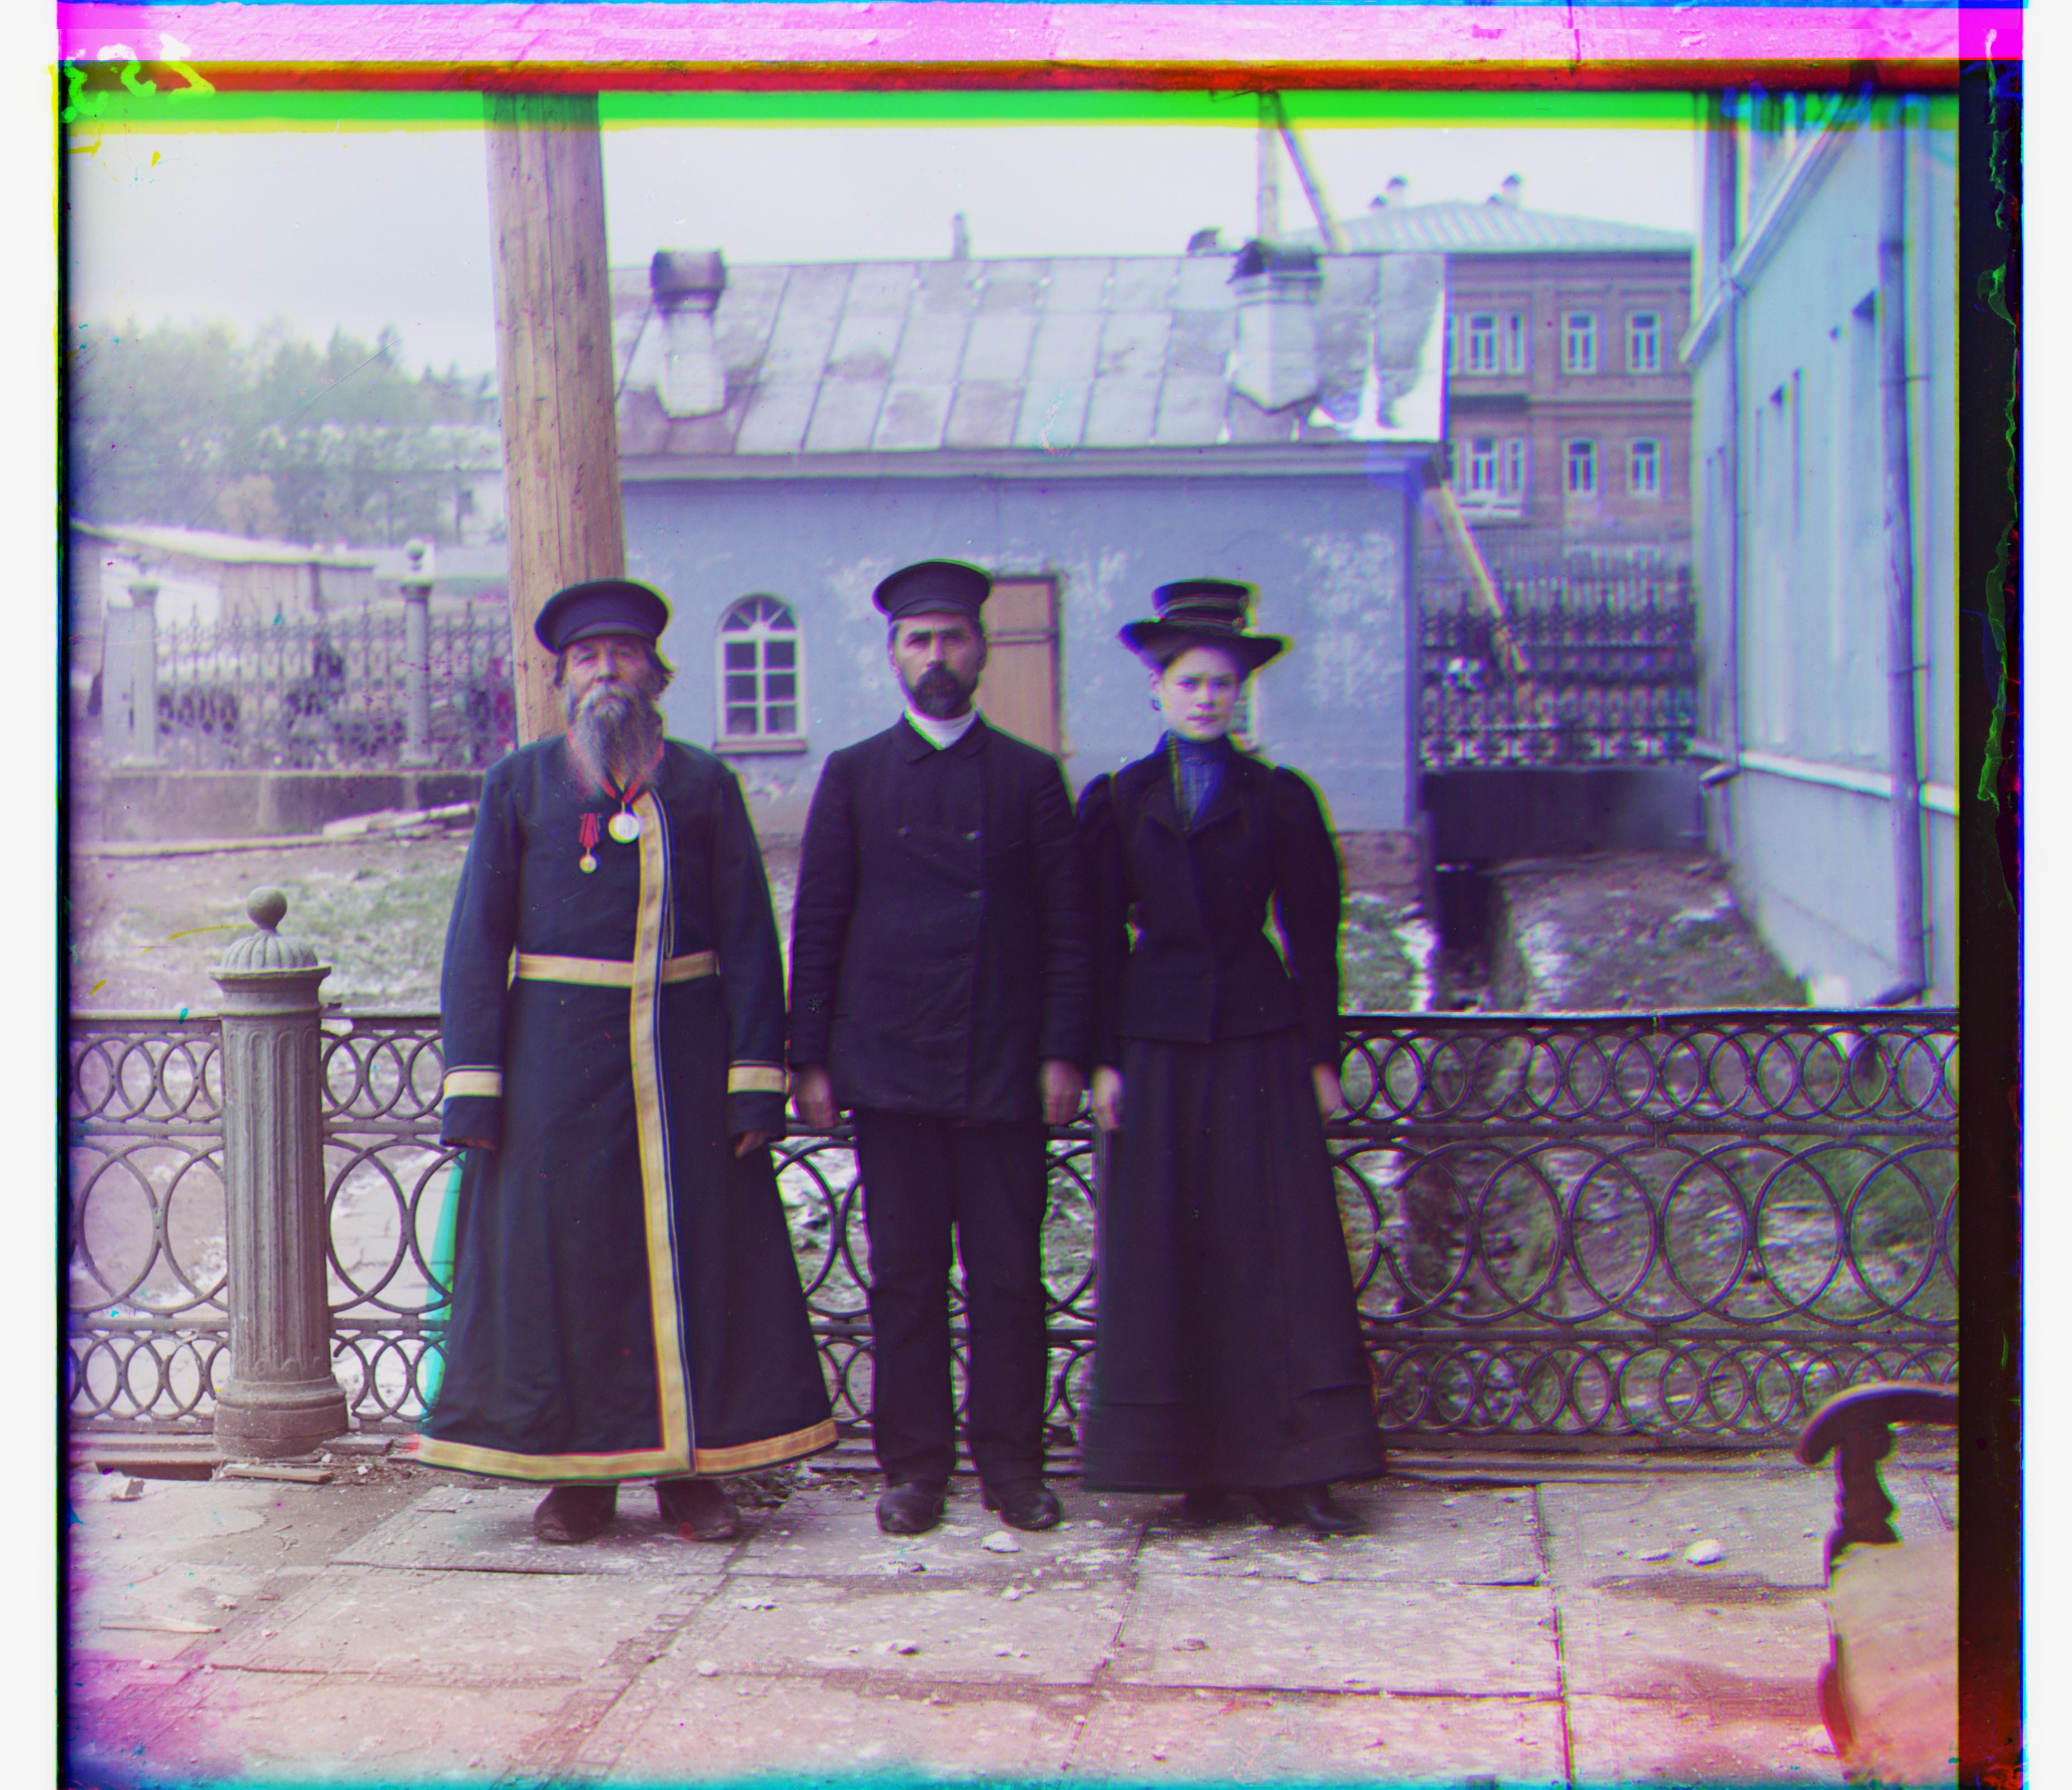
Three Generations image with the best offset for green to be [52, 5]
Three Generations image with the best offset for red to be [108, 7]
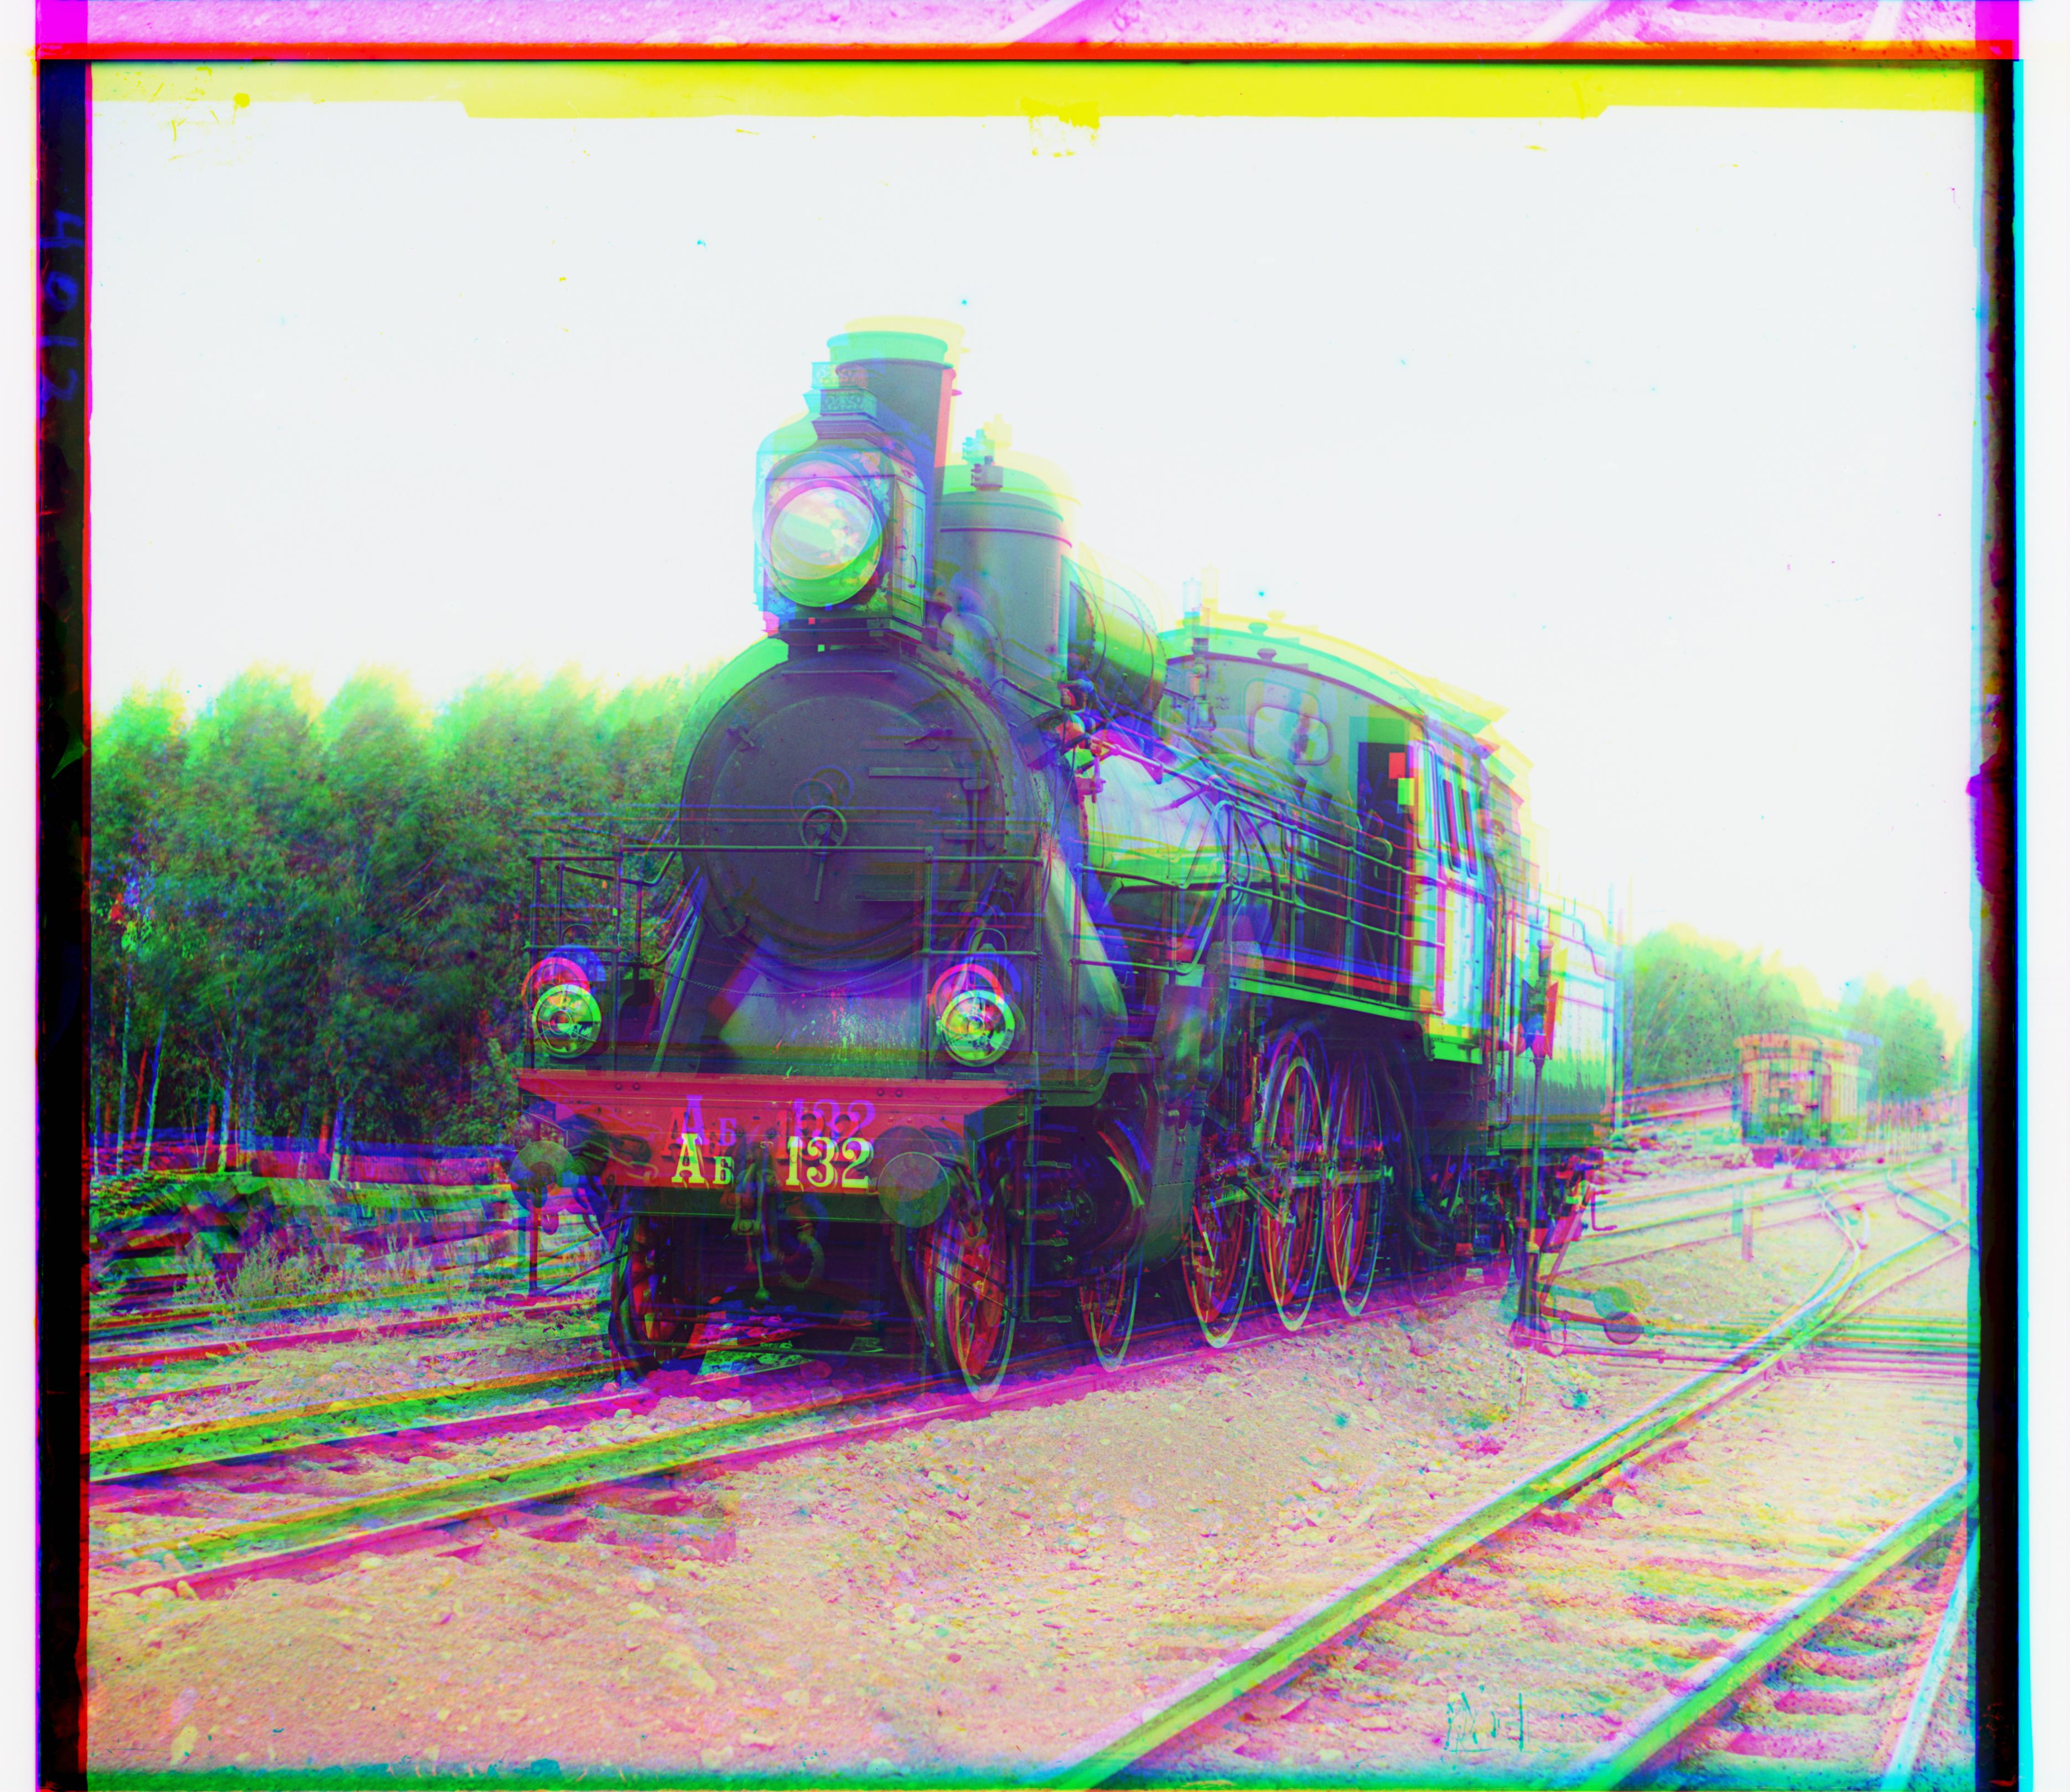
Train image with the best offset for green to be [111, -7]
Train image with the best offset for red to be [107, 1]
Improvement
We will try to improve the result the first thing I decided to do is that I notice that we have a lot f very high value of image pixels especially in the edge of the image. Therefore, I decided to crop the image to focus only about 80% of the image so that the calculation will also be faster and does not get effected by the high value of the image pixels. That is for the low resolution images. However, for the higher resolution images for the smallest image I crop the image to 90% of the image and then for the rest of them I crop the image to 80% of the image. The result is shown below. As we can see that the result is much better than before. But then there is one image that we still have not align that well which is the Emir image. We will try to fix this in the next section.

with best offset for red to be [7, -1]
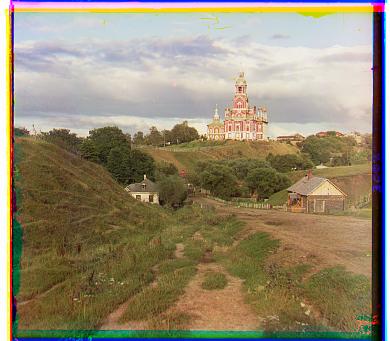
with best offset for green to be [5, 2]
with best offset for red to be [12, 3]

with best offset for green to be [-6, 0]
with best offset for red to be [9, 1]
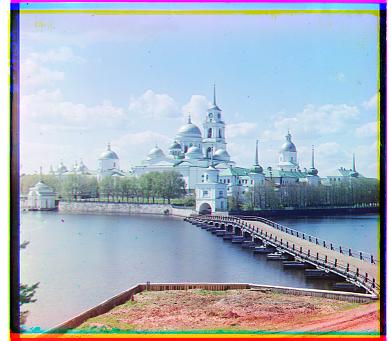
with best offset for green to be [-3, 2]
with best offset for red to be [3, 2]

with best offset for green to be [3, 2]
with best offset for red to be [6, 3]
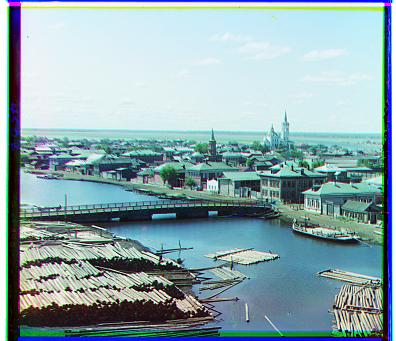
with best offset for green to be [3, 3]
with best offset for red to be [6, 3]

with the best offset for green to be [0, -5]
with the best offset for red to be [52, -6]
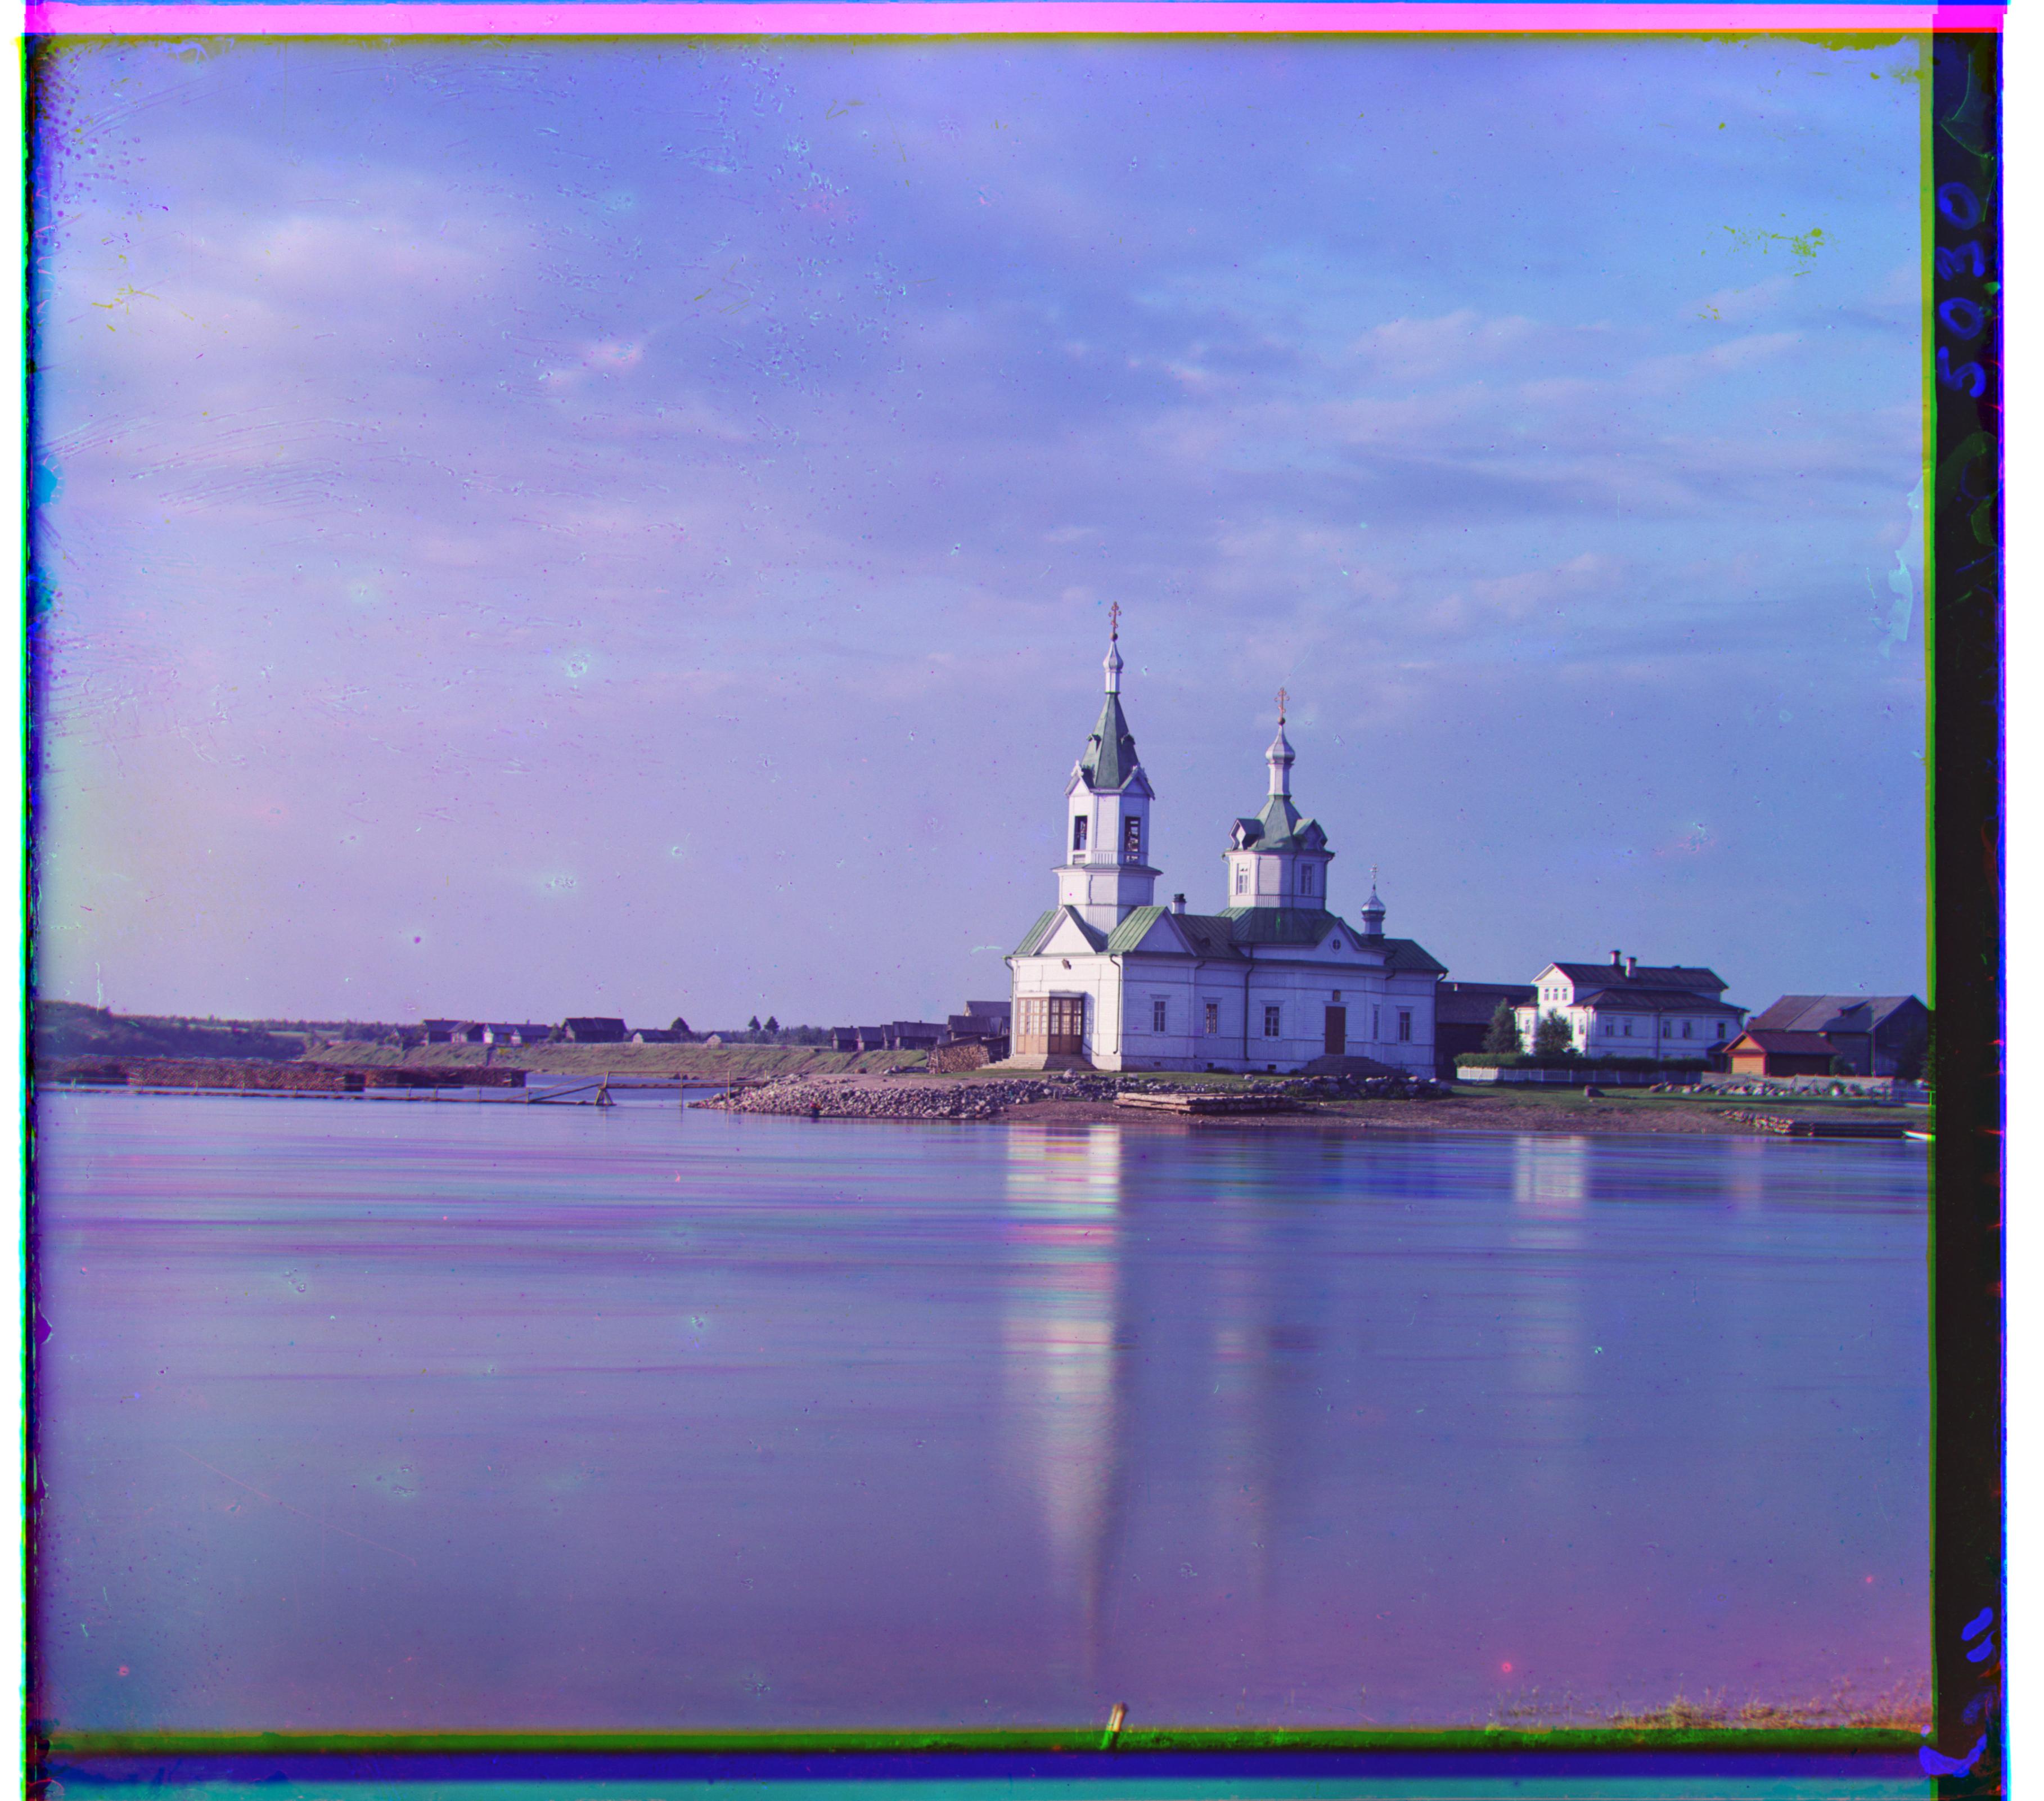
with best offset for green to be [25, 4]
with best offset for red to be [58, -4]

with the best offset for green to be [-3, 7]
with the best offset for red to be [107, 17]
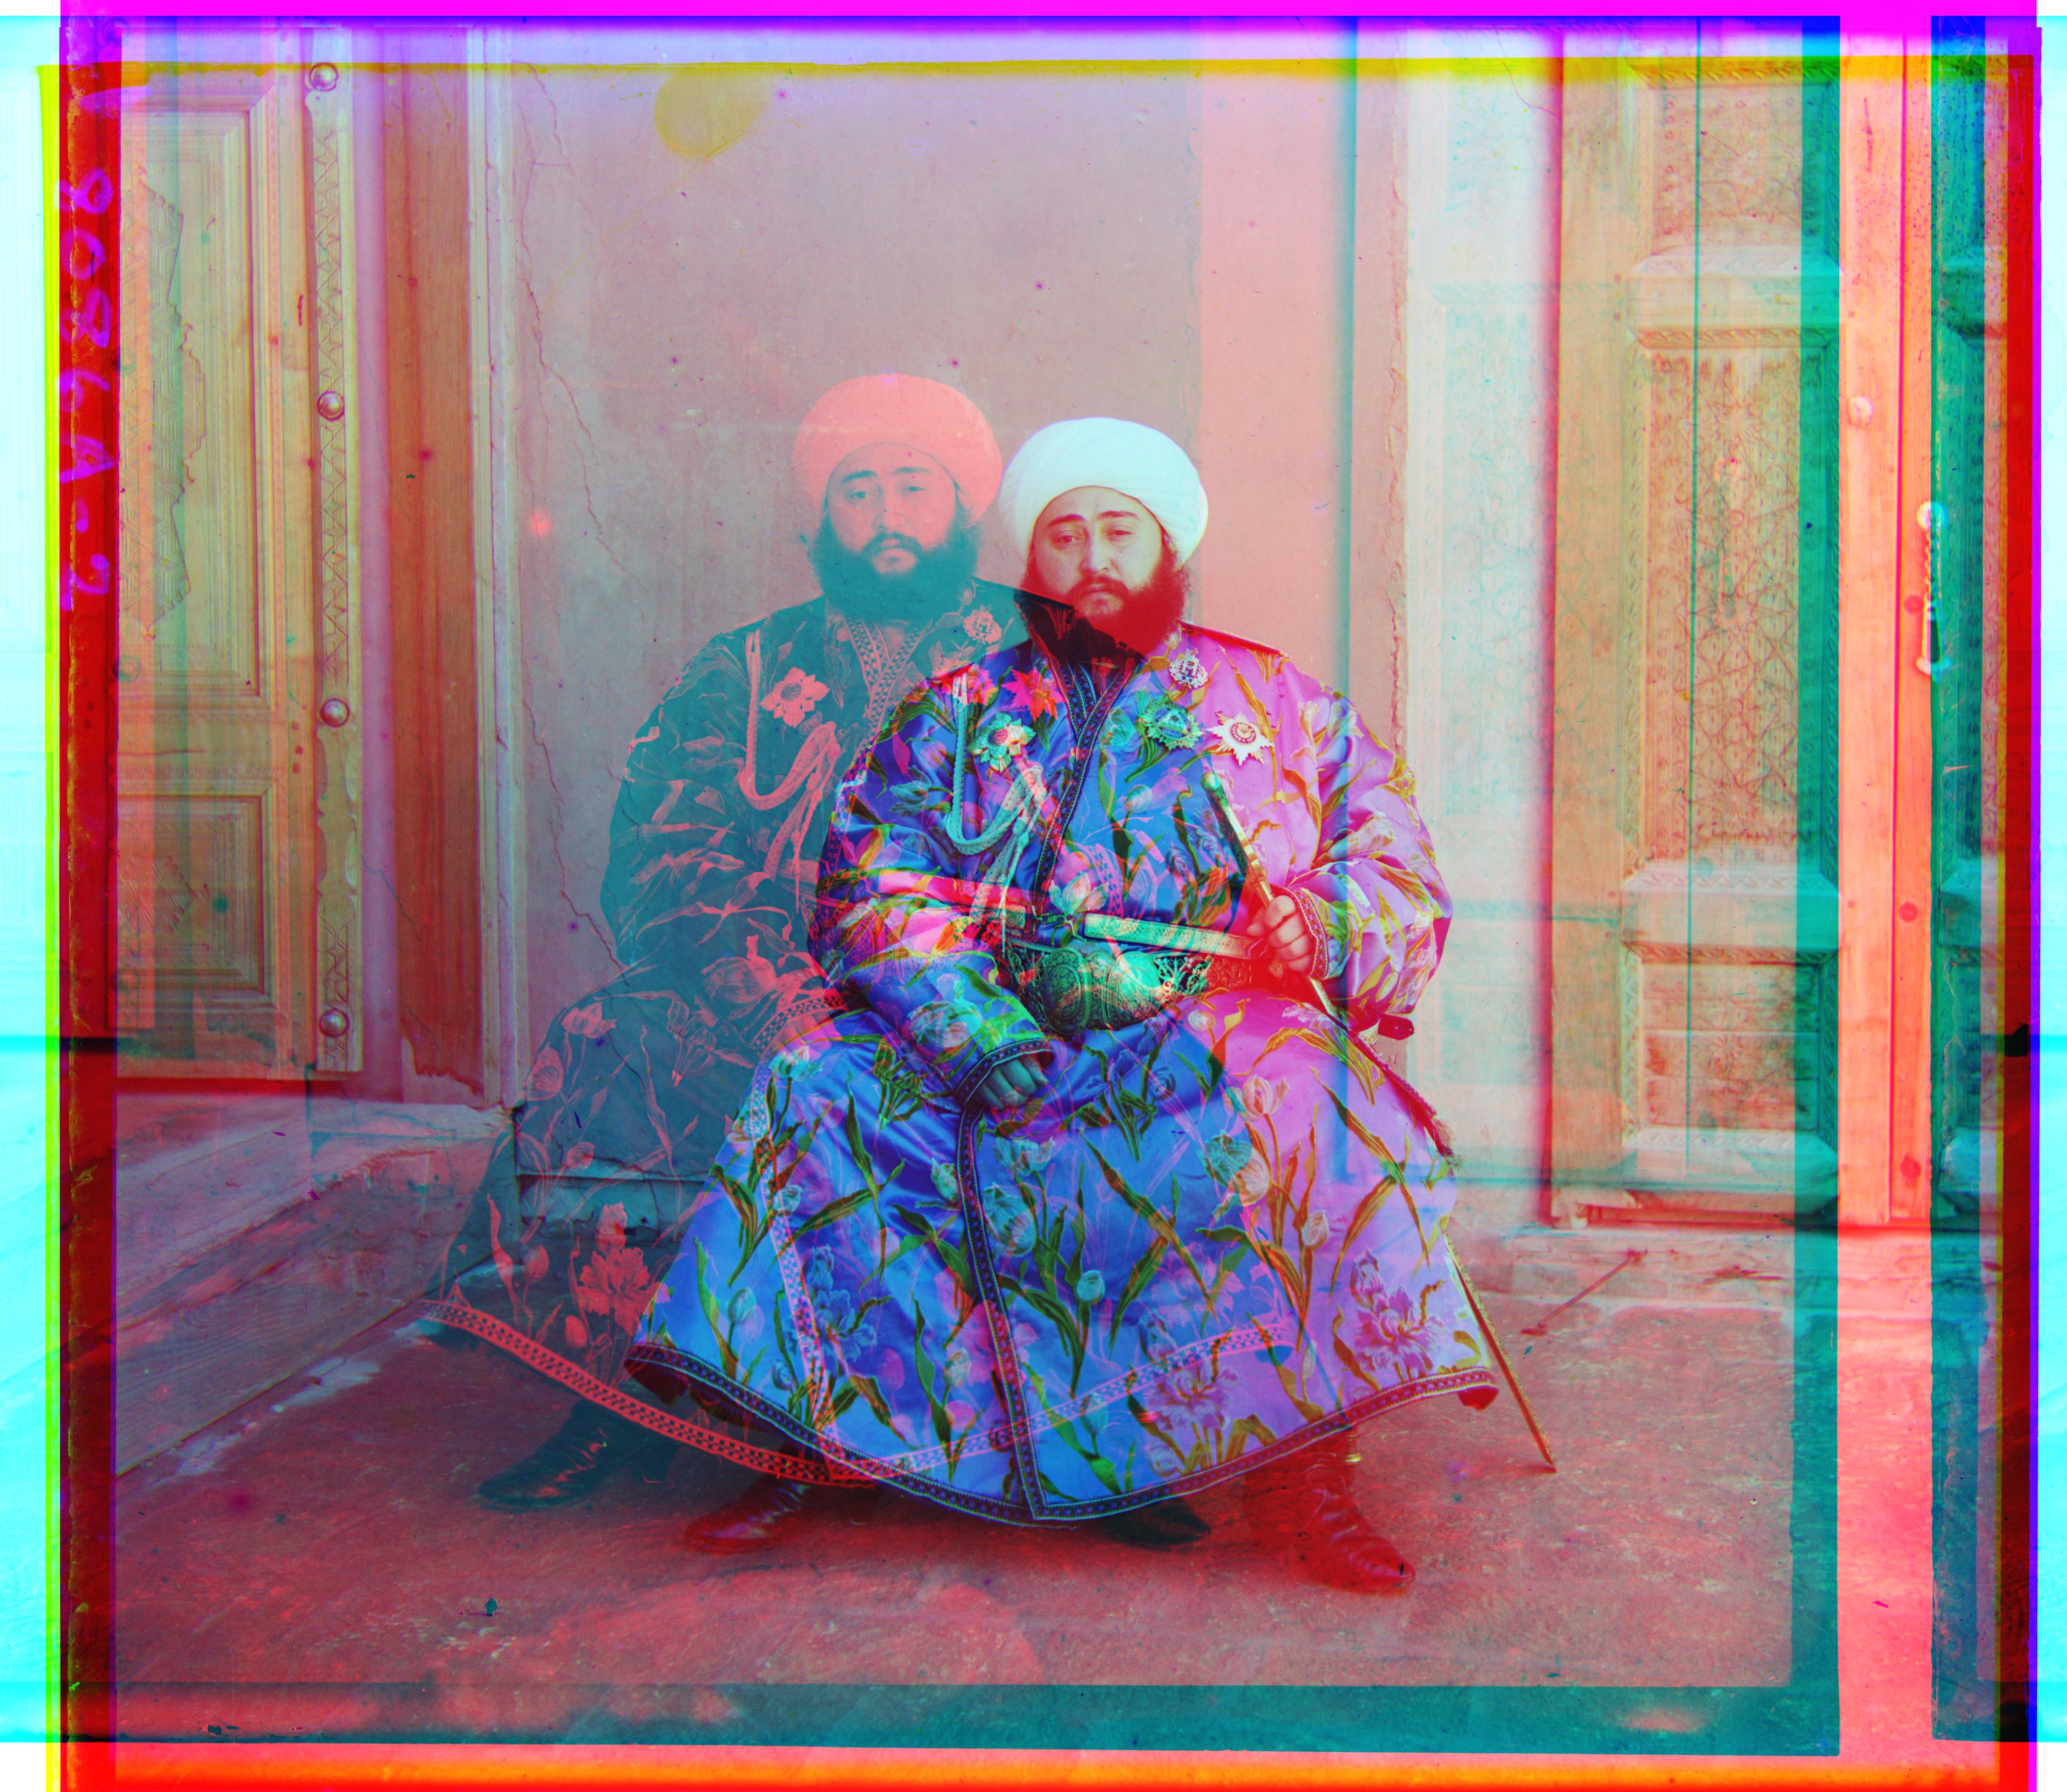
with best offset for green to be [49, 24]
with best offset for red to be [28, -328]

with the best offset for green to be [118, -3]
with the best offset for red to be [120, 7]
with best offset for green to be [60, 17]
with best offset for red to be [124, 14]
with the best offset for green to be [42, 16]
with the best offset for red to be [89, 22]
with best offset for green to be [41, 17]
with best offset for red to be [90, 23]

with the best offset for green to be [57, -6]
with the best offset for red to be [123, -7]
with best offset for green to be [56, 8]
with best offset for red to be [112, 12]
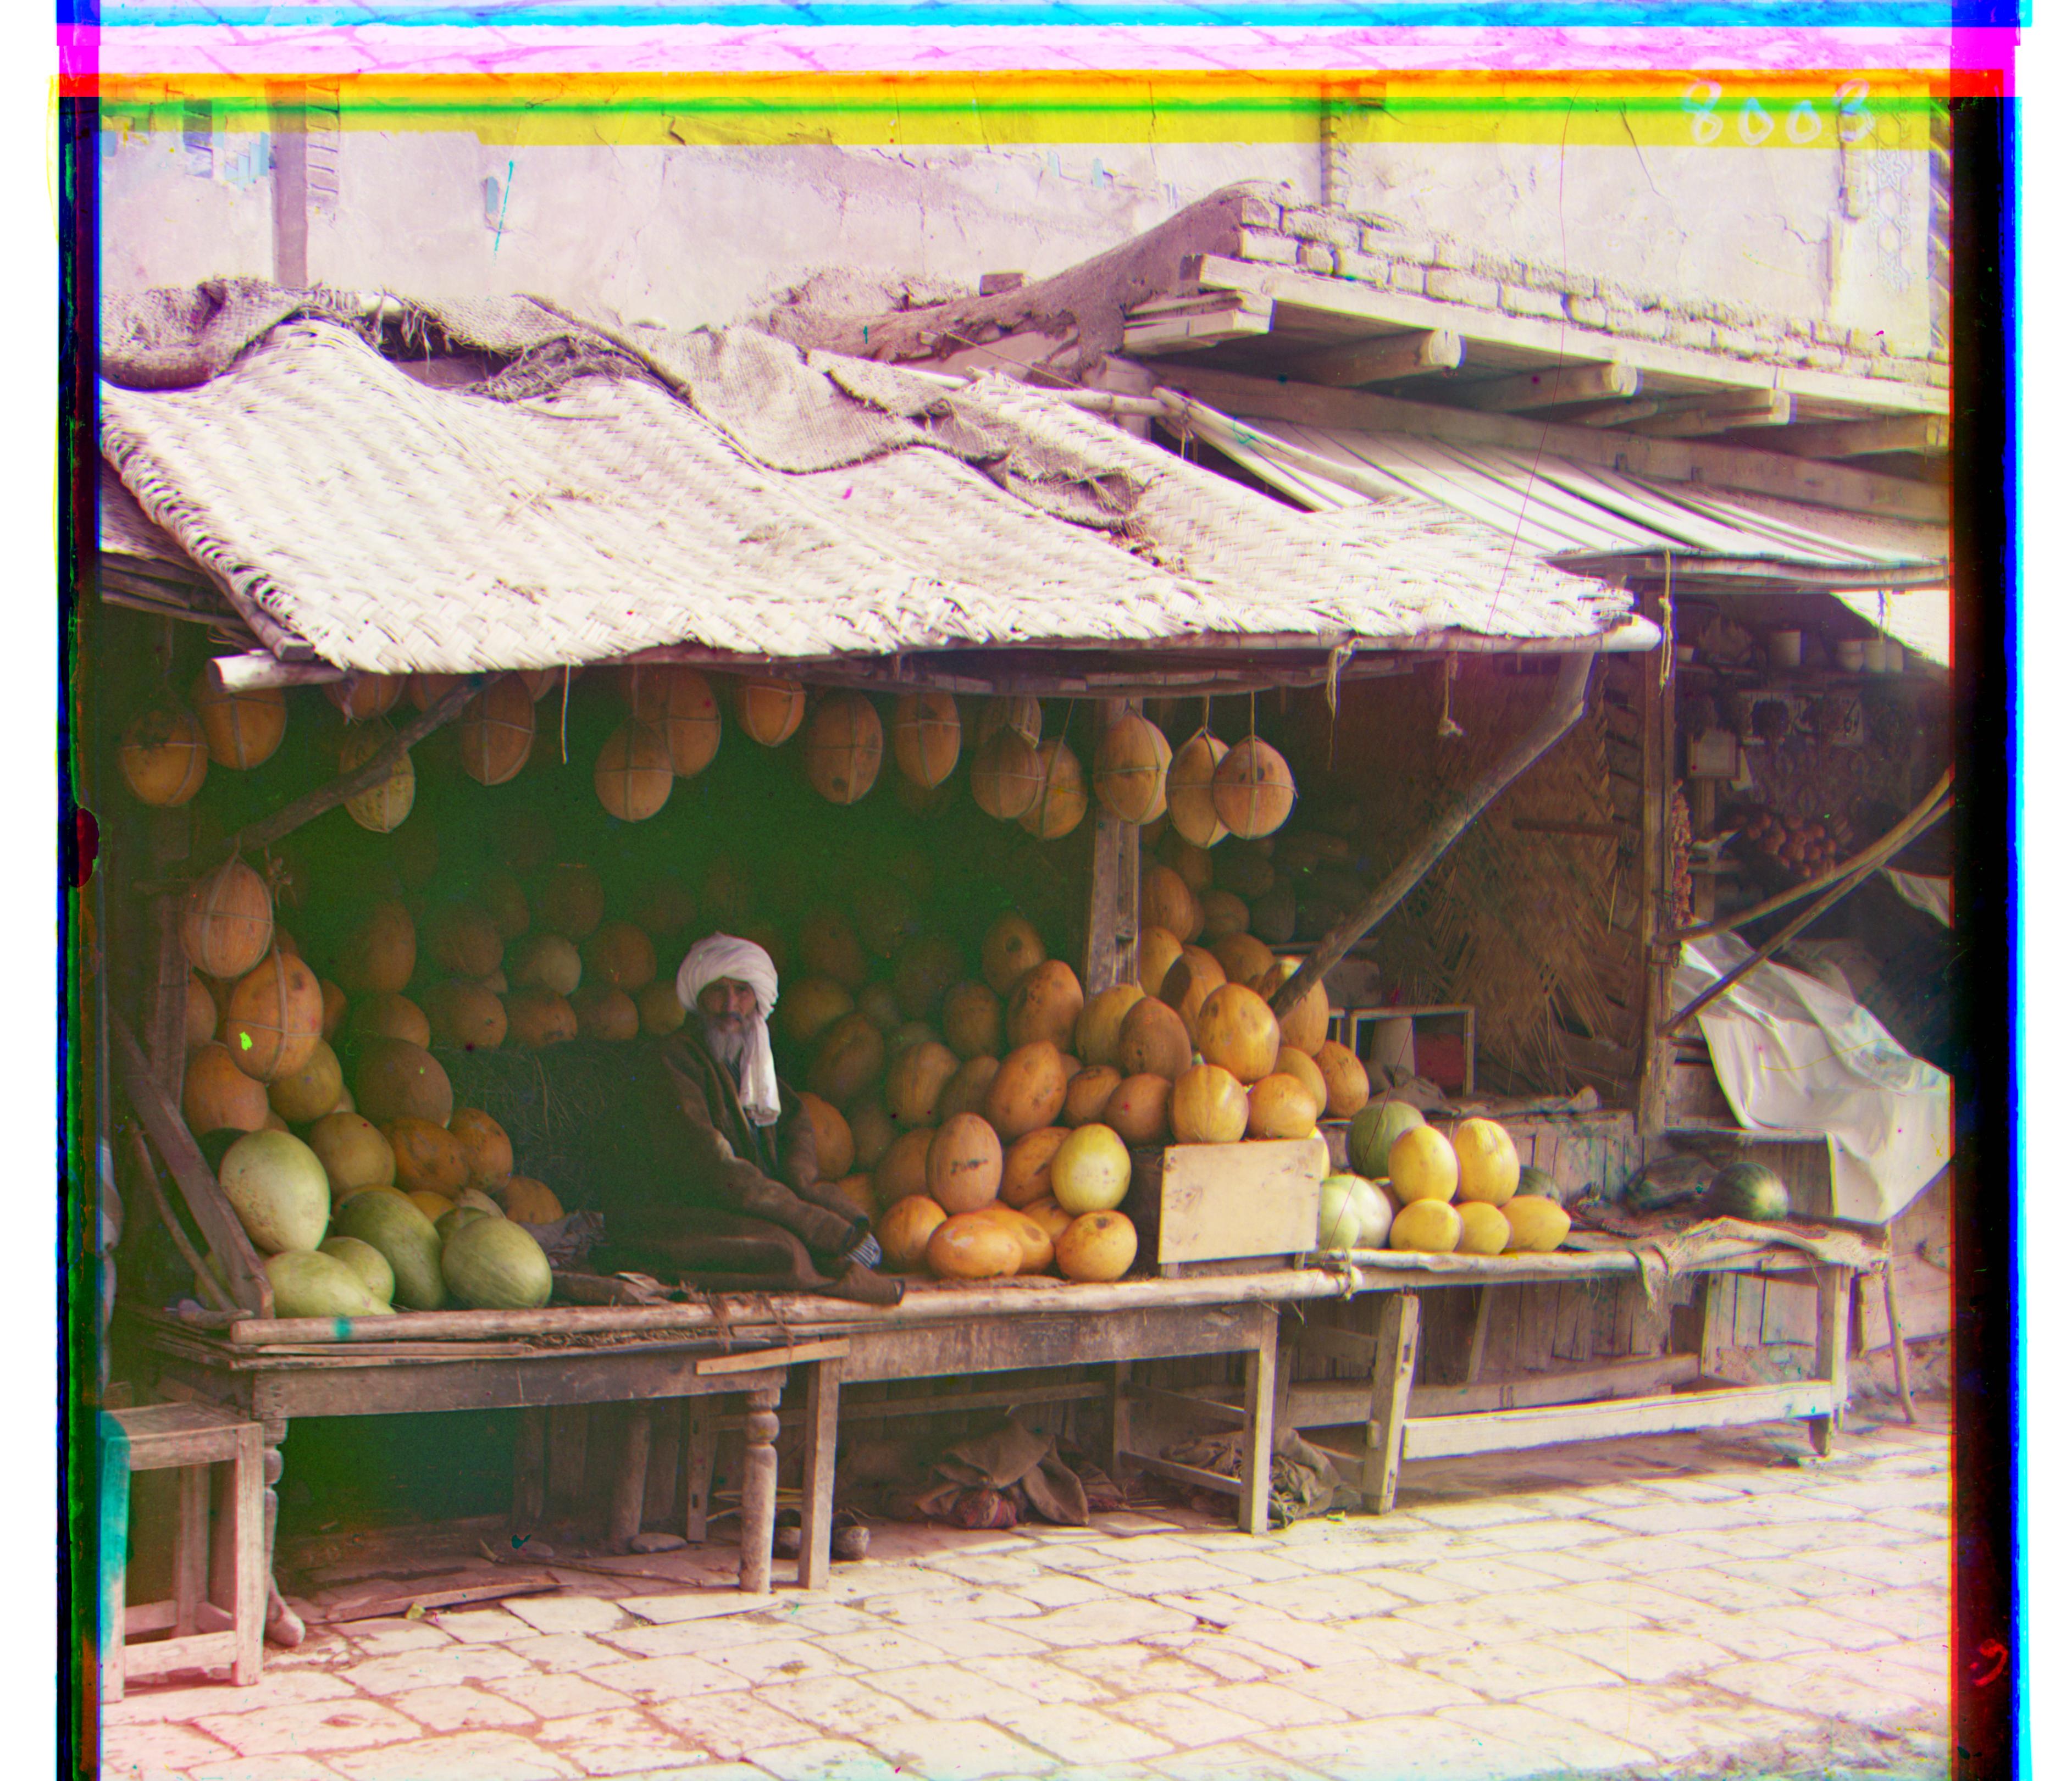
with the best offset for green to be [83, 4]
with the best offset for red to be [176, 7]
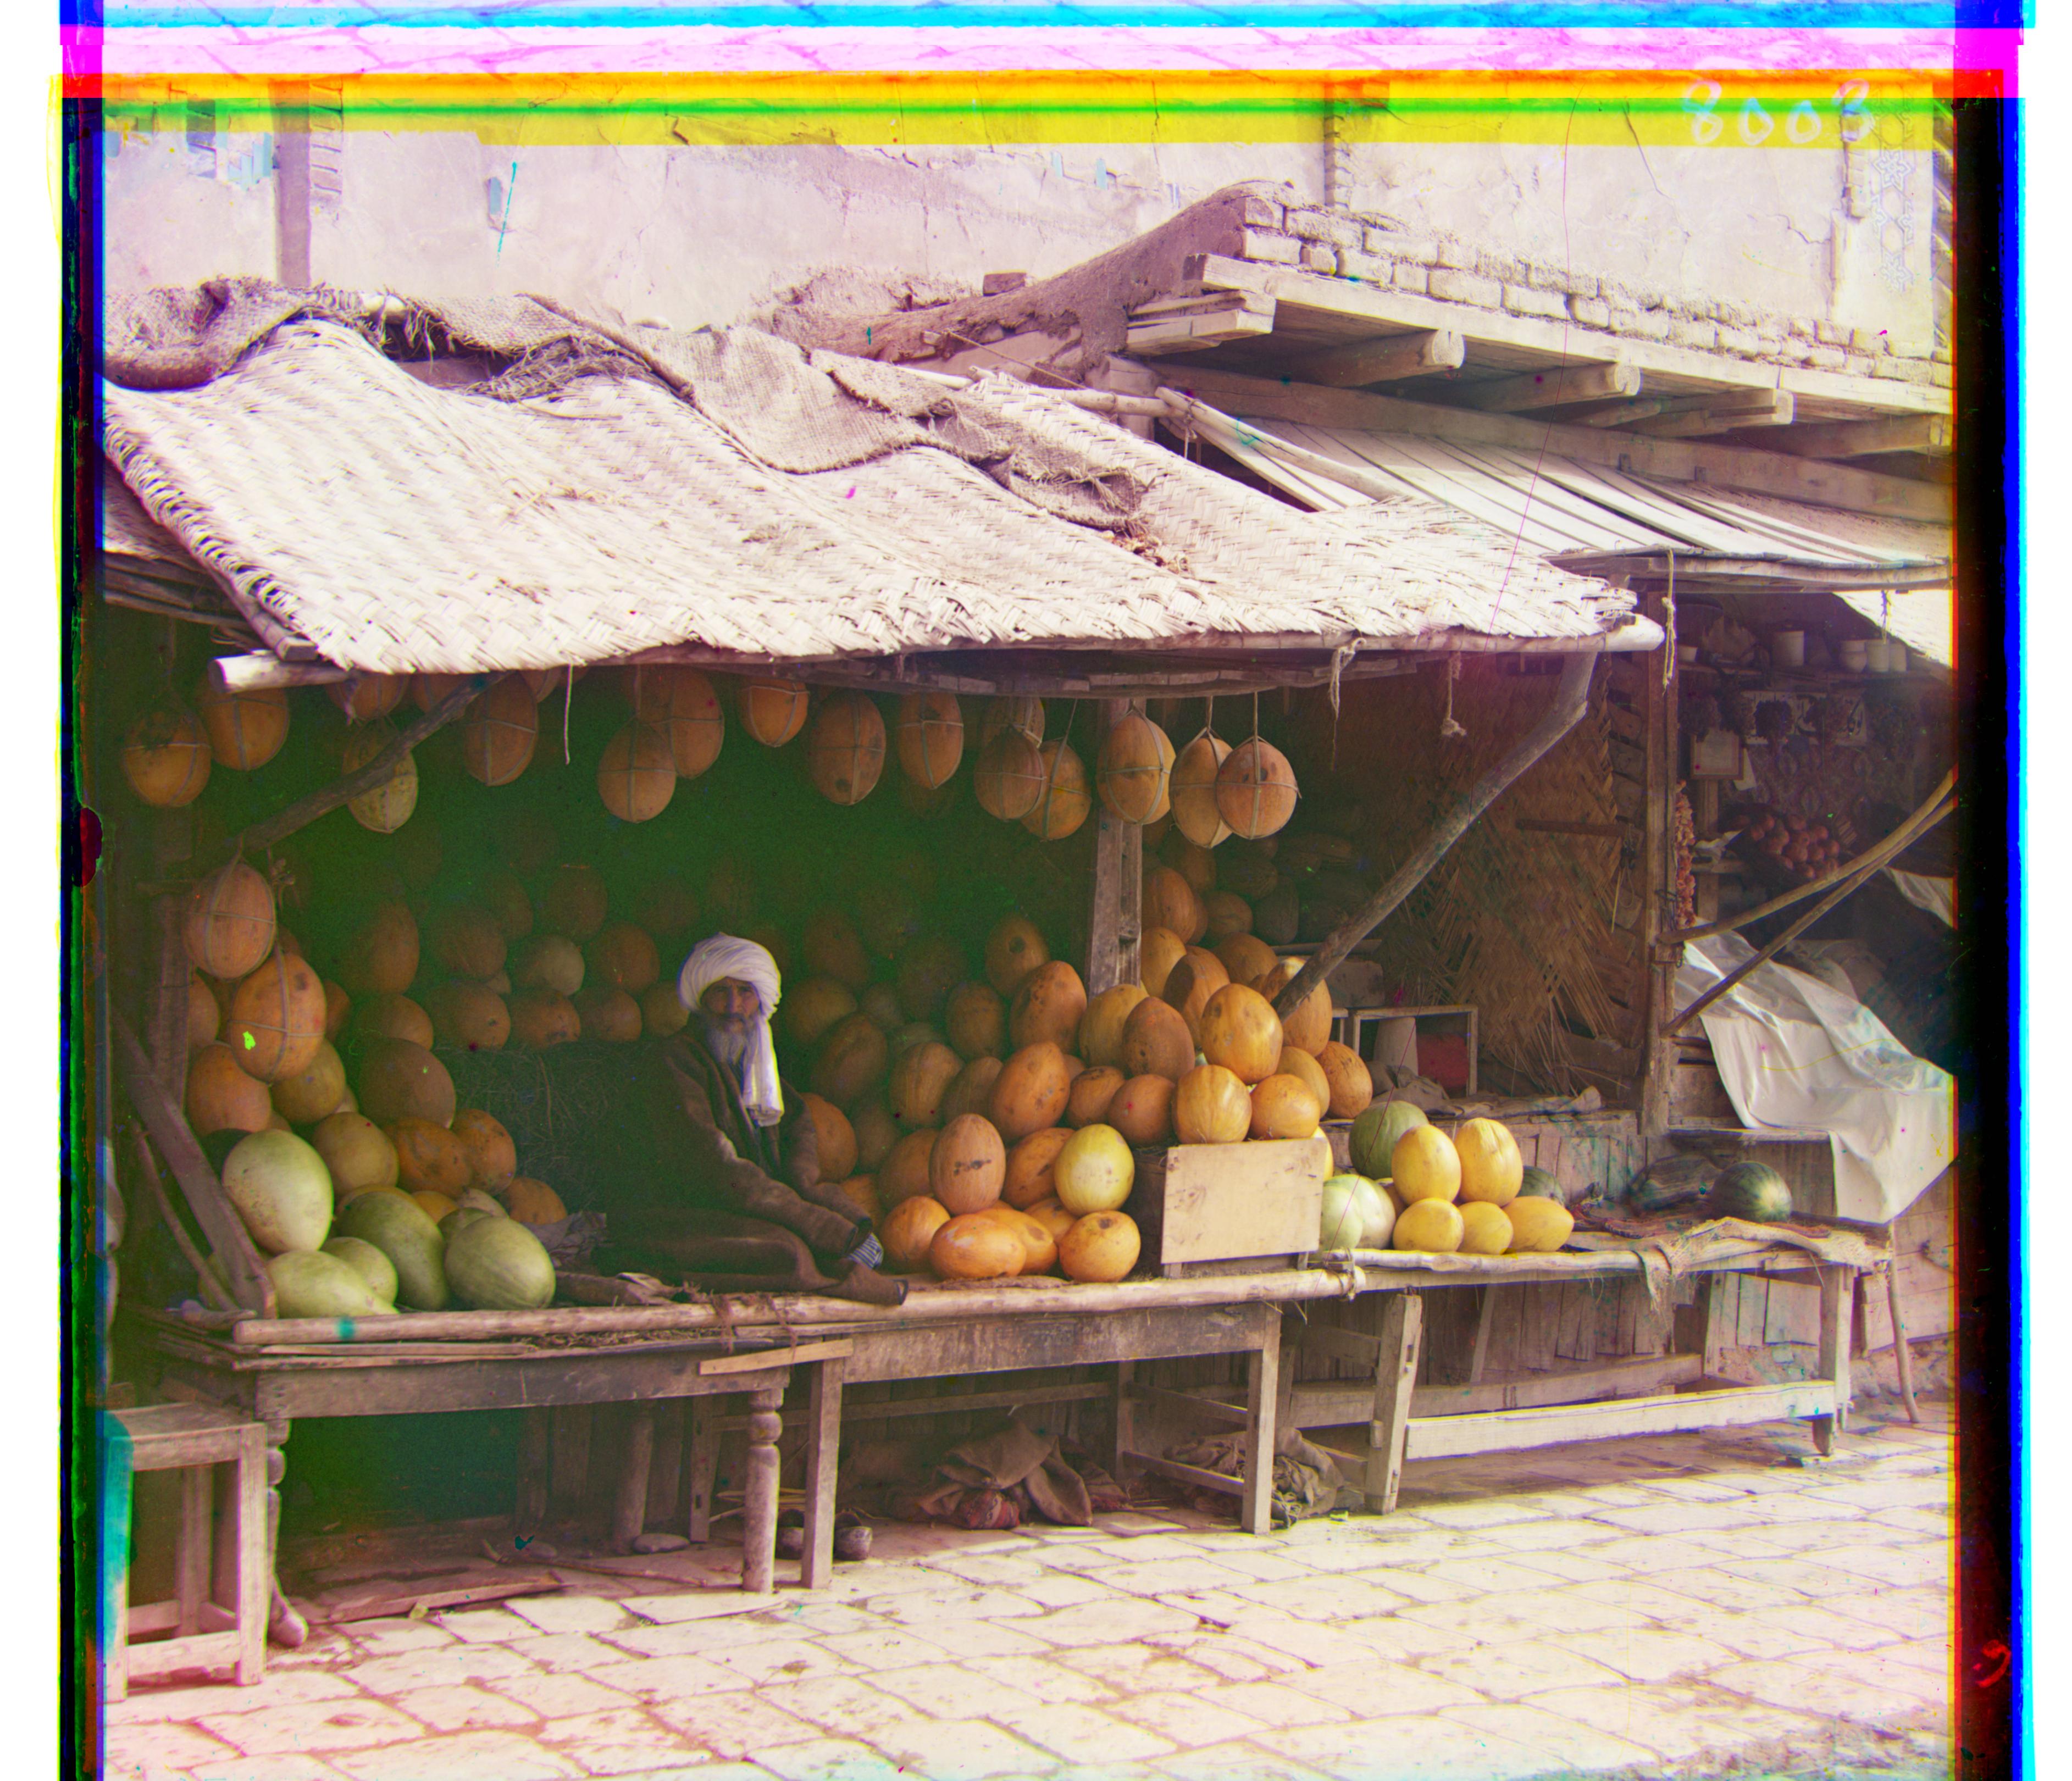
with best offset for green to be [82, 10]
with best offset for red to be [178, 13]

with the best offset for green to be [52, 22]
with the best offset for red to be [108, 0]
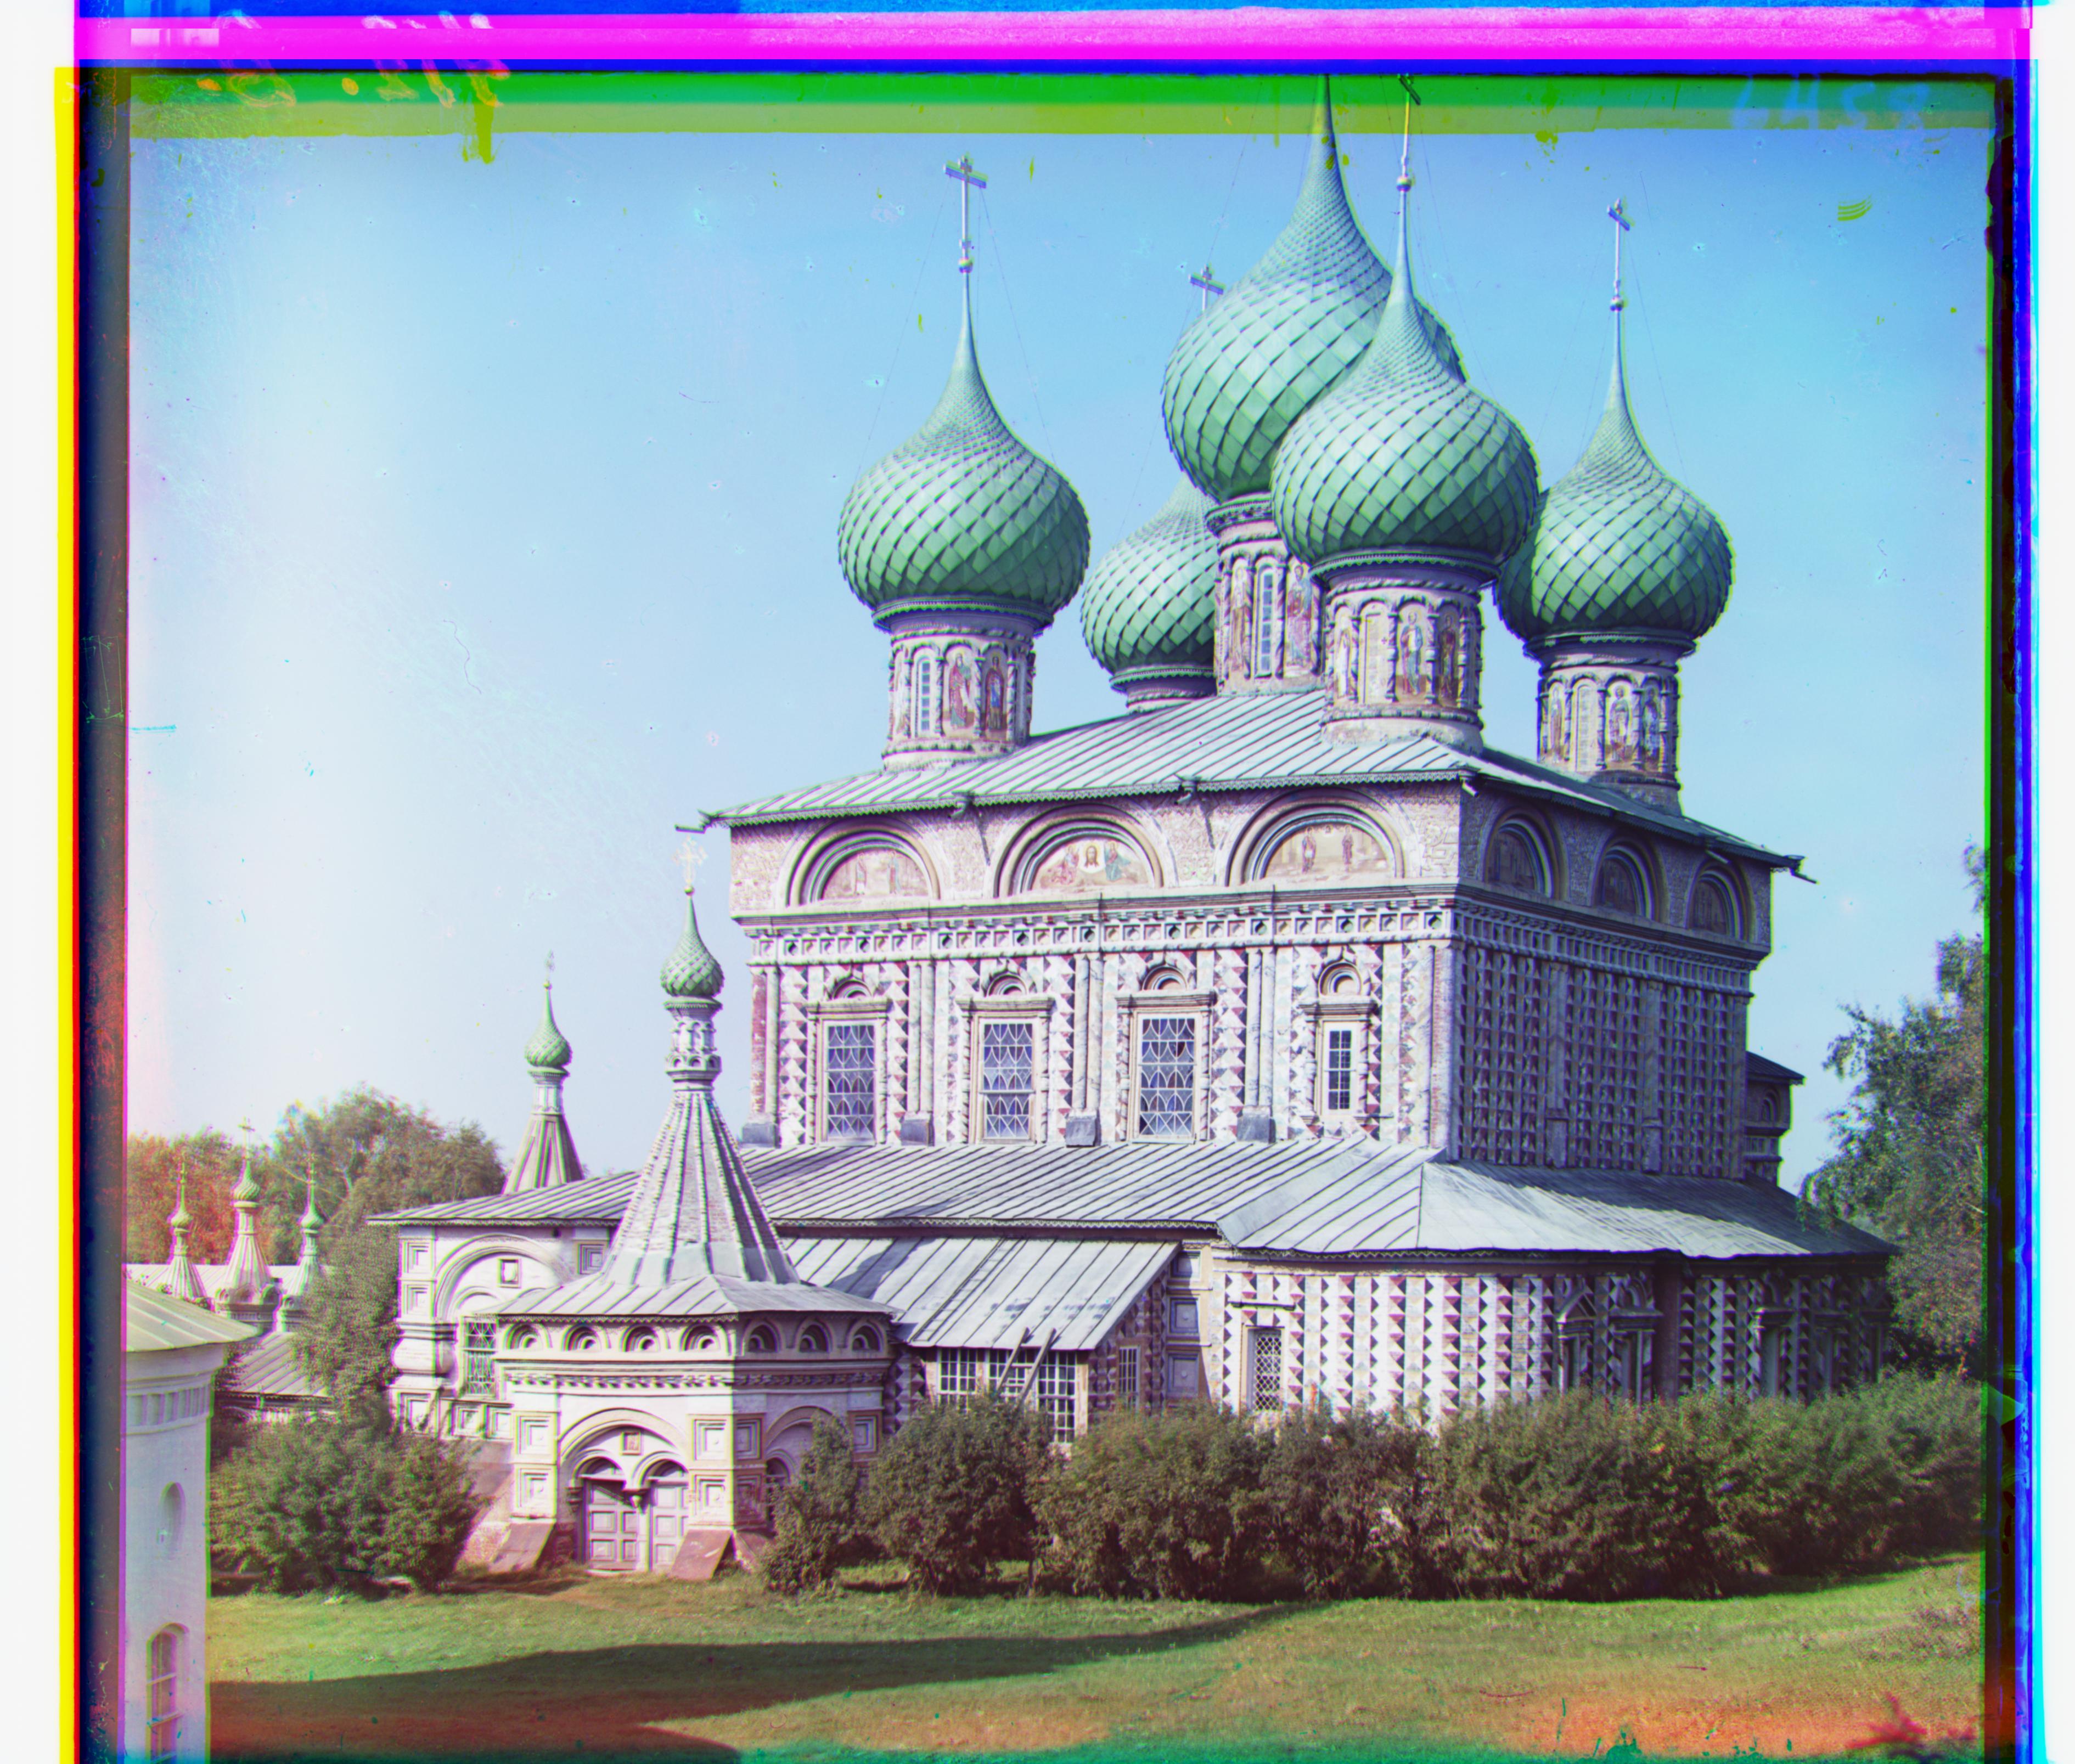
with best offset for green to be [52, 26]
with best offset for red to be [112, 12]

with the best offset for green to be [33, -11]
with the best offset for red to be [140, -26]
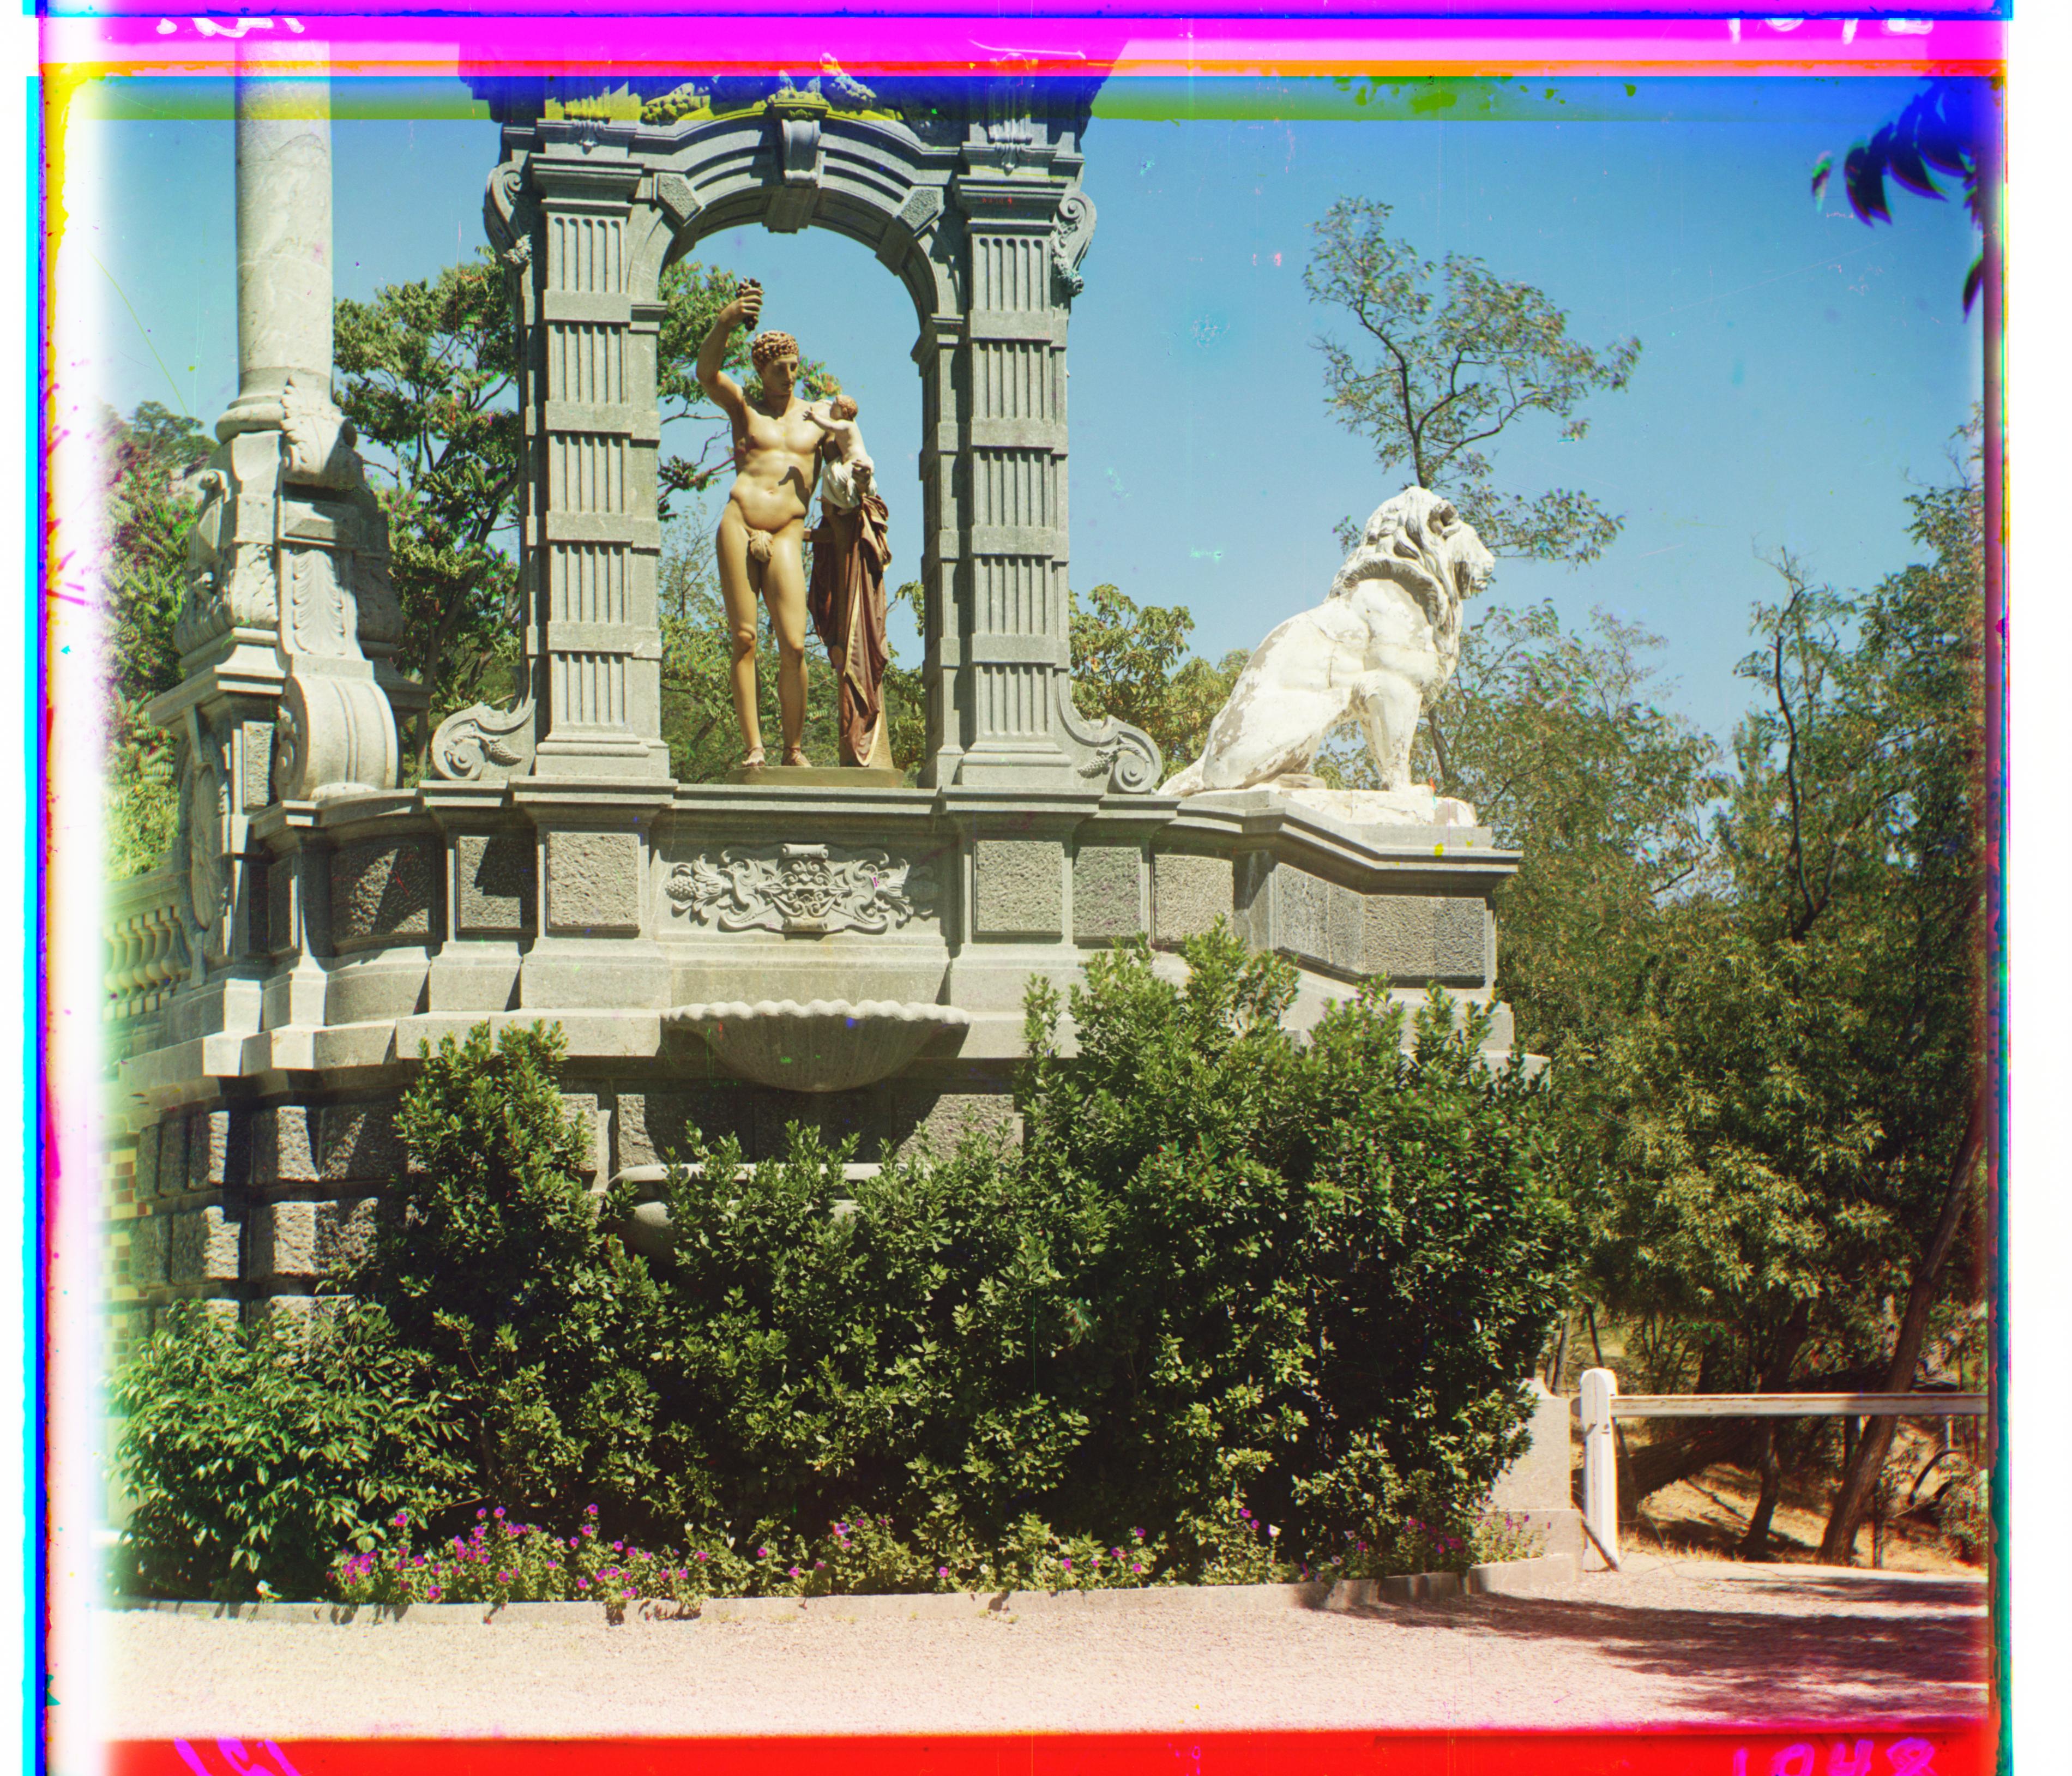
with best offset for green to be [33, -11]
with best offset for red to be [140, -27]

with the best offset for green to be [50, -2]
with the best offset for red to be [130, -5]
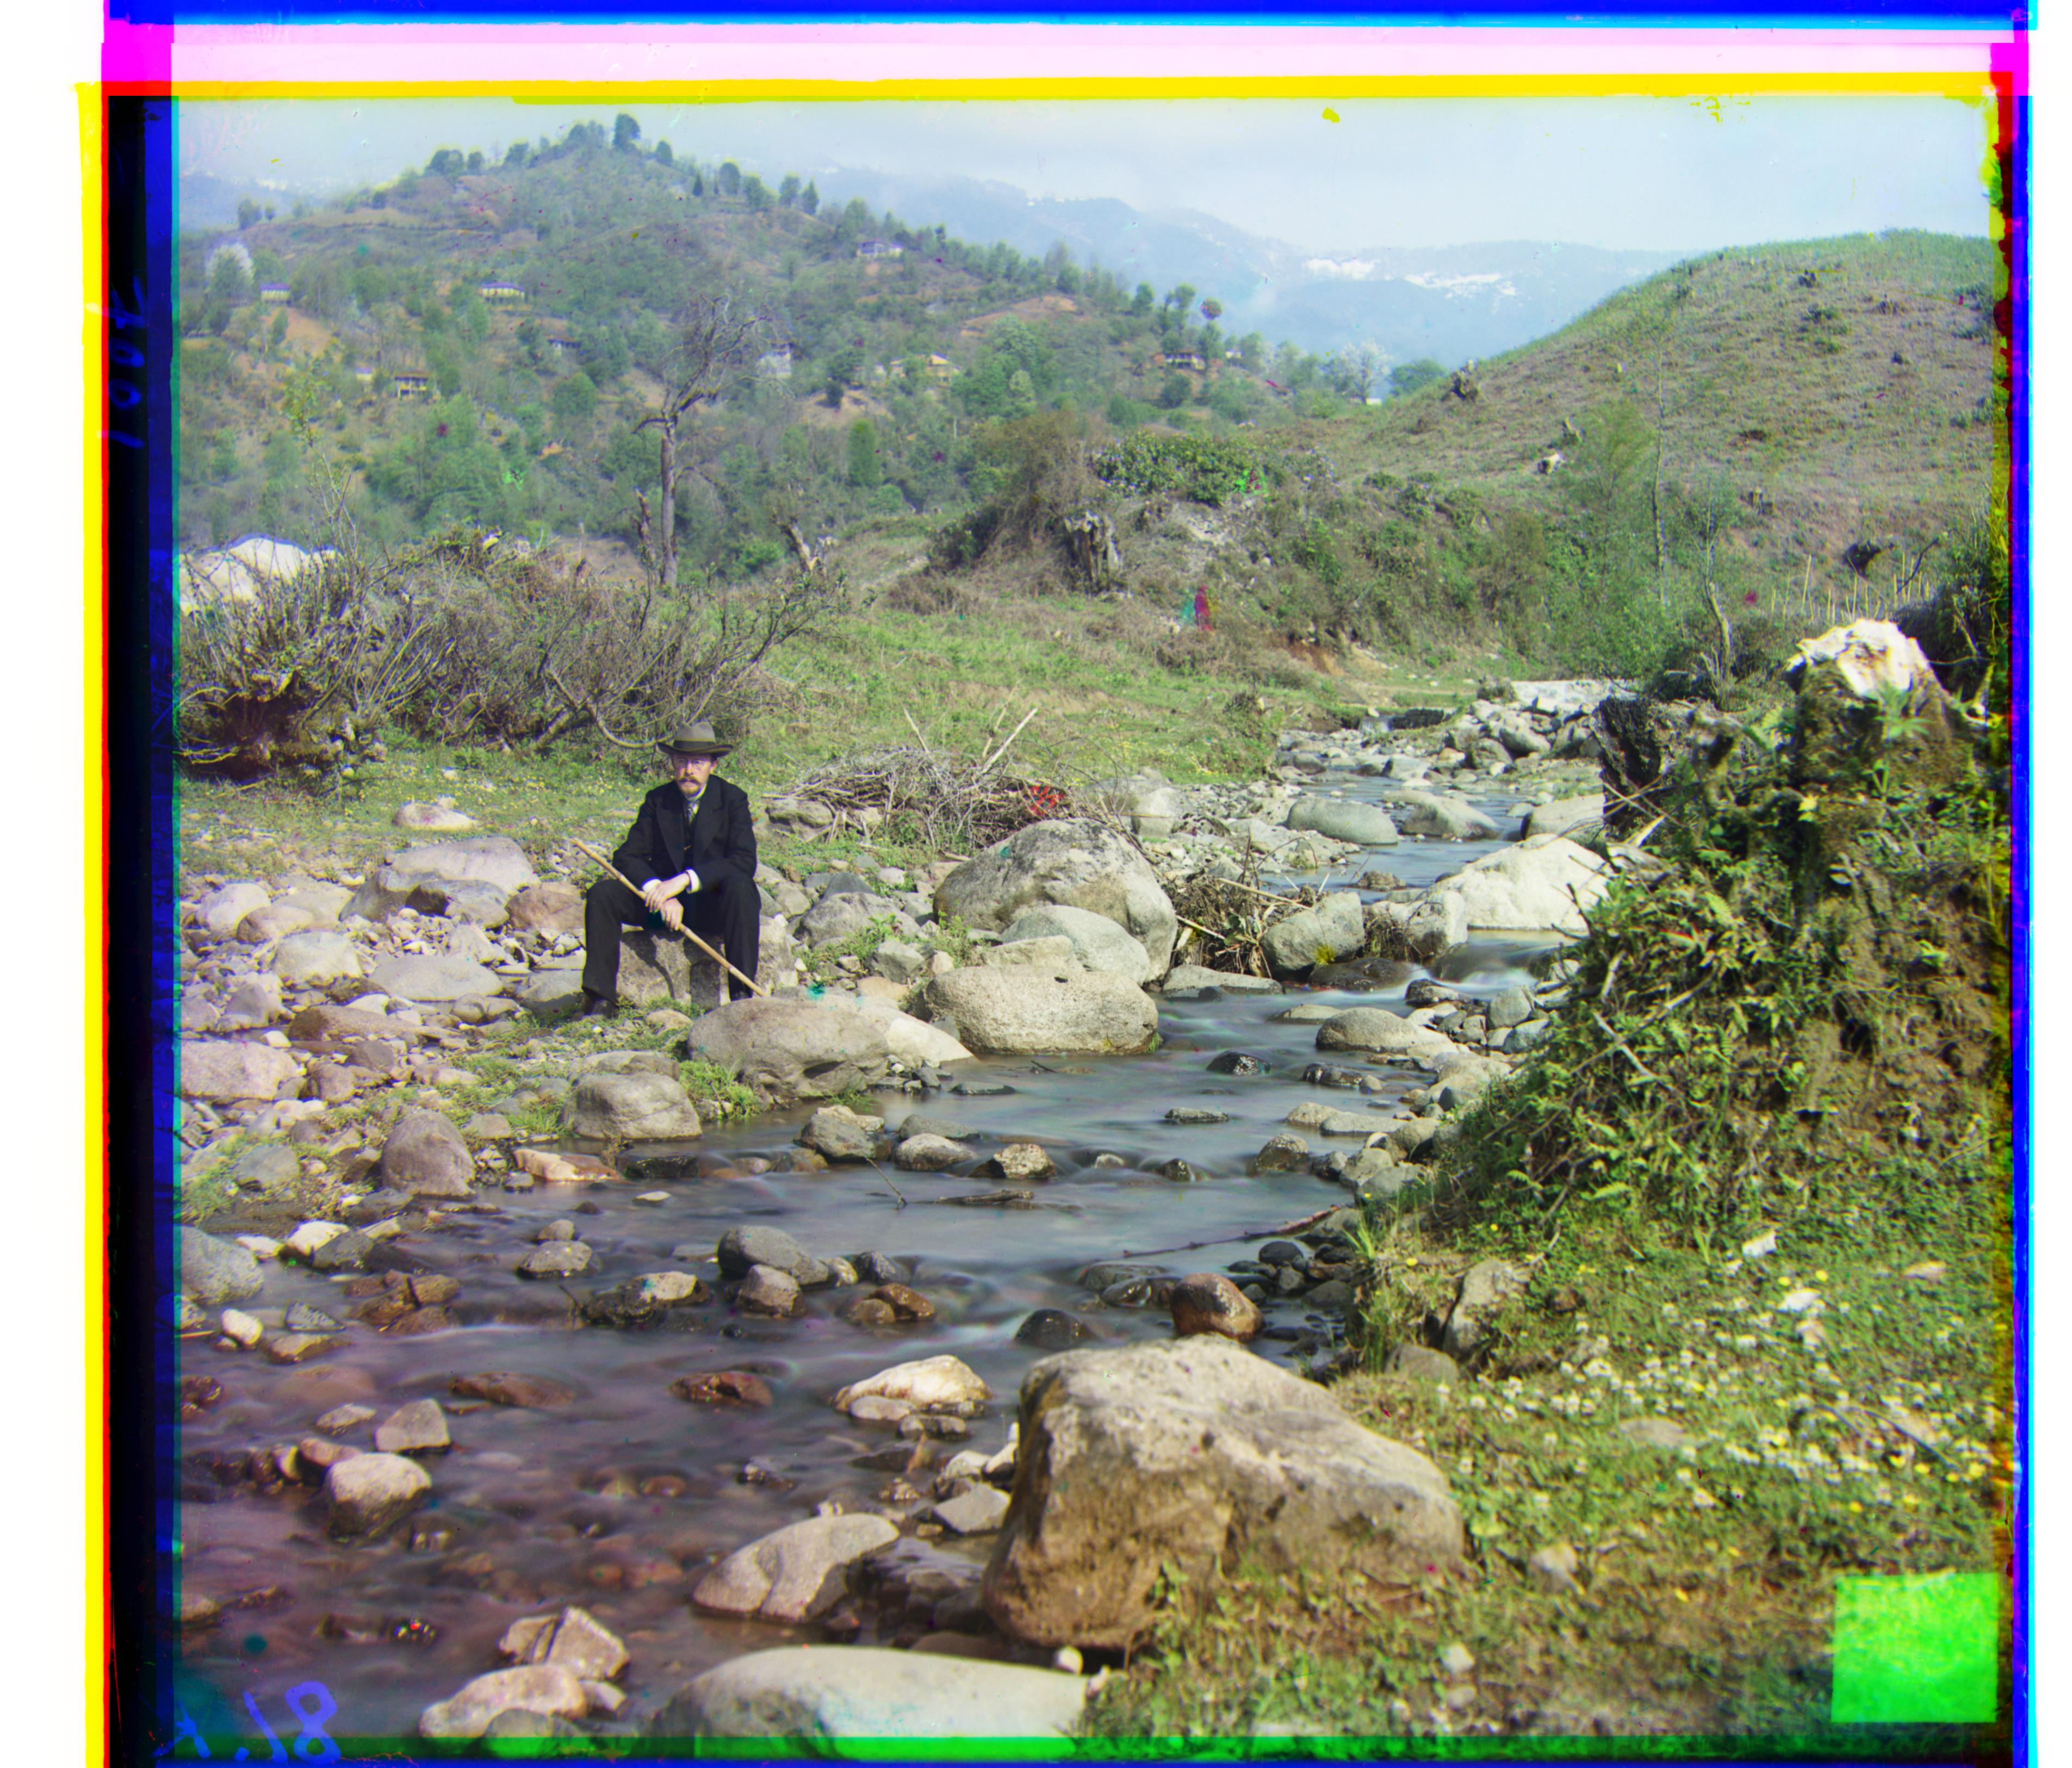
with best offset for green to be [79, 29]
with best offset for red to be [176, 37]

with the best offset for green to be [52, 5]
with the best offset for red to be [108, 7]
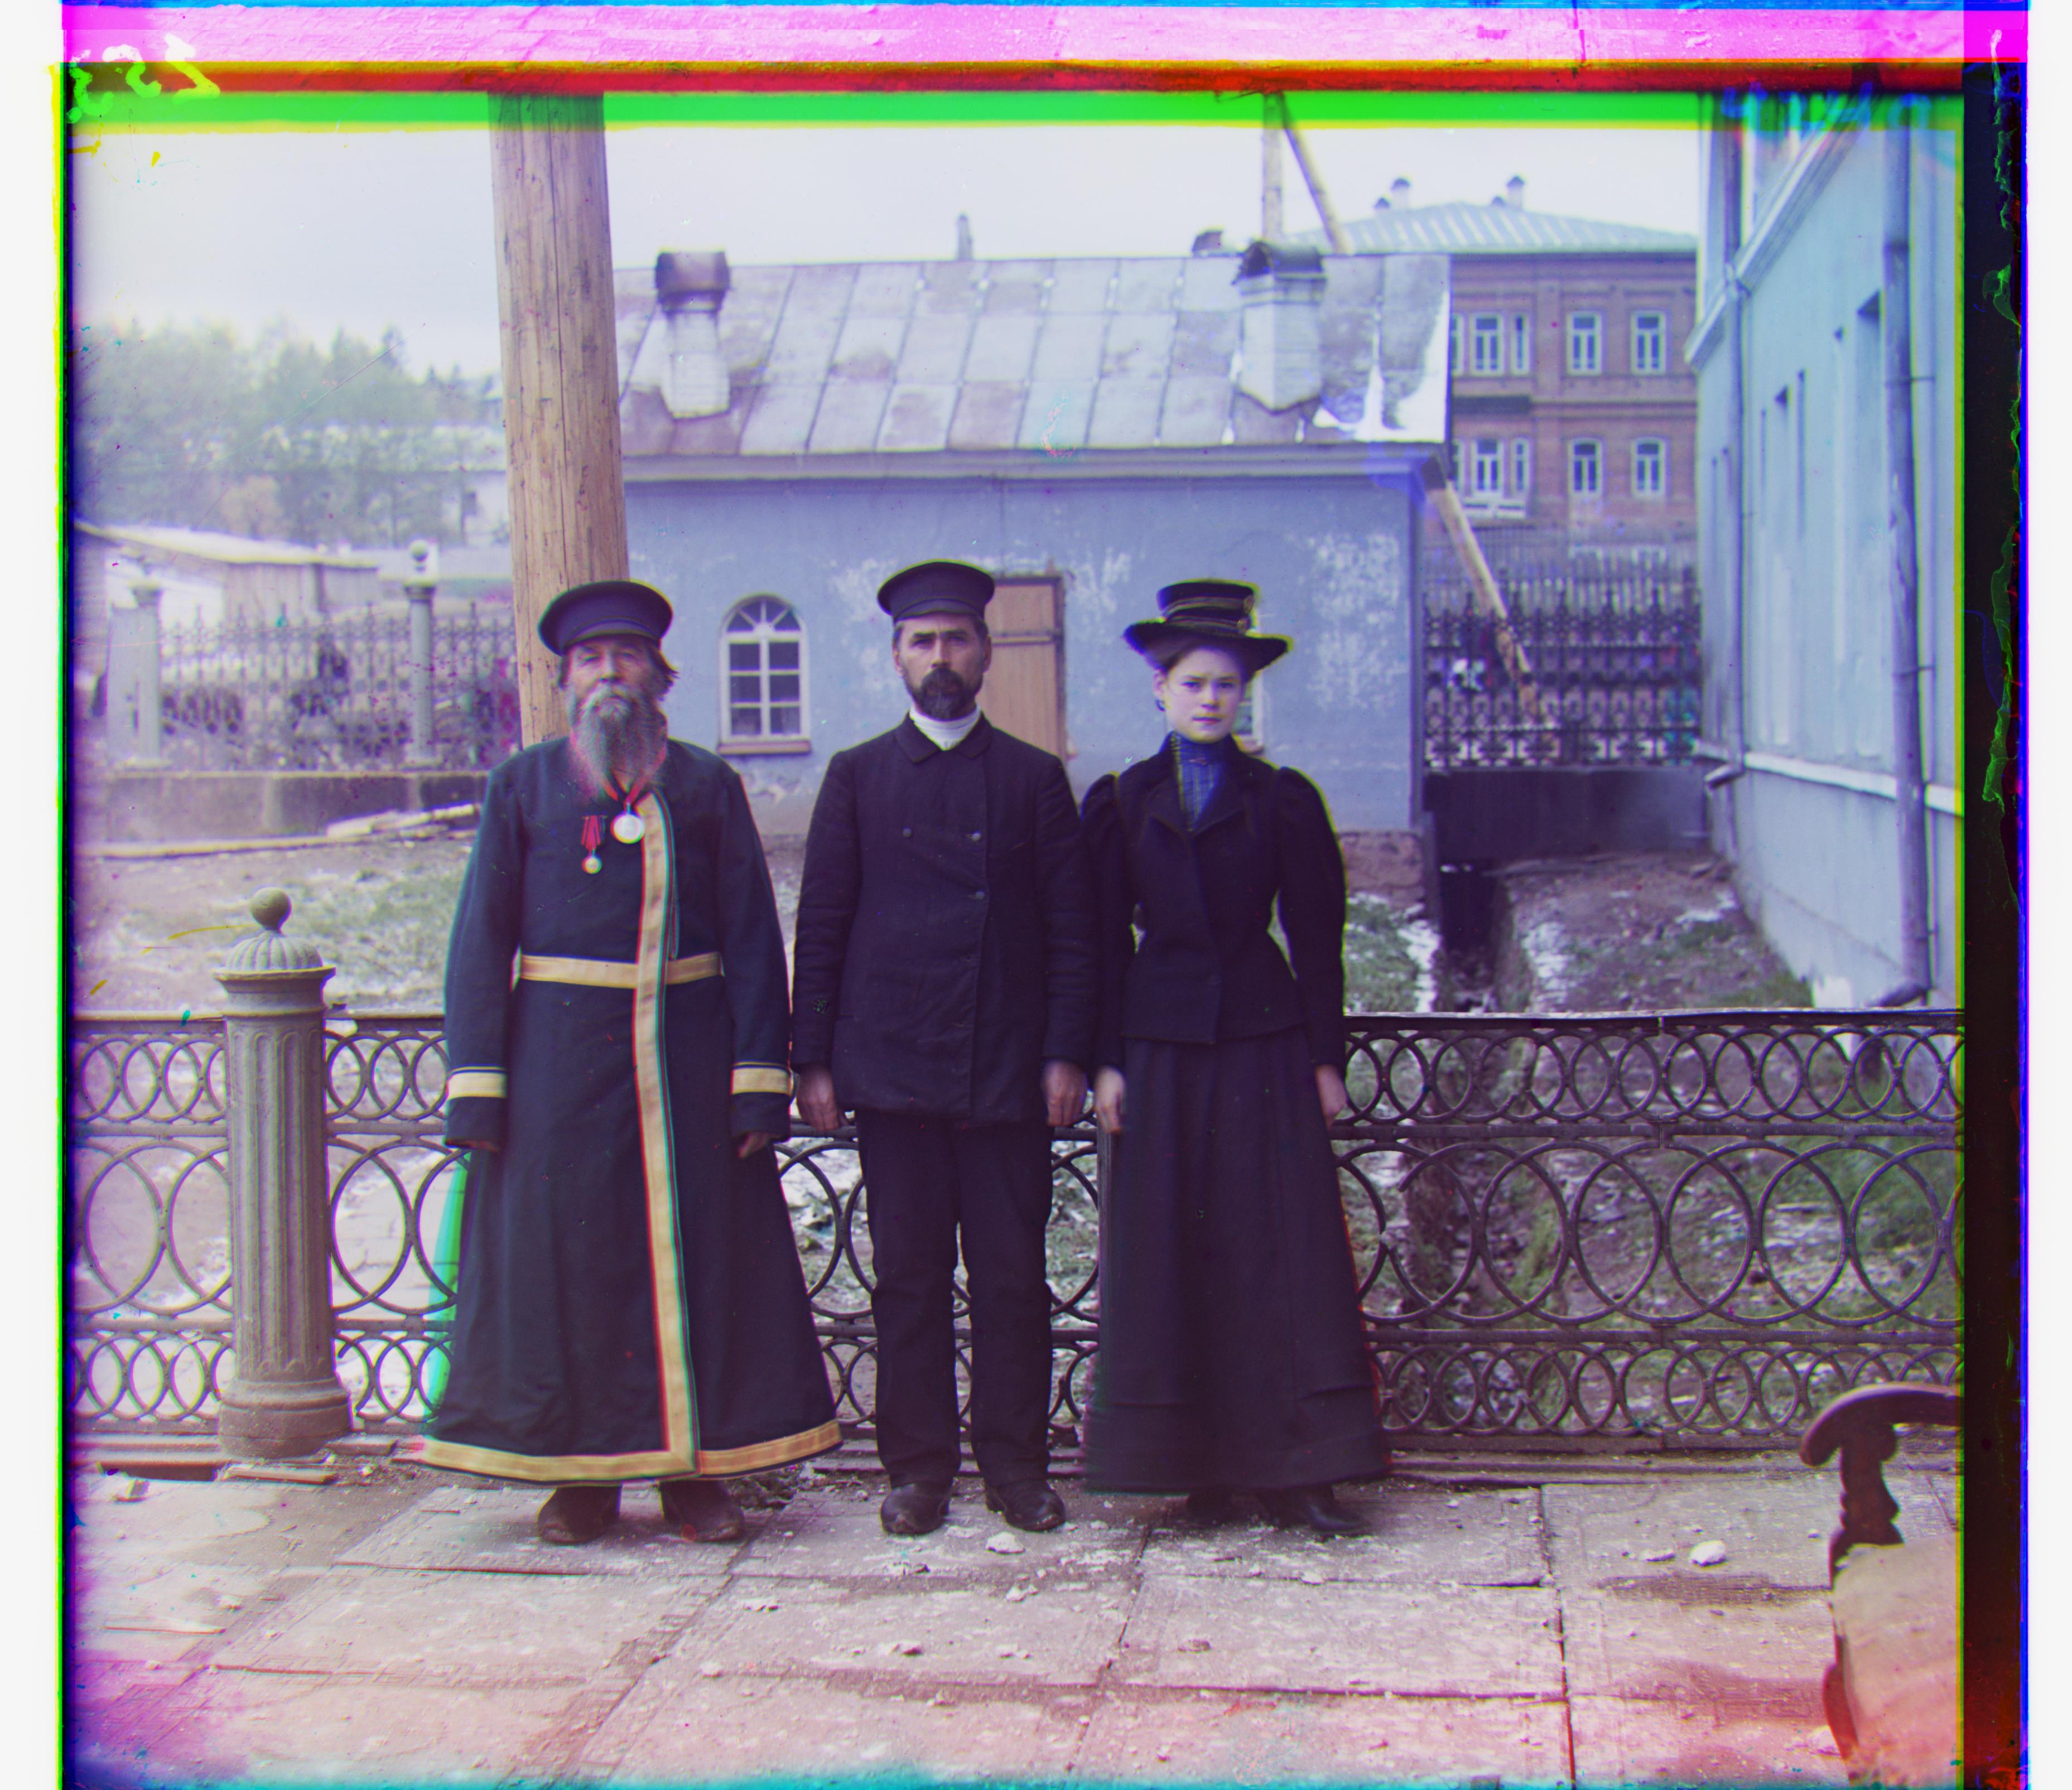
with best offset for green to be [53, 14]
with best offset for red to be [112, 11]

with the best offset for green to be [111, -7]
with the best offset for red to be [107, 1]
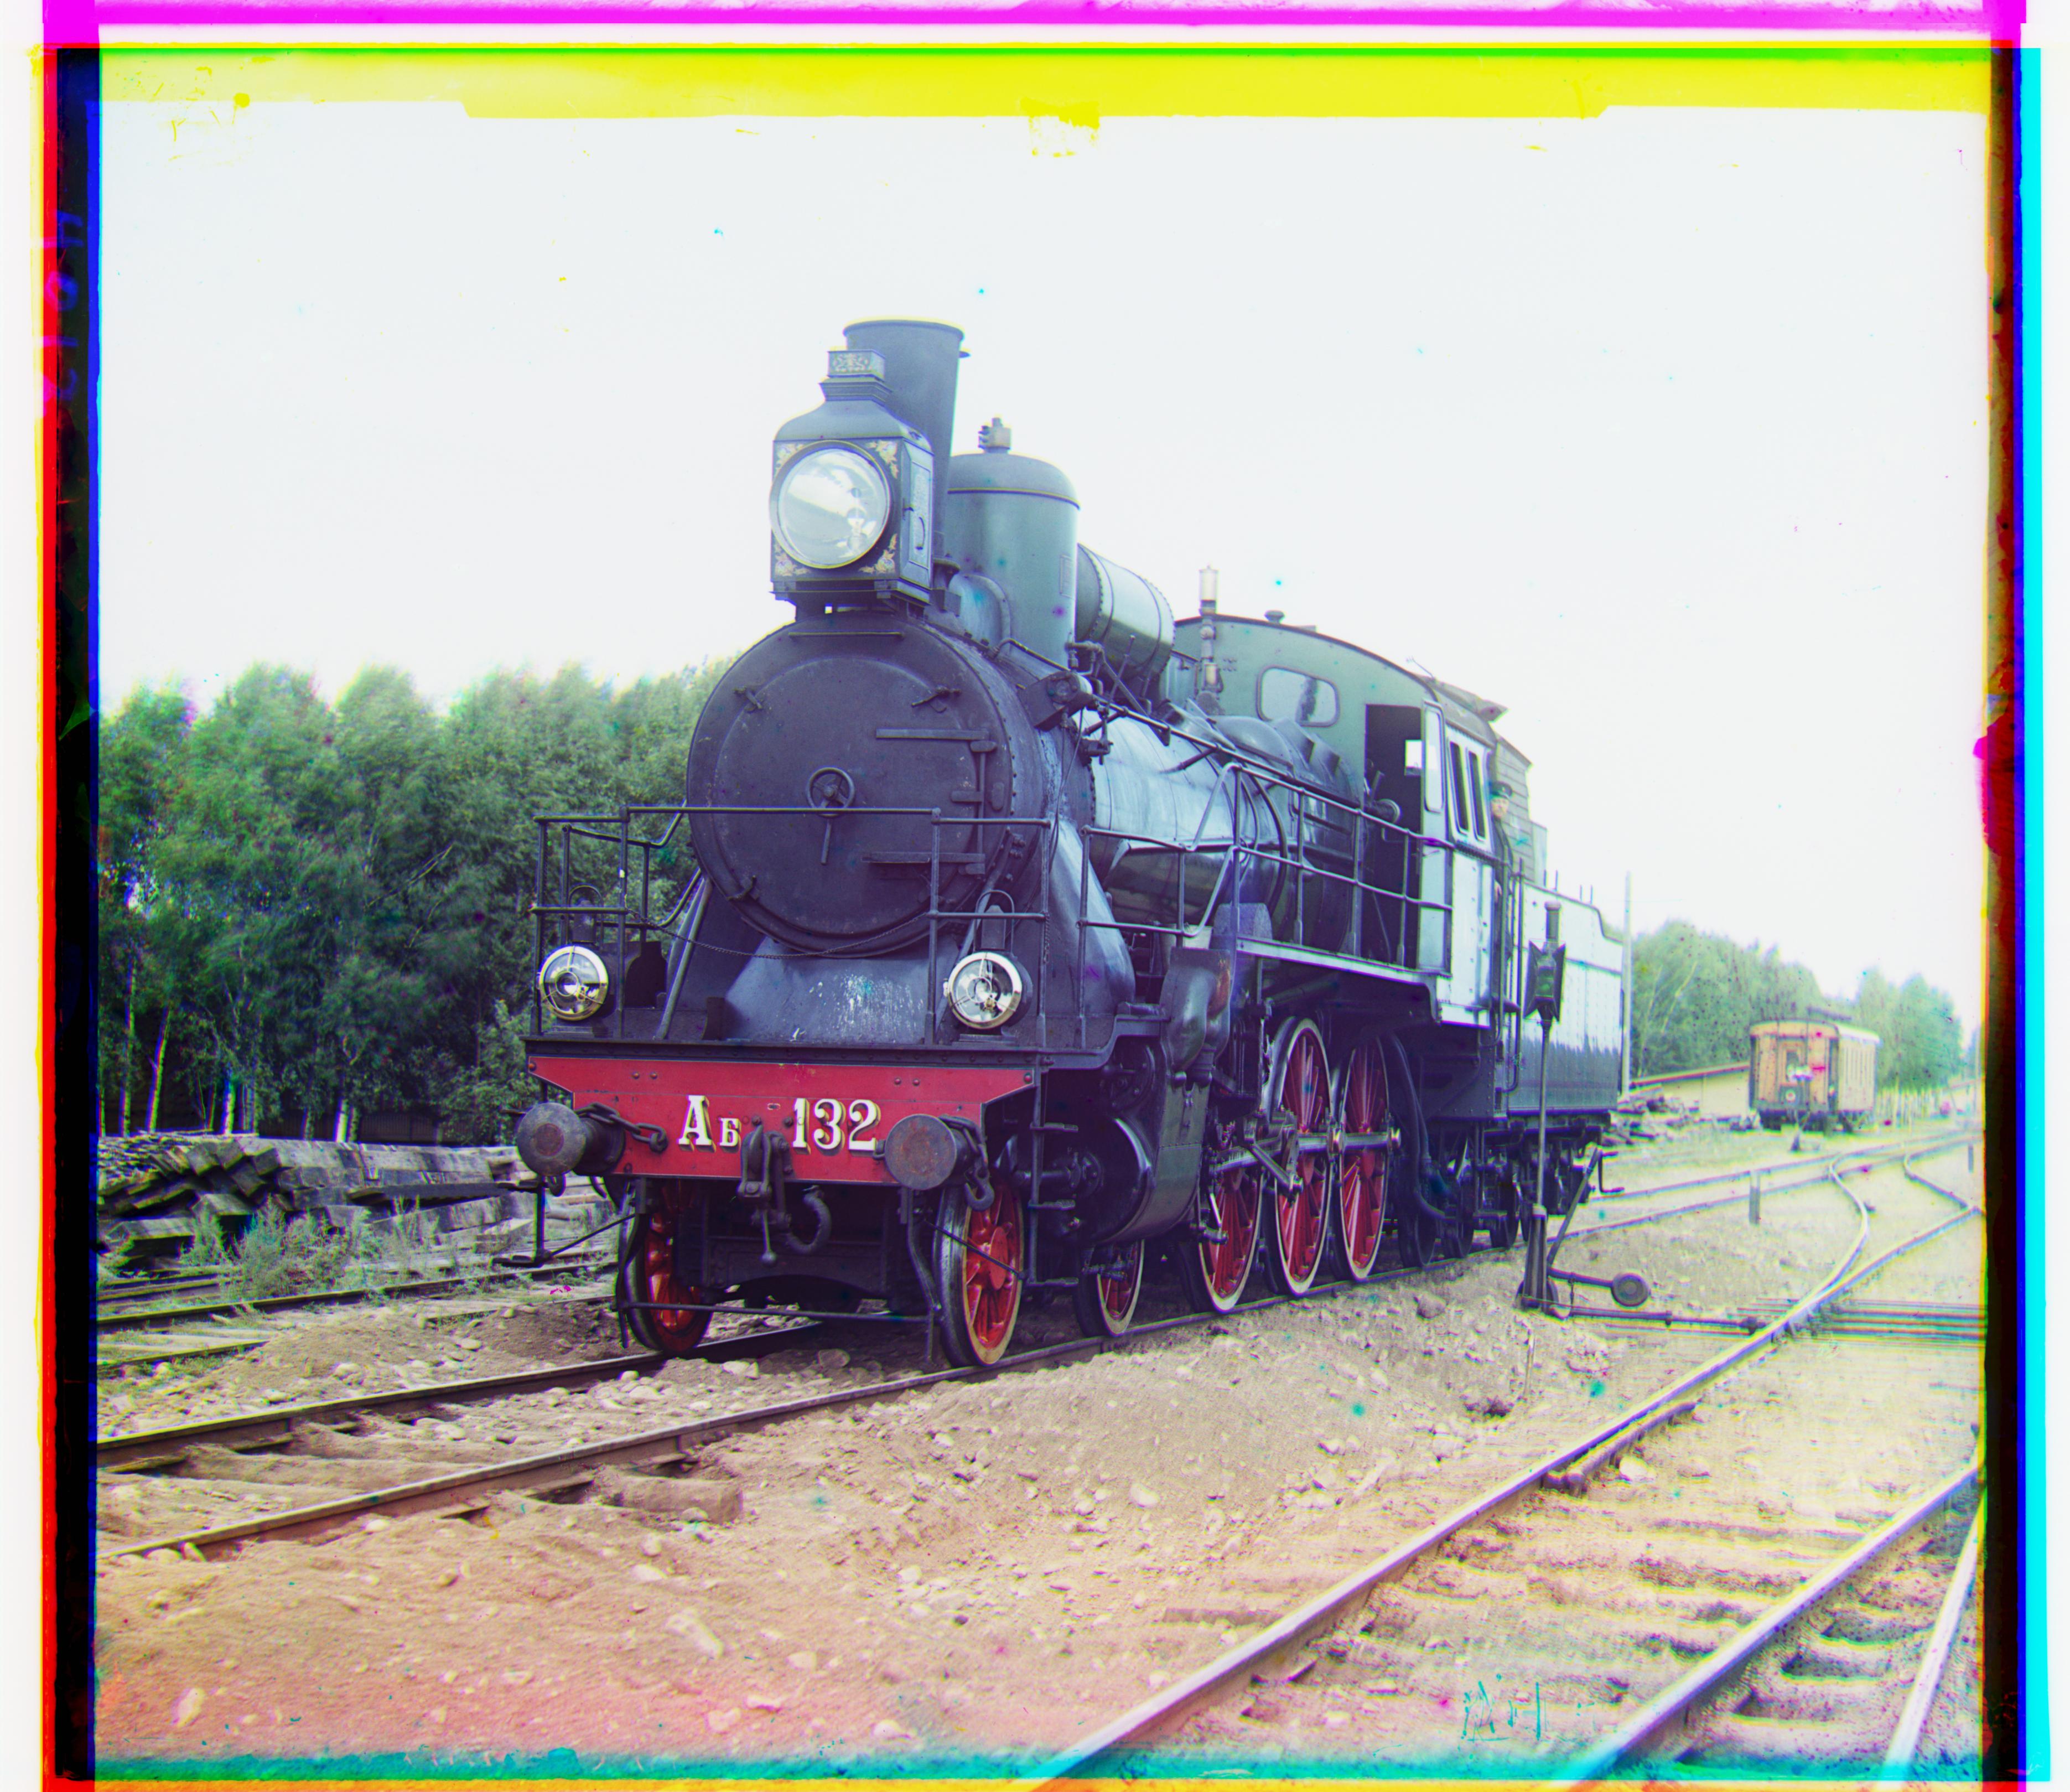
with best offset for green to be [42, 6]
with best offset for red to be [87, 32]
Bells & Whistles
We will try to improve one of the image and we found out that using different metric might be a good idea so we decided to use the structural similarity metric from skimage.metrics to score the displacements instead. The result is show below. From the result we can see that the Emir image is now align much better than before but this come with the cost of the computtion time is way longer than before.

with the best offset for green to be [49, 24]
with the best offset for red to be [28, -328]
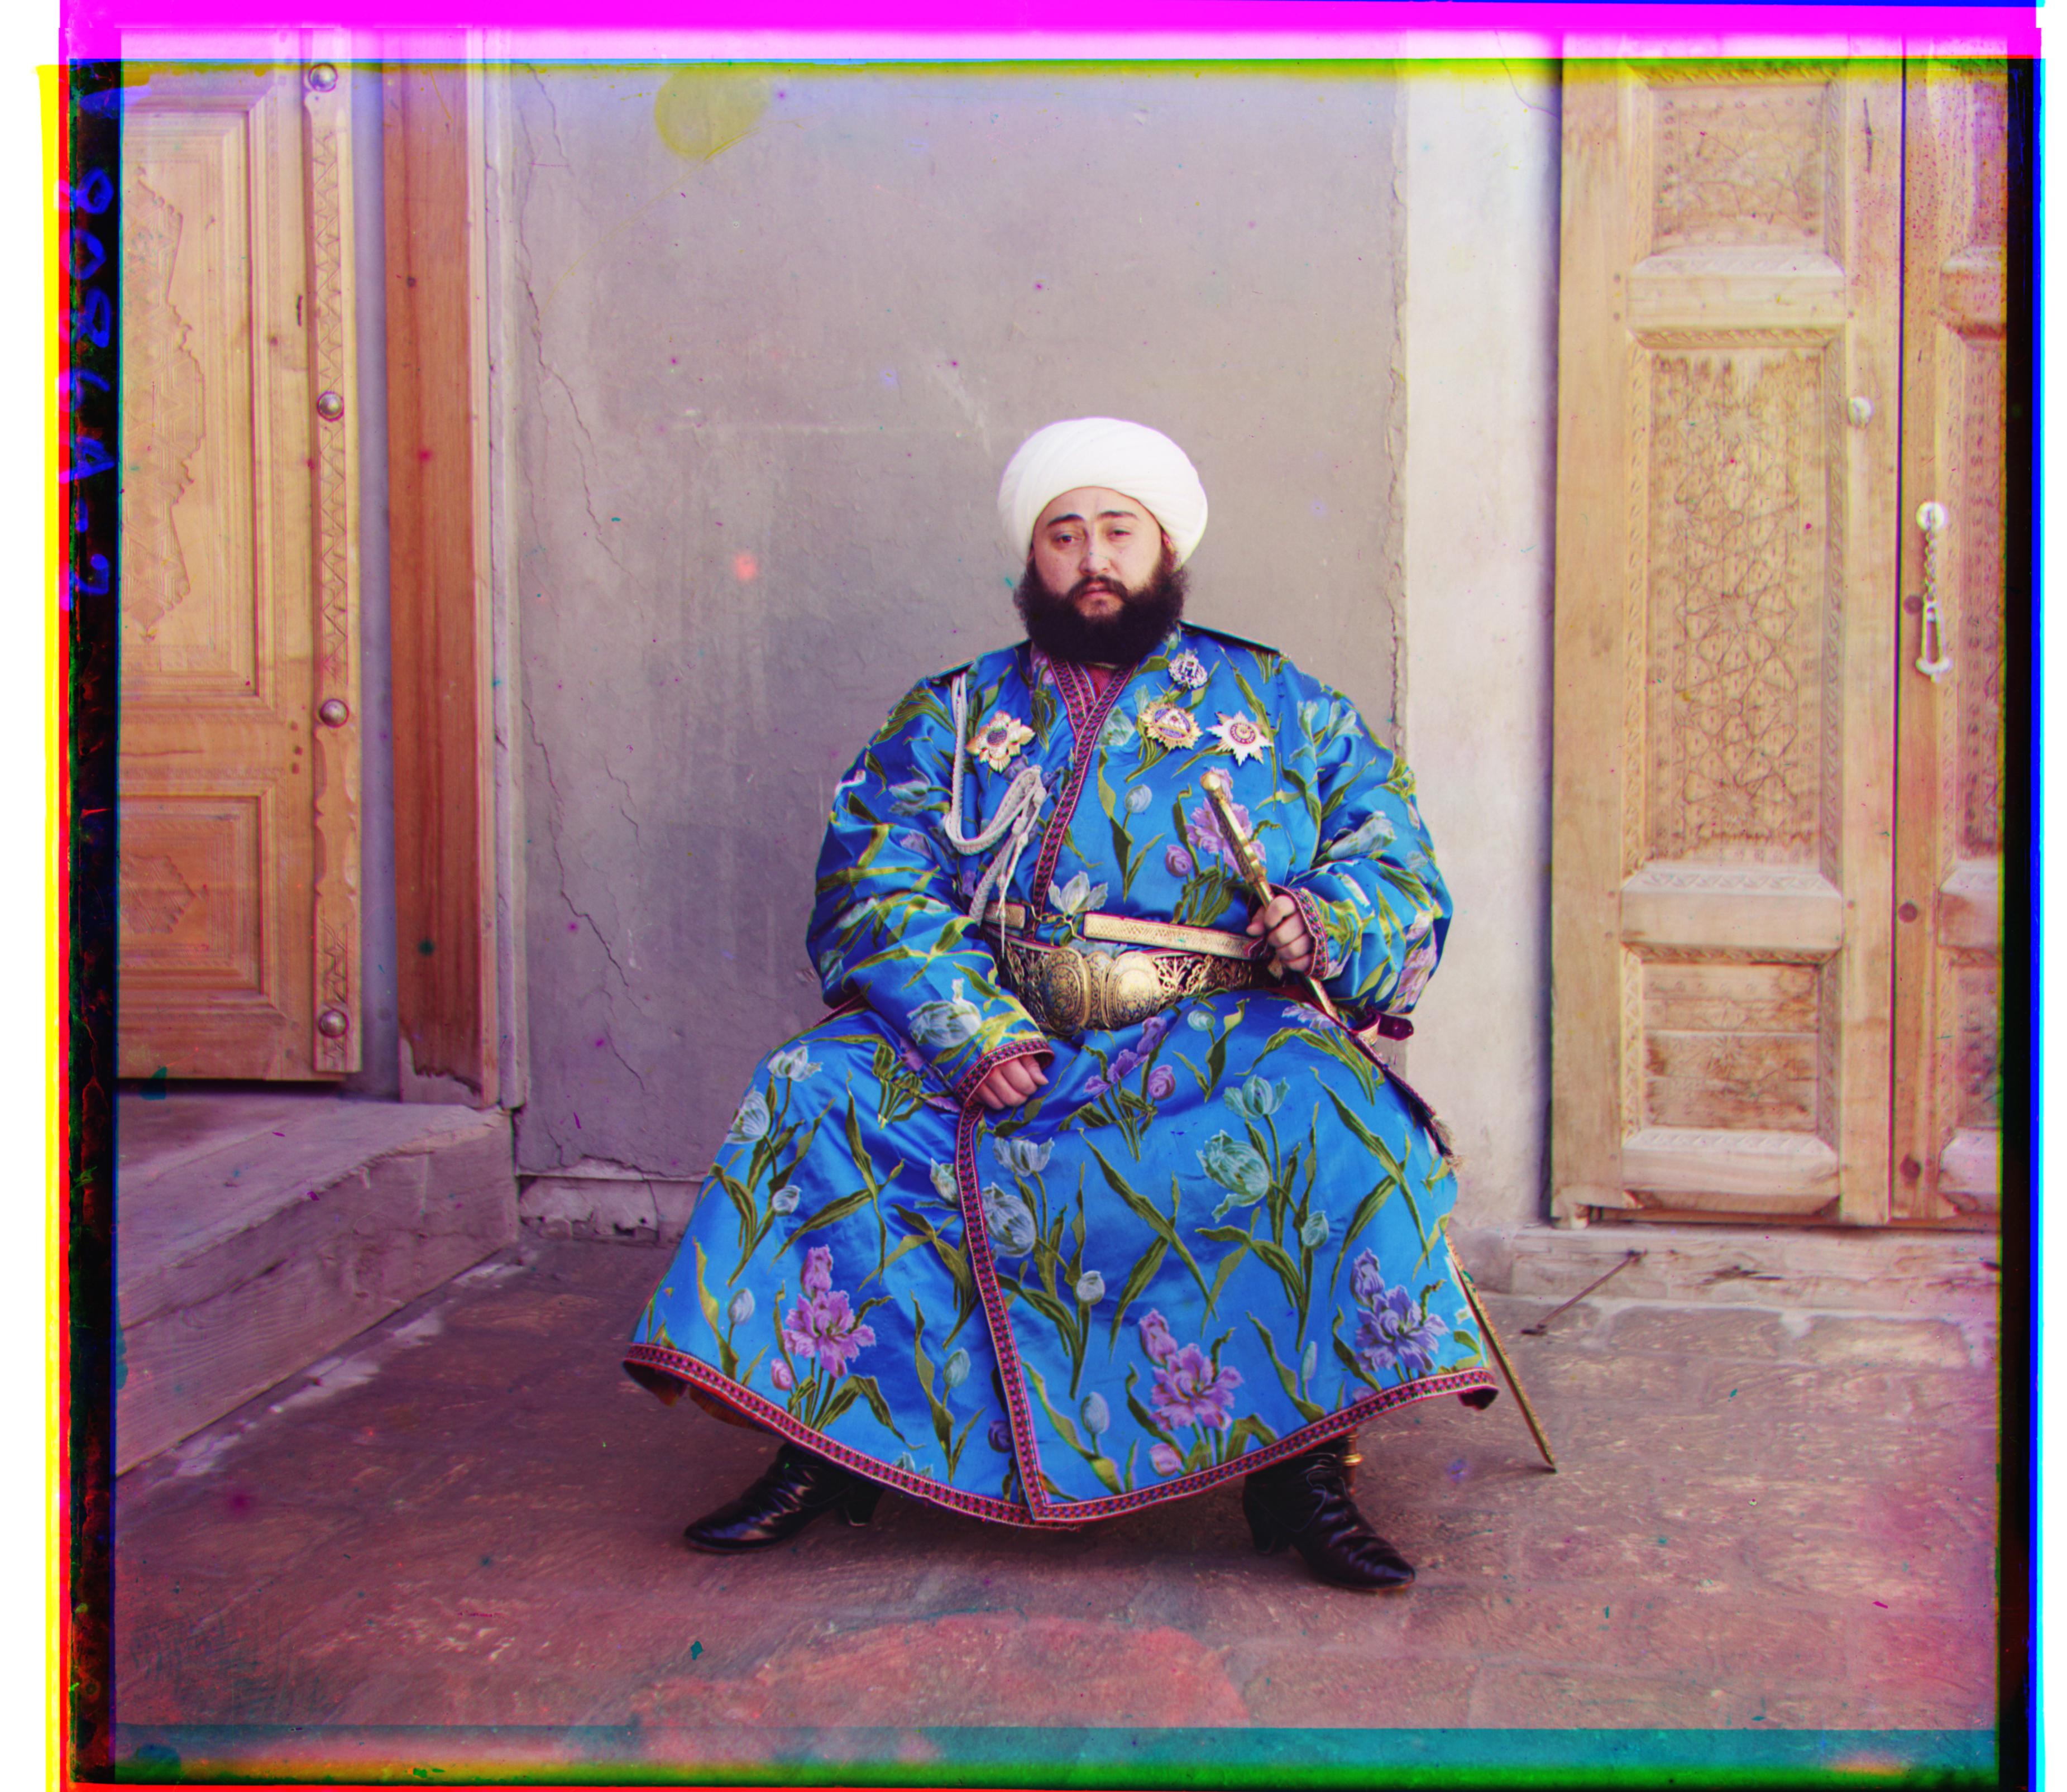
with best offset for green to be [50, 23]
with best offset for red to be [105, 40]